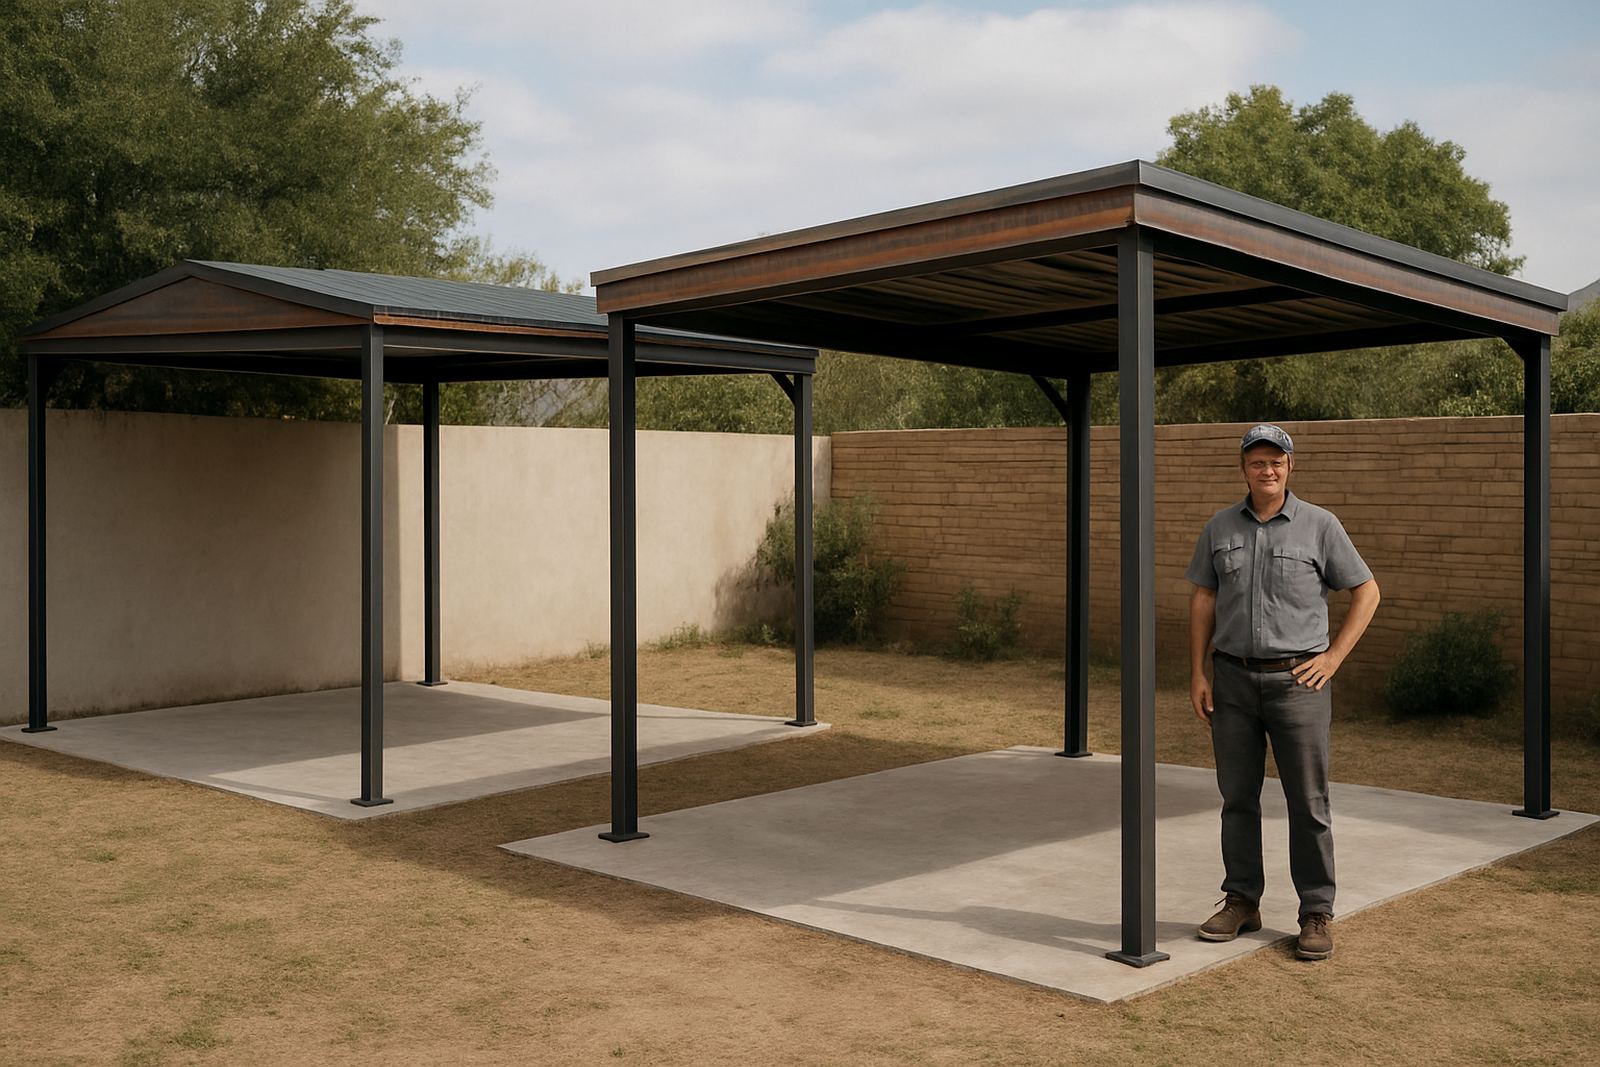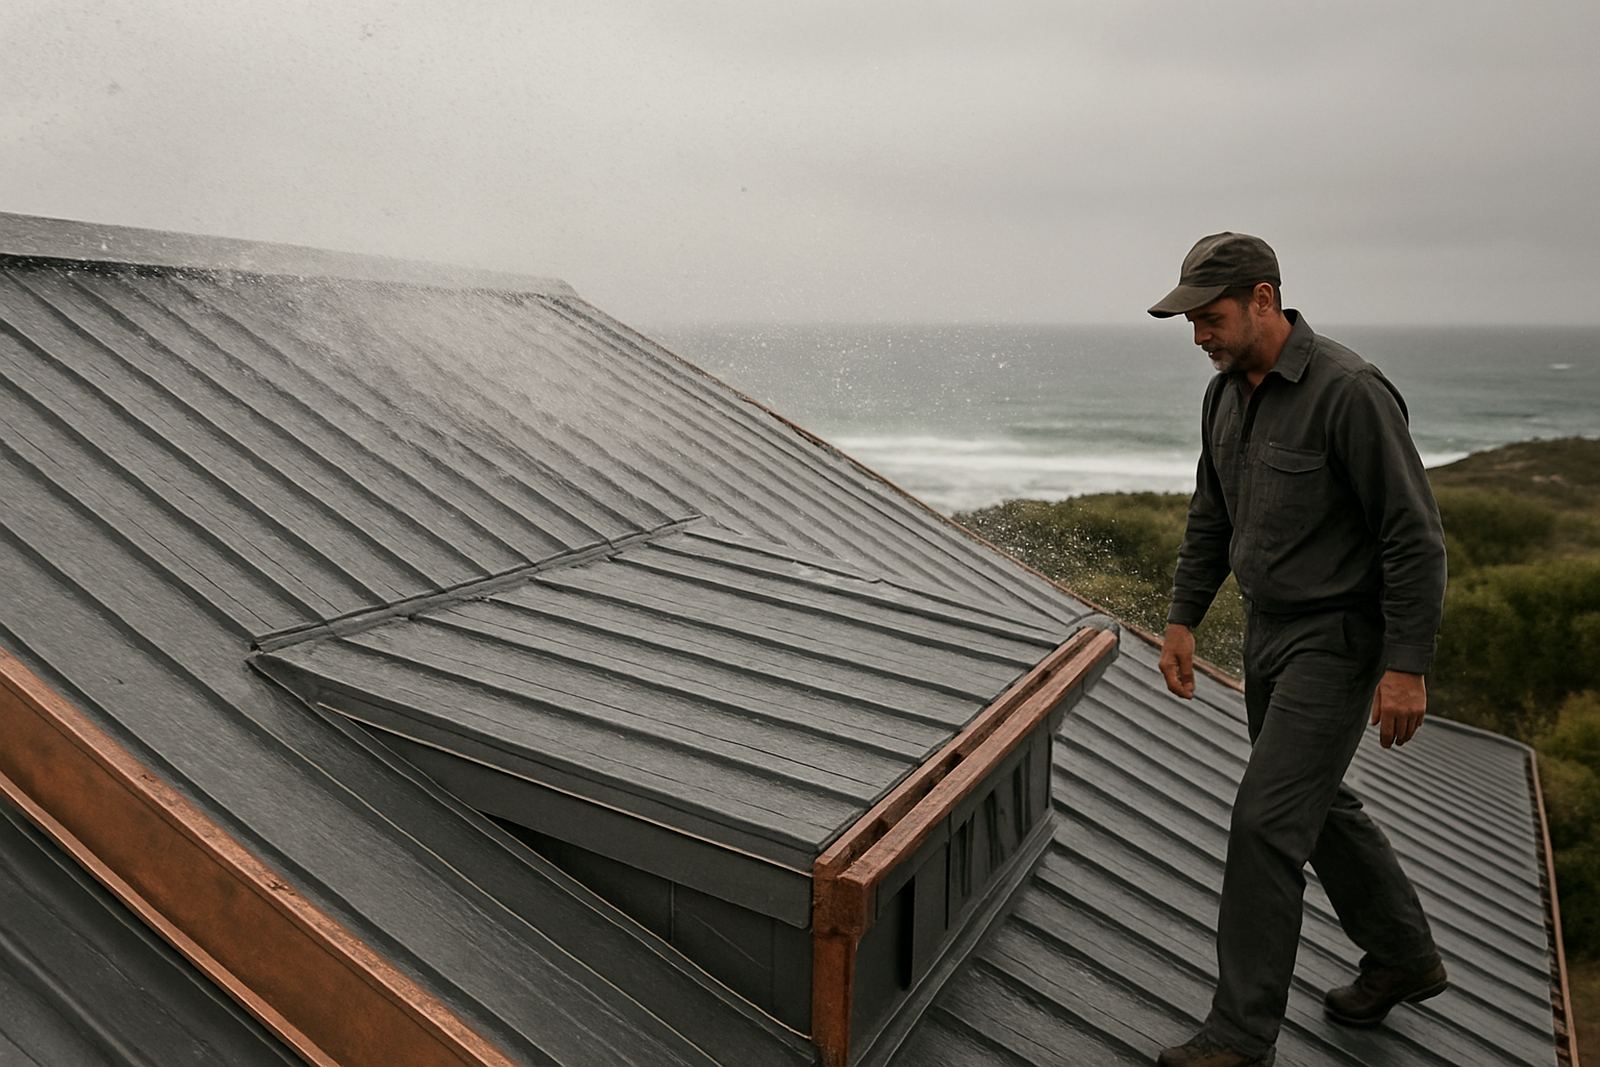

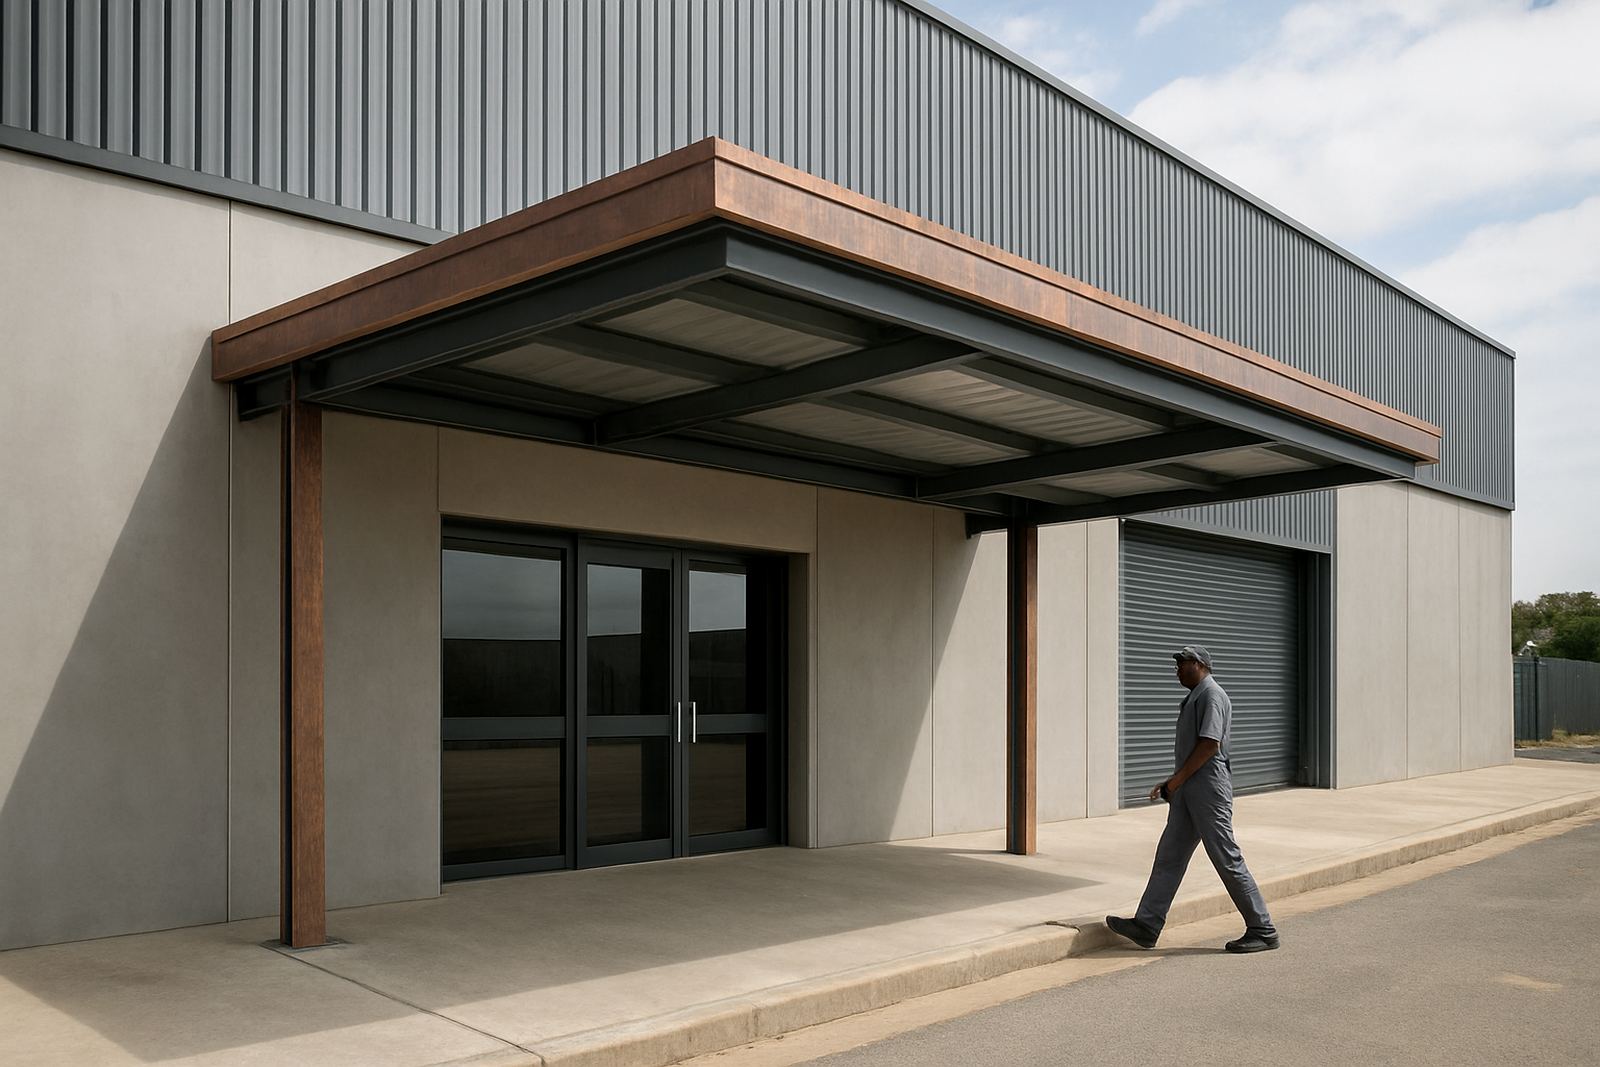
Start with the exact use of the canopy
Before any steel is cut, decide what the canopy must do on site. A front entrance canopy may only need weather cover for customers, while a loading canopy must deal with trolleys, pallet movement, deliveries and people moving in and out during rain. In Mossel Bay and along the southern Cape, wind can drive rain sideways, so a small roof overhang is often not enough. The best starting point is a site measure with the door positions, pavement line, stormwater routes and any overhead services marked out.
For most business entrances, the canopy width should cover the doorway plus the area where people queue or step aside. For loading areas, think about the vehicle turning radius, the highest point of the truck or bakkie, and whether forklifts or hand trucks need clear access. A canopy that is too shallow will drip onto foot traffic. One that is too low can block service doors or make deliveries awkward.
Choose dimensions that suit the building and the weather
Canopy size must suit the wall and the span available, but local weather matters just as much. In the coastal belt, a slightly deeper canopy often pays for itself because it keeps splashback off the threshold and protects painted steel, timber trims and electrical fittings. On business sites in Hartenbos, Great Brak River and George, we often see better results when the canopy projects far enough to keep water off the first metre or two in front of the entrance.
Height is just as important. Leave enough clearance for signage, lighting and delivery vehicles, while keeping the roof slope suitable for drainage. A common mistake is to make the canopy look light from the road but then leave it with too little fall for water to move off quickly. That leads to ponding, staining and drips at the front edge. Small changes to the height and pitch can prevent years of niggling maintenance.
- Measure the wall length available for fixing.
- Allow for gutter position and downpipe runs.
- Check door swing, roller shutter travel and security grilles.
- Leave clearance for signage and lighting fittings.
Drainage details that keep the entrance dry
Drainage is where many canopies fail early. The roof sheets must fall to a gutter or drip edge that can move water away without splashing back onto walkways. On larger loading canopies, gutter size should match the catchment area and the local rainfall pattern. A narrow gutter may work in dry weather but overflow in a strong storm, especially where leaves and grit collect from nearby roofs and paving.
Downpipes should discharge into a proper stormwater route, not into a place where water can pool against the building. If the site already has blocked drains or old pipe work, it is worth repairing those issues at the same time. Coastal humidity also means any standing water will speed up corrosion, so good fall and quick runoff are essential. We also check where maintenance access will be needed later, because a gutter no one can reach is trouble waiting to happen.
- Set the roof fall so water moves freely to the gutter.
- Use gutters sized for the full roof area.
- Fit downpipes where they can discharge safely.
- Keep the first service point accessible for cleaning.
Fixing the canopy to the structure safely
The fixing method depends on whether the canopy is attached to masonry, reinforced concrete or a separate steel frame. The wall or support structure must be checked before installation, because not every wall can carry the same load. In windy parts of the southern Cape, fixings need to handle uplift as well as downward load, and the connection detail should suit the building’s existing structure. A good fixing layout spreads the load properly instead of concentrating it at one or two points.
Where the canopy sits over a loading zone, the support arrangement must also allow for impact, vibration and regular use. If the building is older, a maintenance inspection first can save a lot of expense later. We look for cracks, loose mortar, corroded anchors and signs that the wall has moved over time. If the site has existing leakage, those points need to be sealed properly, otherwise new work can mask an old problem for only a short while.
For steel canopies, the frame, purlins and cladding should all work together. Correct spacing, clean welds and proper edge details matter just as much as the sheet thickness. A neat canopy that is poorly fixed will not last through a few bad storms.
Cladding and finish choices for coastal business sites
Cladding should suit the exposure level of the site. In Mossel Bay, Hartenbos and the coastal strip, salt air can mark and corrode exposed metal faster than inland areas. That means the finish, cut edges and flashings all deserve attention. If the canopy is visible from the road, colour matching to the building can help the front of the property look orderly, but finish should never come before performance.
For loading bays, choose a surface that sheds water cleanly and is easy to wash down. For public entrances, consider how the canopy ties into the wall cladding and signage so the detail does not trap dirt or water. Flashings around the wall line must be made to suit the actual wall profile on site, not forced into place. A good overlap and clean seal keep wind driven rain from finding its way behind the canopy.
It is also worth planning how the canopy will age. On busy sites, a finish that is easy to inspect and maintain often serves better than a decorative choice that needs constant touch ups. Minor scratches should be sealed quickly, especially near the coast where rust can start fast.
Steps before work starts on site
Once the concept is right, the job still needs a clear sequence. A practical install starts with measuring, then workshop preparation, then fixing and final sealing. This avoids rushed decisions once the canopy is already on the wall. Business owners should also check whether the municipality needs approval for the structure, signage integration or stormwater changes. Even where approval is straightforward, it is better to confirm early than to deal with delays later.
For active premises, think through trading hours, delivery times and access for staff. A canopy over an entrance may require temporary route changes, and a loading canopy may need work to happen after hours or in stages. If the site depends on power tools or security systems, load-shedding planning matters too. Temporary lighting and access control should be arranged before any old roof or flashing is removed.
- Confirm the use, span and fixing points on site.
- Check drainage routes and stormwater discharge.
- Review municipal requirements where needed.
- Plan access, safety barriers and after-hours work.
- Schedule final sealing and inspection after installation.
What to check after installation
After the canopy is up, do not stop at a quick look from the ground. Check that the gutters hold water without overfilling, the flashings sit tight against the wall and all fixings are secure. During the first good rain, walk the site and watch where water runs. A small drip at the front edge or a splash onto the threshold can often be corrected immediately if it is noticed early. Left alone, it becomes a wet floor or rust stain.
Good canopy work should be easy to maintain. Plan for cleaning of gutters, inspection of sealant and a yearly check of any exposed steel. On coastal business sites, this simple routine helps the structure last much longer. If a canopy starts to show movement, noise in the wind or staining at the wall, it needs attention sooner rather than later.
For business entrances and loading bays in the southern Cape, the best canopy is one that fits the site properly and handles weather without fuss. That is what keeps operations moving when the rain comes in sideways and the wind does not want to let up.