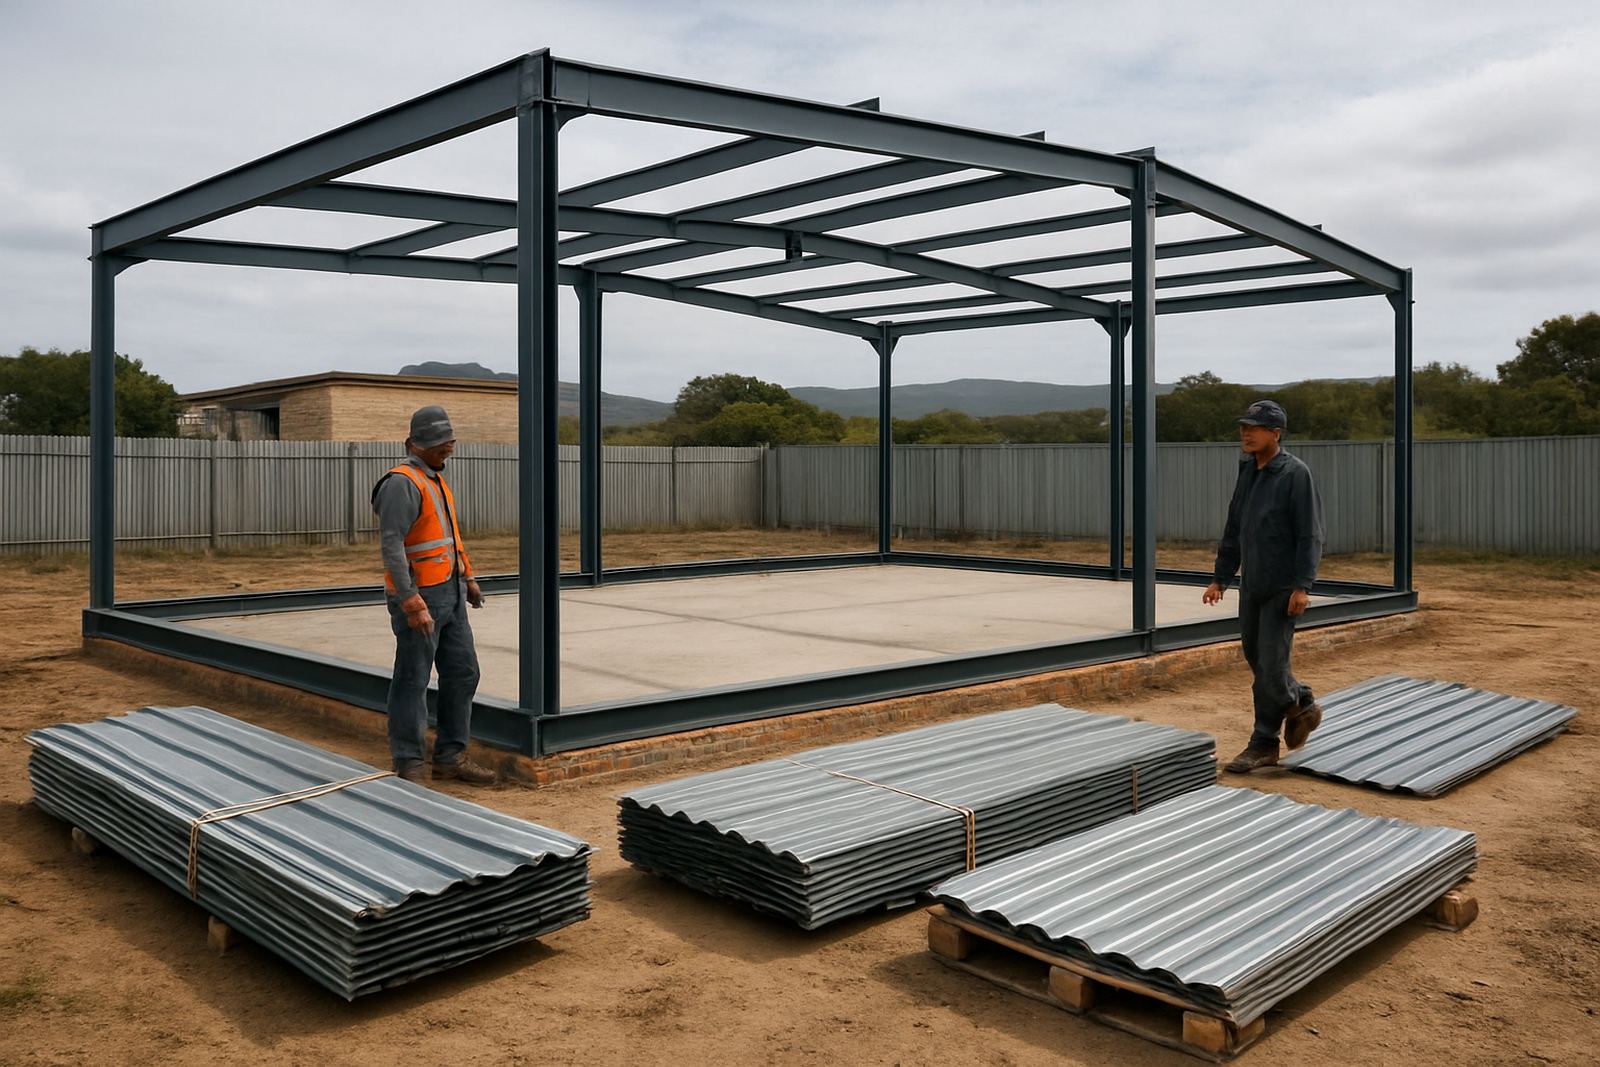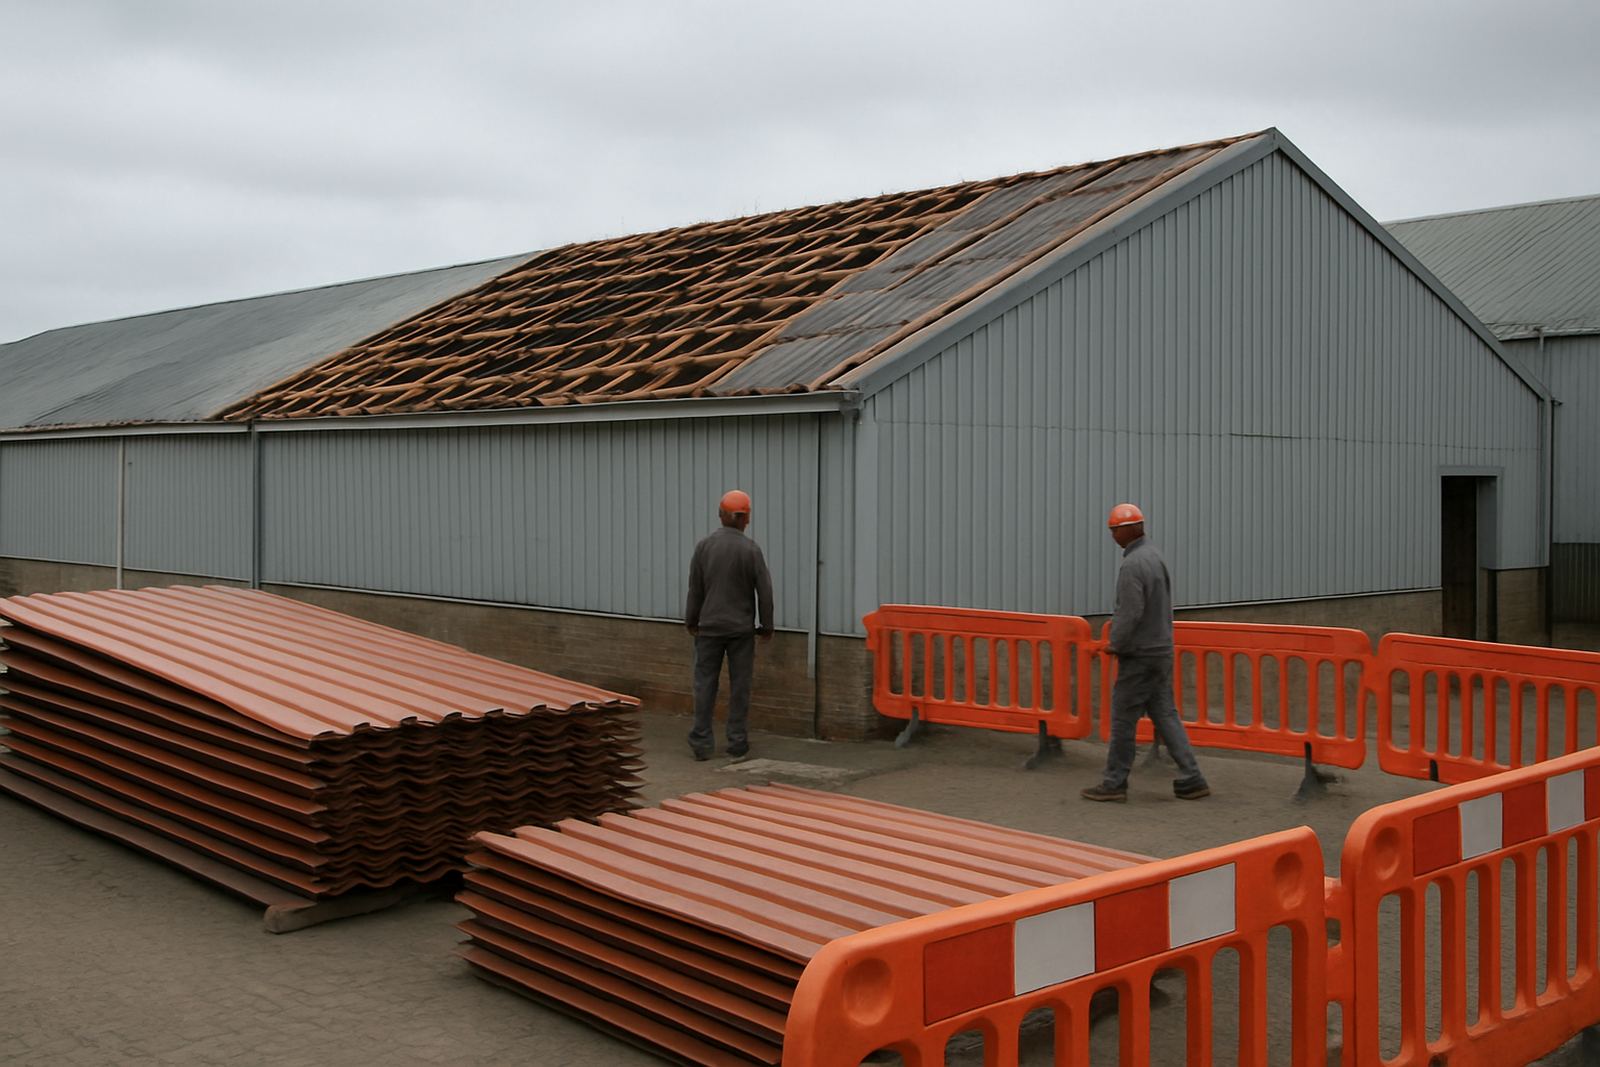

What flashing does on a roof or wall
Flashing is the shaped sheet metal that closes gaps where two surfaces meet. You find it around roof-to-wall joins, chimneys, parapets, valleys, penetrations and changes in roof pitch. If the shape is wrong, or the piece is too short, water finds its way behind the cladding and into ceilings, insulation and timber.
On coastal sites such as Hartenbos, Great Brak River and Wilderness, flashing also has to stand up to salt moisture and strong wind. That means good cover, correct overlaps and fixings that wont loosen after a few seasons. A neat flashing is not only about looks, it is about keeping the building dry and making maintenance easier later on.
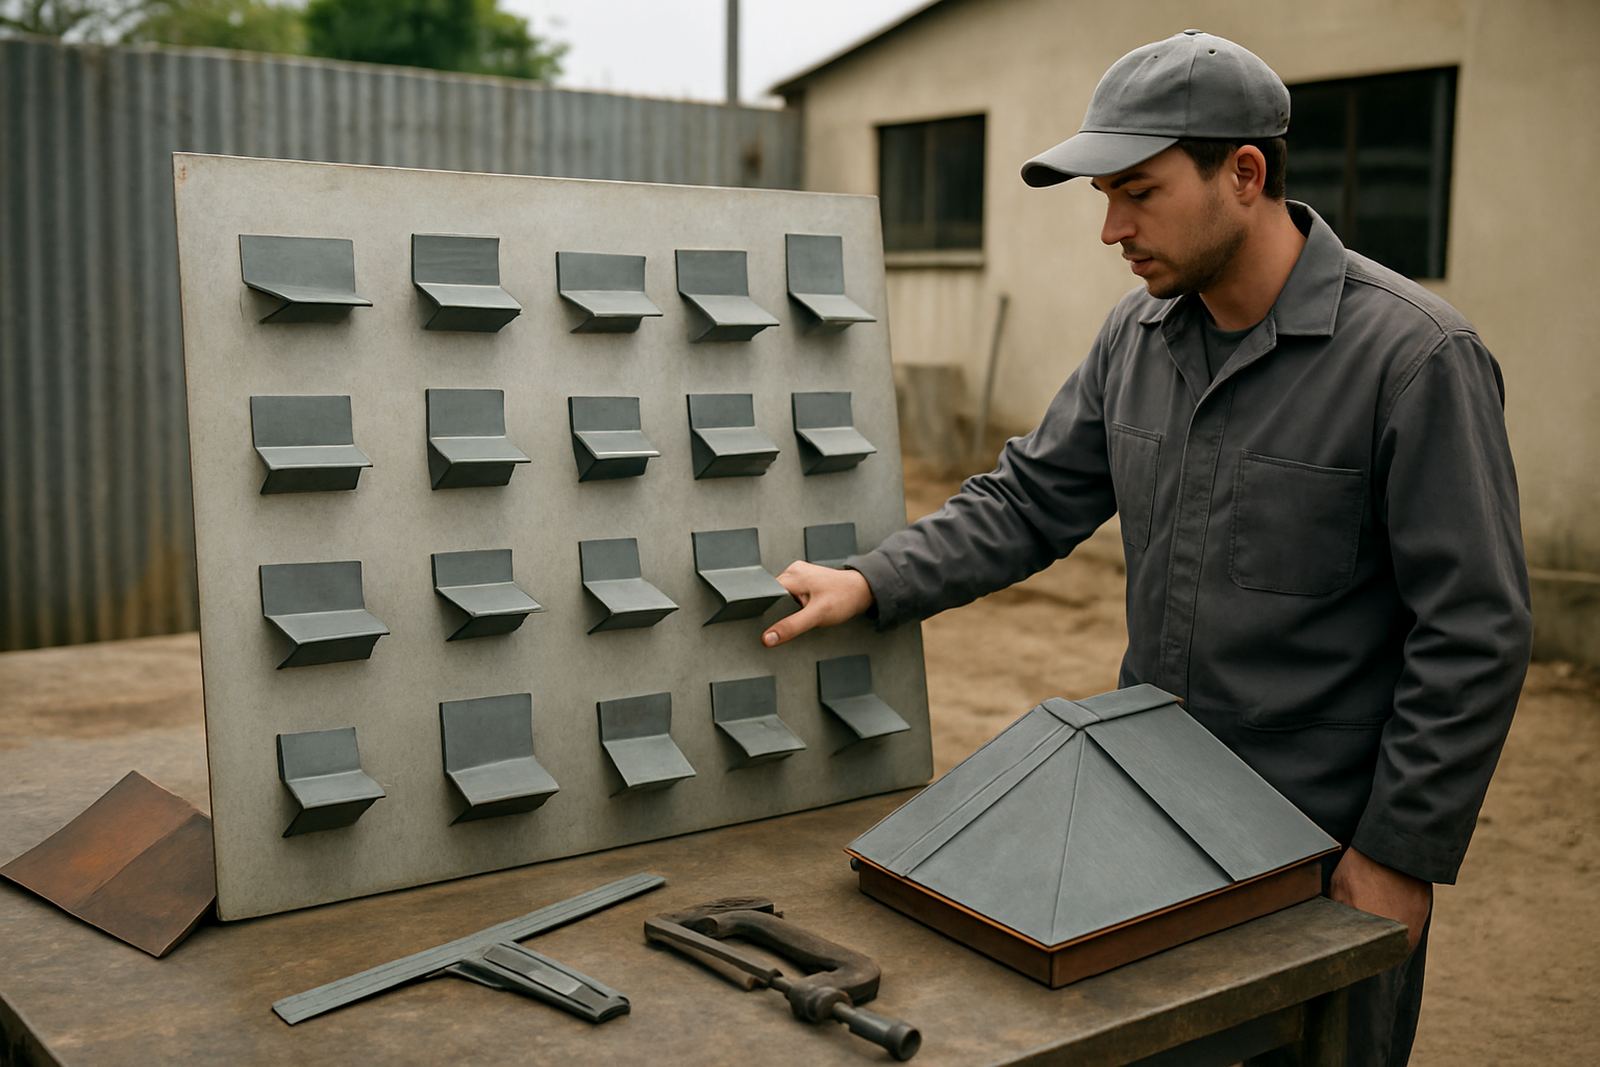
Choose the right flashing type for the joint
Different joints need different flashings. A valley flashing carries heavy runoff, while a cover flashing seals a vertical wall line. Apron flashings sit where a roof meets a wall lower down, and counter flashings work with masonry or rendered walls to stop water getting in behind the main piece.
- Apron flashing: use where a sloping roof meets a wall below it.
- Cover flashing: good for wall tops, parapets and cladding edges.
- Valley flashing: fitted where two roof slopes meet and water concentrates.
- Apron and counter set: best where the wall finish needs a second layer of protection.
- Penetration flashing: for pipes, vents and similar roof openings.
A common mistake is trying to make one profile do every job. That saves time on the day, but leads to patchwork repairs later. Match the flashing to the route the water will take, not just the shape you can bend quickest.
Material and thickness: what works near the coast
Material choice matters in Mossel Bay because of sea air, fast-changing weather and the extra wear on fixings. For most sheet metal work, a coated steel flashing is used when properly protected and installed. In more exposed areas, or where long service life is important, thicker gauge material and suitable corrosion protection should be specified.
Thickness should suit the span and the duty of the piece. Small cover flashings on a wall top do not need the same build as a long valley or a wide apron that catches heavy rain. If the flashing is too thin it can oil-can in the wind, dent during maintenance or lift at the edges. Too thick, and it can become hard to form neatly around corners and joints.
- Check for coastal exposure, especially within a few kilometres of the sea.
- Allow for roof pitch and water volume in heavy storms.
- Use matching fasteners and sealants where specified.
- Keep dissimilar metals apart to reduce corrosion.
Steps for measuring before fabrication
Accurate site measuring is the first step before any flashing is cut or bent. Measure the actual opening, not only the plan dimension. Roof sheets, wall cladding and brickwork are never perfectly square on an older building, so every junction should be checked on site.
Allow for laps, upstands, bends and fixings. A flashing that is exact on paper can come up short once the folds are added. On taller work or difficult roof lines, it helps to measure twice from the same reference point so the finished pieces line up cleanly.
- Confirm the roof pitch and direction of run-off.
- Measure the full length, then add allowance for laps.
- Note the wall finish, brick, plaster, fibre-cement or cladding.
- Record any vents, pipes, skylights or brackets in the area.
- Check access for safe installation and future maintenance.
If you are dealing with a leak repair, it is worth looking beyond the obvious wet spot. Water can travel along timbers or under sheets and show itself metres away from the true entry point. That is why a proper inspection saves time and avoids repeat call-backs.
Fixing details that keep the flashing in place
Good flashing can still fail if the fixing is poor. Fasteners should be set at the right centres, placed where they will be covered, and sealed where needed. Over-tightening can distort thin sheet and create small openings, while loose fixings leave the piece moving in wind. That movement is often the first sign of trouble.
Expansion and contraction matter too. Long runs need enough allowance so the metal can move with temperature changes. At junctions and corners, clean bends and proper laps help prevent water from tracking backwards under the piece. In areas with strong winds, edge treatment is especially important because uplift often starts at an open end or loose corner.
For gutters and roof edges, the flashing should work with the water path, not against it. A poorly directed edge can overflow into fascias, wall tops or carport frames. If the detailing looks awkward during installation, it usually means the water will feel the same way during the first storm.
A simple inspection checklist for owners and site managers
If you are responsible for a home, workshop or commercial roof in Mossel Bay, a quick inspection after heavy rain can catch small issues early. Do not wait for damp ceilings or rust stains. Walk the line of the roof and check the flashing from ground level where possible, then look closer if safe access is available.
- Look for lifted edges, dents or bent corners.
- Check for rust spots, staining or sealant breakdown.
- Watch for water marks on walls below roof-to-wall joins.
- Inspect valleys for trapped debris and slow drainage.
- Check gutters for overflow at end joints and outlets.
- Review any recent repairs after strong wind or load-shedding related maintenance work.
For buildings in George, Sedgefield and the surrounding southern Cape, regular checks before winter are a smart habit. A short inspection now can prevent more expensive repairs later, especially where coastal moisture and rain hit the same detail again and again.