
Why awkward roofs need on-site measuring, not just a tape measure
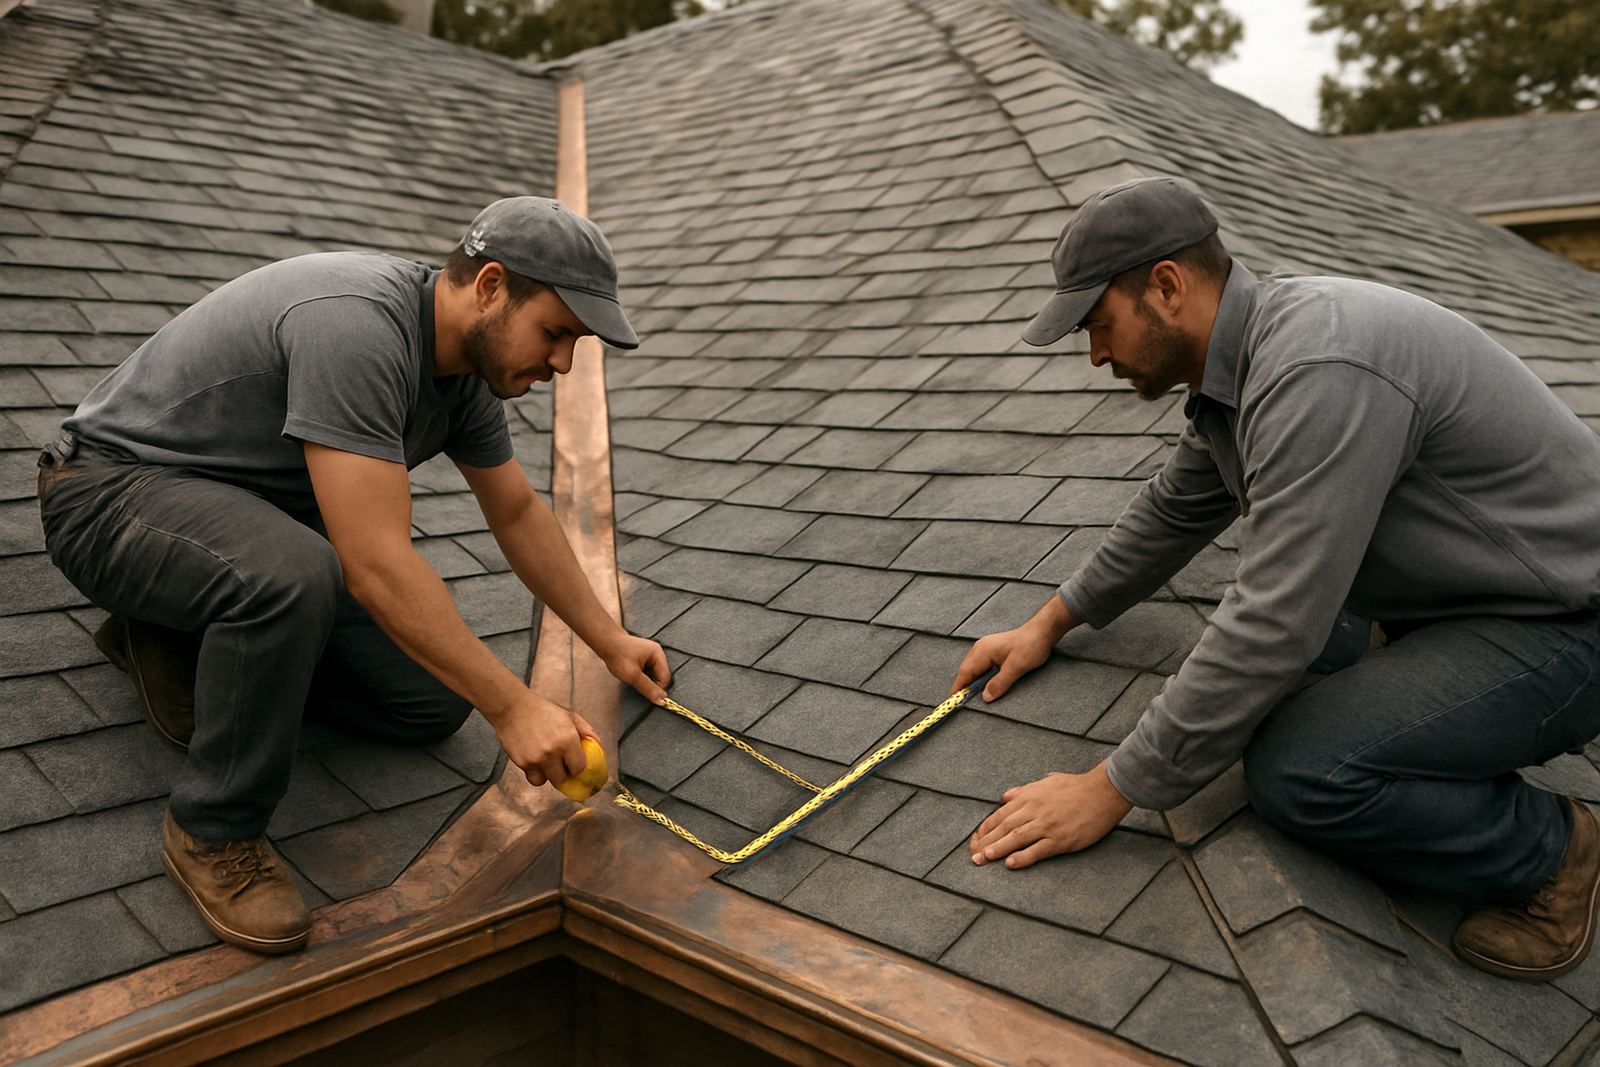
A simple straight roof is one thing. As soon as a home has bay windows, a hip at one end and a valley or two in the middle, the roof starts working against standard sizes. That is where measuring becomes a practical job, not just a paperwork step. If the profile, pitch and fixing points are not checked on site, the result is often a flashing that leaves a gap, a gutter that back-falls, or a sheet that has to be cut again after delivery.
In Mossel Bay and nearby towns, roof shapes are often changed over time. An old veranda gets enclosed, a carport is added later, or a section is tied into an existing roofline with mixed slopes. Those changes create odd angles and short return pieces that must be measured face to face. A rough sketch is useful, but it cannot replace a site visit with proper dimensions, levels and offsets.
- Measure the actual opening, not just the wall length.
- Check pitch changes where two roof planes meet.
- Confirm where water will run before cutting gutter lines.
Bay windows and returns: the places that catch people out
Bay windows are one of the biggest traps because they rarely sit square to the rest of the wall. The front face might look level, while the side returns pull the flashing into a shallow angle that changes from one end to the other. If the angle is taken from a drawing only, the sheet metal can land too short on one return and too long on the next.
The same problem shows up where a roof turns around a feature wall or a chimney breast. You need to allow for the full fold sequence, the fixing lap, and the way water moves at the corners. A corner that looks neat dry can become a leak path once the first coastal rain and wind comes through. On the ground you also have to check if the masonry is straight, because many older walls are a few millimetres out and that adds up fast over a long flashing.
- Take measurements at more than one point along the return.
- Allow for a small tolerance where walls are not plumb.
- Mark the high and low points so the fold follows the water flow.
Hips, valleys and mixed roof lines need a full water path check
Hipped roofs and mixed roof lines look tidy from the street, but they are busy at the junctions. Every valley collects more water than a straight run, and every hip changes the direction of flow. That means the measuring team has to think about more than sheet length. They must work out where the water starts, where it slows down and where it should leave the roof without overshooting the gutter.
This matters even more in places like Hartenbos, Great Brak River and George where storms can arrive fast. A roof that is fine in still weather can show up problems when wind pushes the rain sideways. If the gutter set-out is too close to the roof edge or the apron flashing is too short, water can track back onto the wall. Good measuring looks at the roof as a system, not as separate pieces.
For mixed roof lines, each section should be checked on its own before the final take-off is done. A low pitch on one side may need a different lap than the steeper side. If that is missed, the installer ends up forcing parts to fit and that is where leaks start.
Gutters and flashings around odd shapes must be set out together
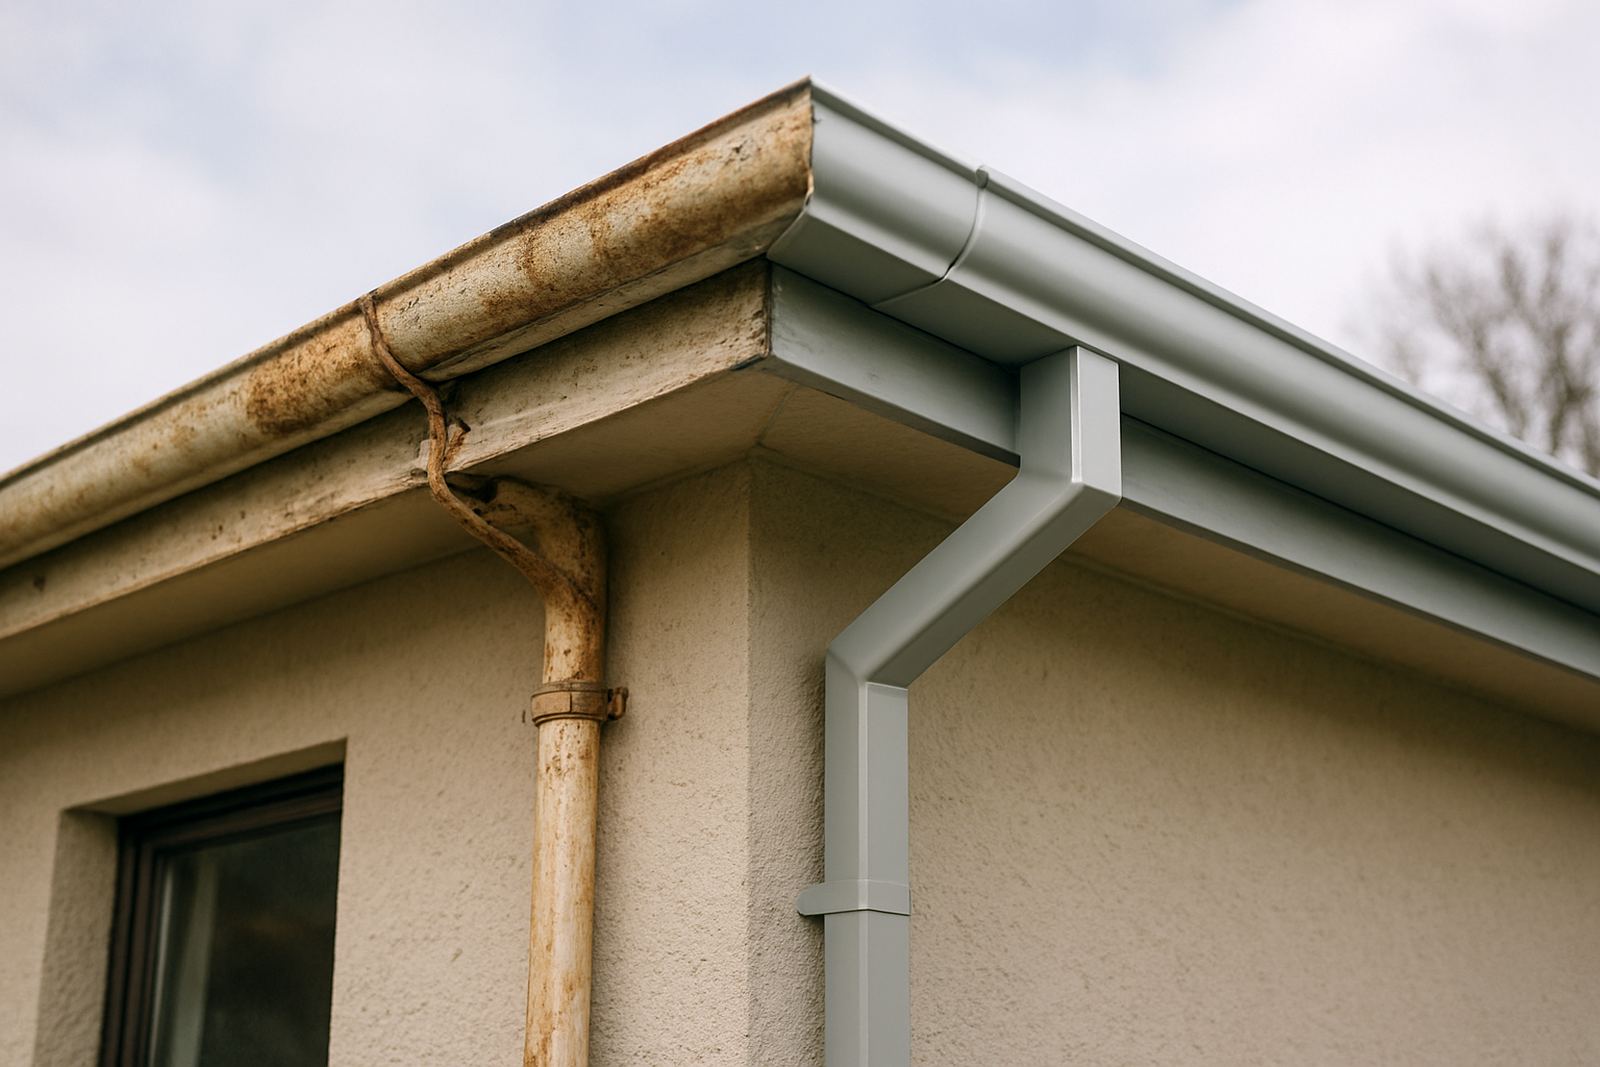
On awkward roofs, the gutter and flashing lines should be measured together. Many roof problems come from treating them as separate jobs. A flashing can be perfect on the sheet line but still dump water behind the gutter if the fascia height changes. Likewise, a gutter can be placed neatly and still overflow if the roof edge or drip edge was not measured properly.
At J&E Sheet Metal the practical approach is to measure the roof, the wall, the fascia and the drainage fall as one layout. That includes downpipe positions, overhangs, and the places where a short return has to be formed around a corner. In coastal areas like Mossel Bay, salt air and strong wind make a neat fit more important because small gaps wear quicker. If the measurement is right from the start, the finished work lasts longer and needs less patching later on.
- Check fascia height before fabricating gutter lengths.
- Confirm downpipe positions so water is not forced across a walkway.
- Measure around corners for return pieces, not just the straight run.
What a proper site measure should pick up before fabrication starts
A proper site measure should leave nothing to guesswork. It should record roof pitch, ridge heights, eave overhangs, wall offsets, and the exact profile of the sheet or flashing needed. It should also note access, because a roof that looks easy from the driveway may need longer sections passed through a narrow side yard or around an enclosed courtyard. That affects how parts are fabricated and how they are delivered.
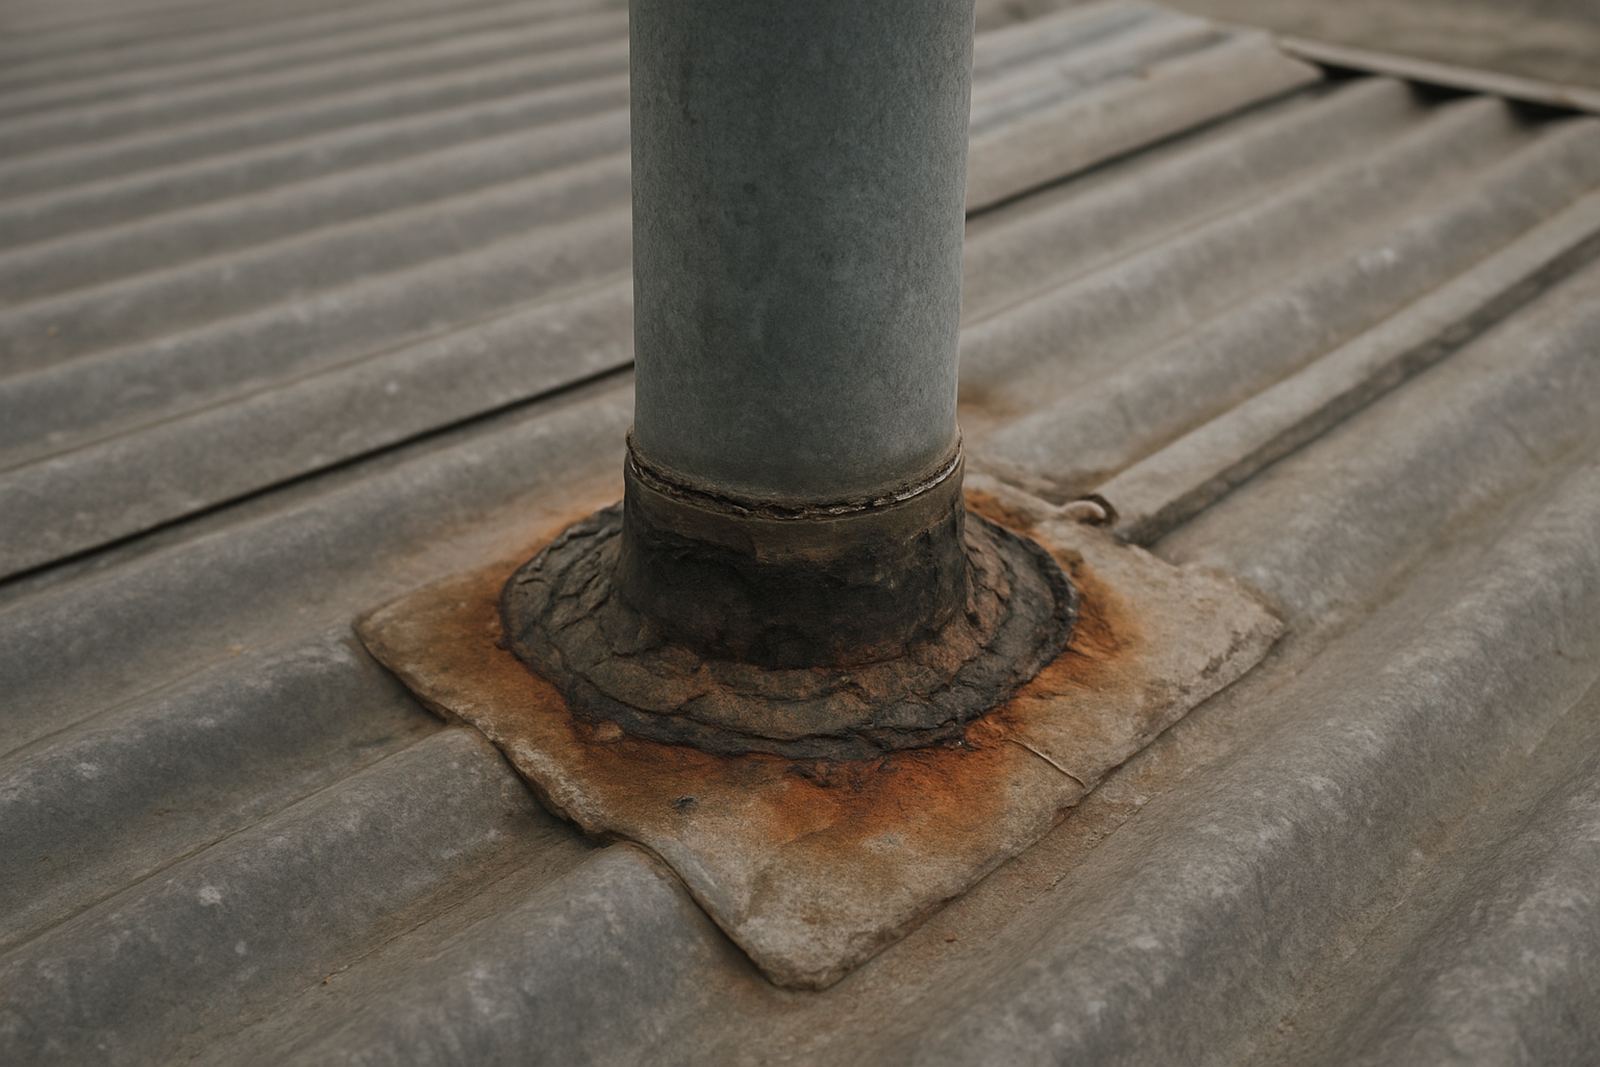
It also helps to inspect existing damage while the team is there. Rust at a valley, loose fixings on the ridge, or a gutter with old sealant can change the final measurement. If a section is already twisted or sagging, the new part must be measured to suit the real line, not the line the roof should have had. That is why experienced measuring saves time later. You avoid rework, wasted sheet and extra call-outs.
- Roof pitch and height differences.
- Any bowed or damaged existing sections.
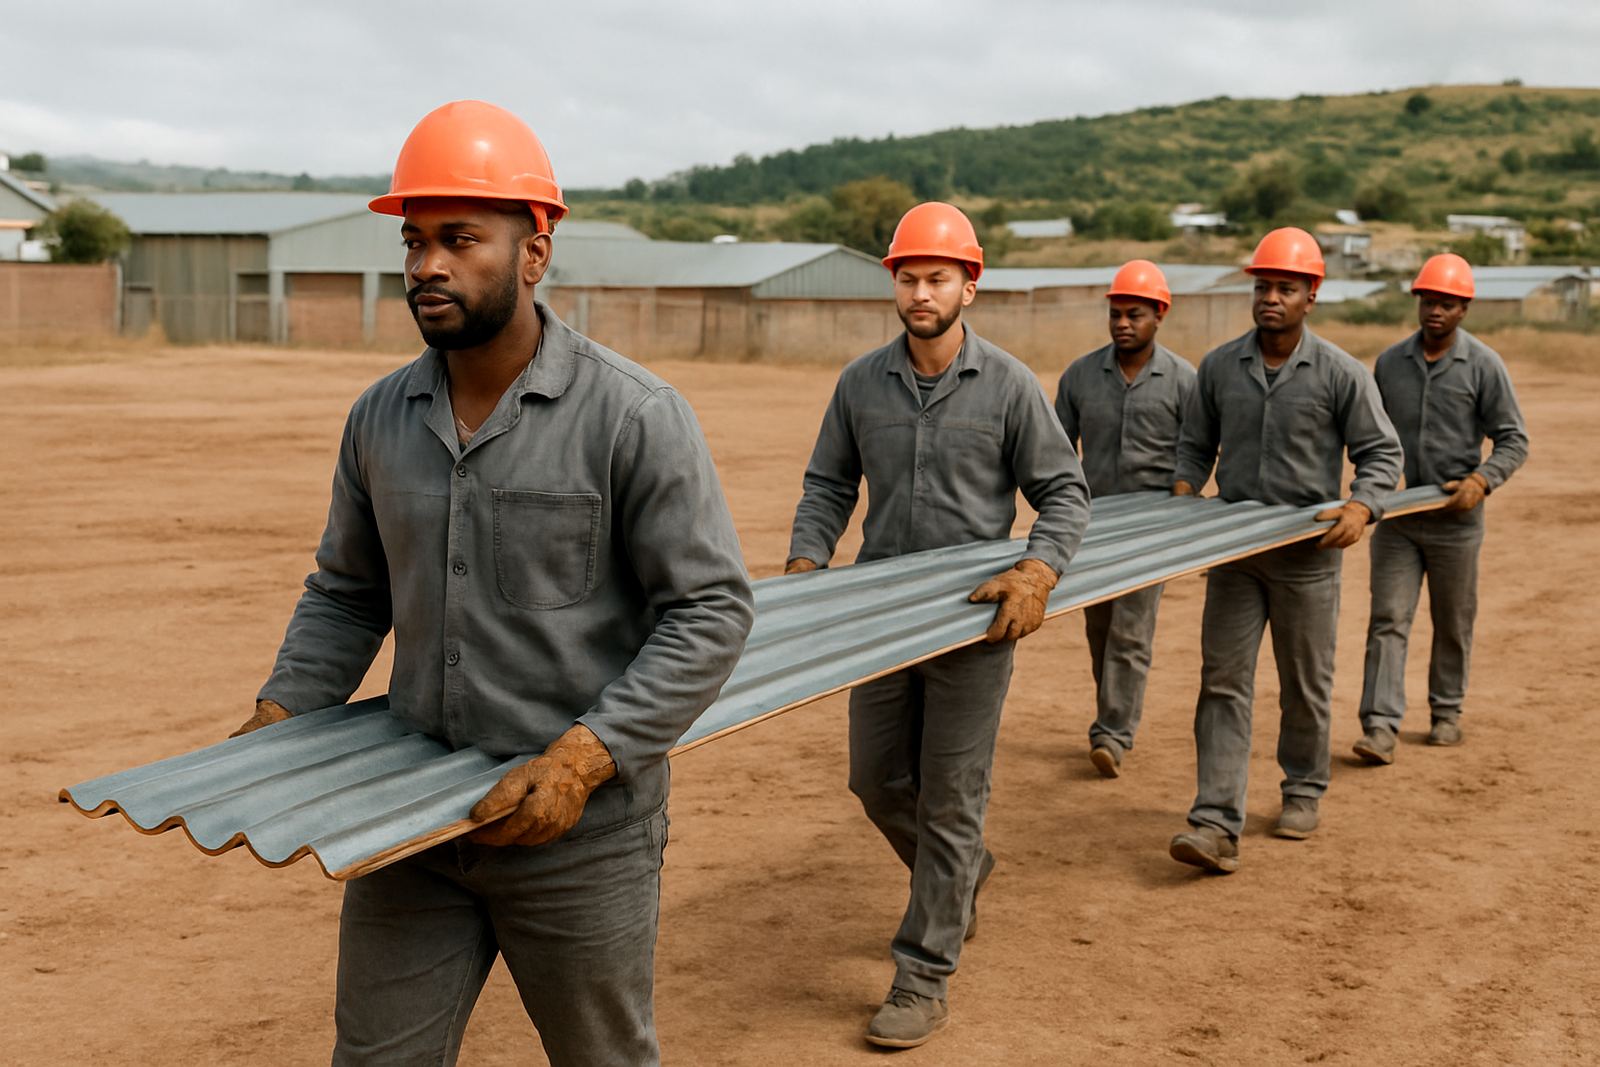
- Access for lifting long lengths safely.
A Mossel Bay example: one roof, three angles and no room for error
Consider a home in Gouriqua Park with a bay window facing the street, a hip on one side and a later carport tie-in at the back. From the ground it may look like a simple house, but once you start measuring you find three different angles and two runoff directions. The front flashing has to wrap the bay window neatly, the side run has to meet the hip without forcing the sheet, and the rear tie-in must guide water into the gutter instead of behind it.
That is the kind of job where careful site measuring makes the difference between a clean finish and a repair list. It also shows why local knowledge matters. Mossel Bay wind can push rain into corners that seem protected, and coastal humidity can expose bad laps quicker than inland conditions. Measure properly, fabricate to the real dimensions and the roof settles into place without drama.
For builders, body corporates and homeowners in Mossel Bay, Hartenbos, George, Wilderness and Sedgefield, the lesson is the same: when the roof line gets awkward, the measuring has to get more precise. It is the only way to keep the job tidy and reduce call-backs after the first hard weather.