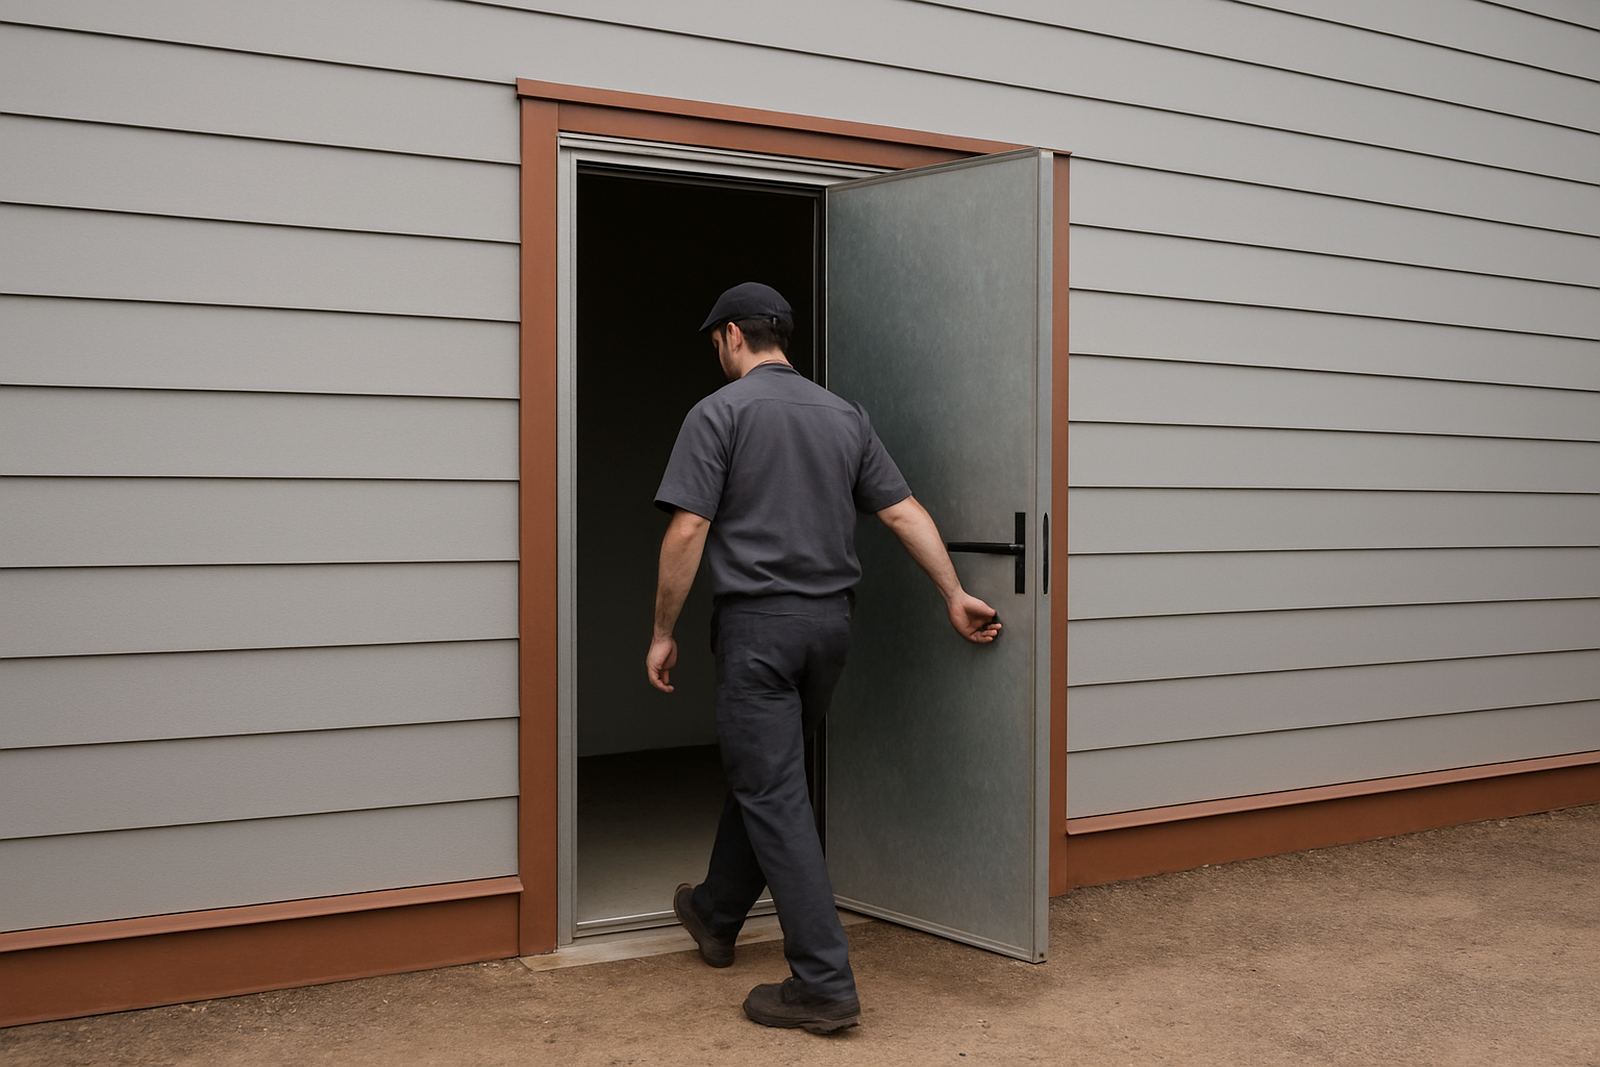

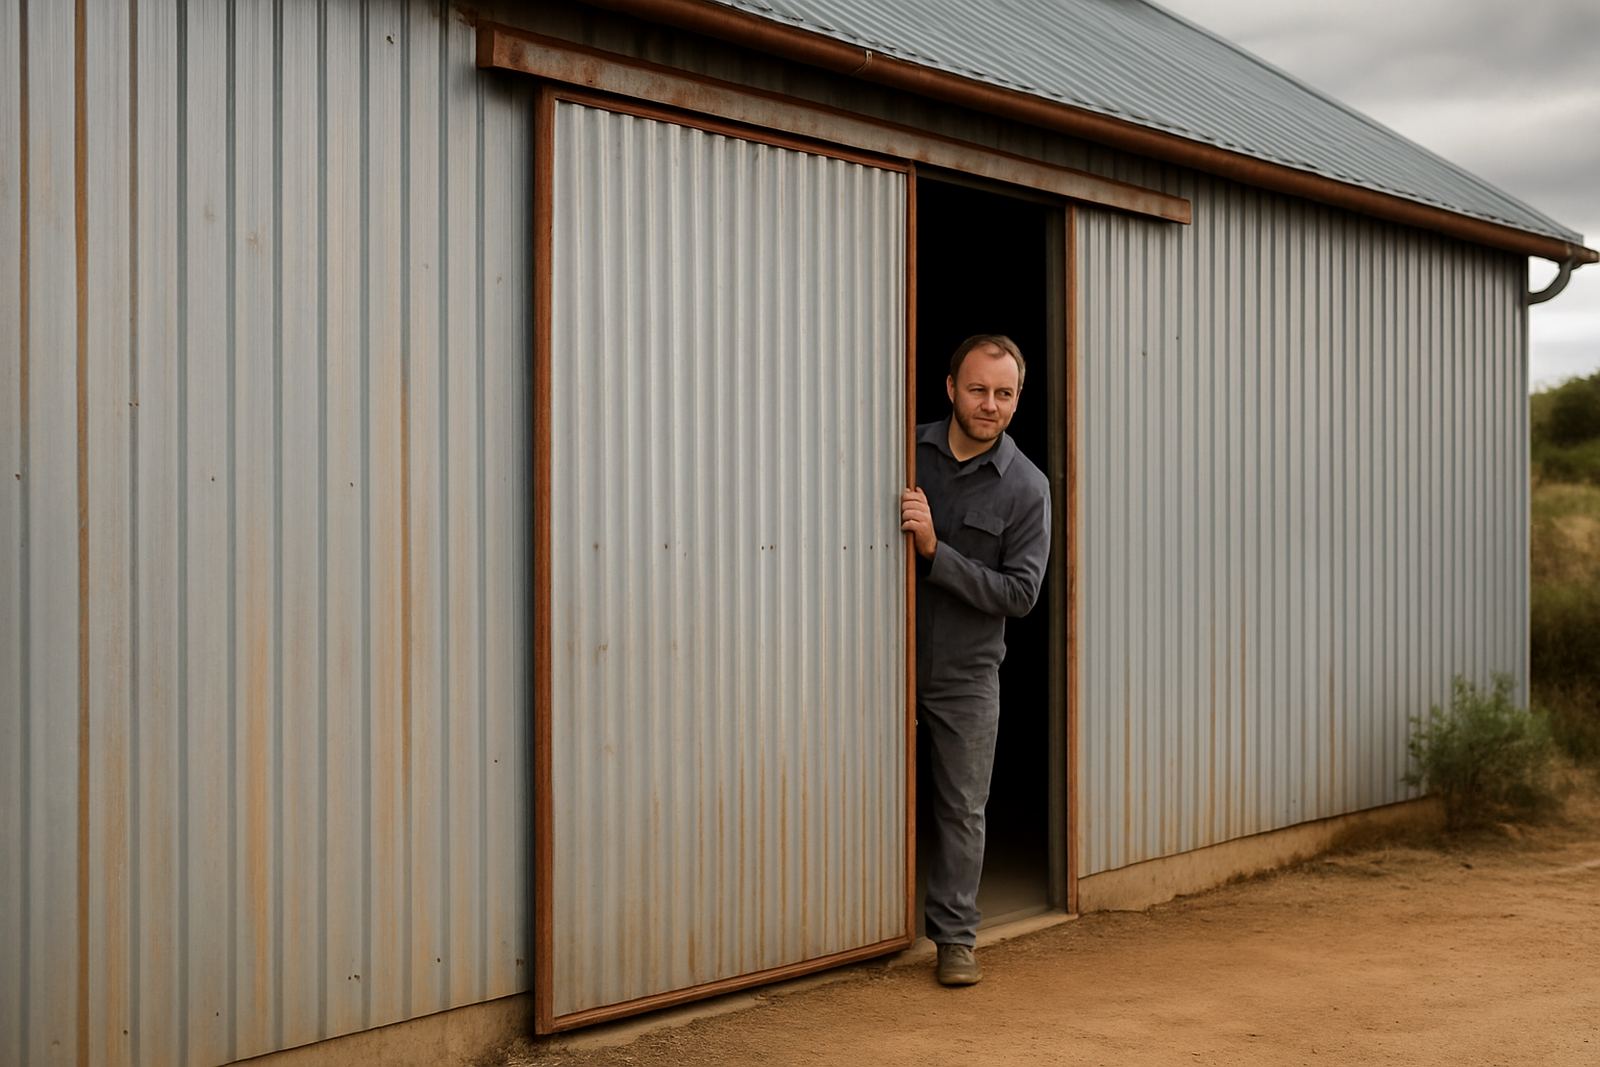
Why shed doors leak before the rest of the building
On many utility sheds, the door opening gets less attention than the roof sheets and wall cladding. That is where trouble starts. Water does not need a wide gap, only a small path at the top of the door, along the side reveal, or under the bottom edge where the threshold was never set properly.
In Mossel Bay and the nearby coastal towns, the problem is made worse by wind that pushes rain sideways. Salt air also works on fixings and mild steel edges, so a neat opening can still start leaking after only a few seasons if the weathering detail was rushed. We often find that the sheet around the opening is fine, but the door head flashing is too short or the threshold has settled and left a gap.
- Top leaks usually show as damp streaks on the inside face above the door.
- Side leaks often appear after one hard storm, then come and go.
- Bottom leaks are common where concrete slabs are uneven or cracked.
What a proper head flashing should do
A head flashing is not just a strip of metal above the door. It must direct water away from the opening and into the roof or wall drainage path. On a shed, that usually means a formed piece with enough overlap, a drip edge, and side returns that stop water from tracking back behind the cladding. If the top sheet ends short, the flashing has to do all the work and it will fail sooner.
The best detail depends on the shed type, but the aim is always the same: keep water moving forward and out. We measure the opening, check the pitch above it, and decide whether the flashing needs an upstand, side ears, or a return under the top sheet. On a gable or lean-to shed, a small mistake in angle can send water straight back toward the door instead of away from it.
Good flashings also allow for movement. Steel structures move a bit in heat and wind, so the fixing pattern matters. Over-tightened screws can distort the metal and leave a path for leaks later on.
Thresholds that stop splash-back and ponding
The bottom of the opening is just as important as the top. A threshold should shed water, not hold it. If the slab slopes back into the shed, if the door rail sits too low, or if the ground outside collects water, then rain can blow in and sit there. Once that happens, you get rust on the bottom rail, swollen timber on framed doors, and damp stored inside.
For utility sheds used for tools, feed, gas bottles, or small workshop items, we normally look at three things: the finished floor level, the door clearance, and where the water will run after a storm. In some cases a small metal sill or threshold plate is enough. In others, the concrete needs a local build-up or the door detail must be lifted and refitted.
- Check for ponding after a proper rain, not just a light shower.
- Leave enough clearance for the door to open without scraping.
- Keep the threshold high enough to block splash-back but not so high that it becomes a trip point.
Local conditions around Mossel Bay change the detail
A door detail that works inland can fail near the coast. Around Gouriqua Park, Hartenbos and Great Brak River, the combination of salt air, wind and driving rain means flashings need better coverage and cleaner sealing. On exposed sites, we often see water pushed up under a flashing that would be fine in calmer weather.
That is why site measuring matters. The opening width, the wall height, the roof overhang and the direction of the prevailing wind all play a part. A shed facing the wrong way may need a deeper head flashing or a different side return to cope with the weather. It is not complicated work, but it must be planned with the site in mind or you end up redoing the same repair after the next storm.
We also see extra wear where sheds are used daily for farming, maintenance or storage. Doors get banged open, threshold edges chip, and sealants wear faster than expected. A small repair now is usually cheaper than replacing damp lining, rusted sheets and damaged stock later on.
Common mistakes that lead to recurring leaks
Most recurring shed door leaks come down to the same few errors. The opening was not measured properly, the flashing was too short, or the threshold was fitted after the concrete had already cracked. Sometimes the issue is not the flashing at all, but a roof sheet termination that leaves the top edge exposed.
Another common mistake is relying on sealant alone. Sealant can help, but it should support a sound metal detail, not replace it. In our work across the southern Cape, we also see repairs where the door was widened later and the original weathering was never adjusted. That leaves exposed fasteners and a weak spot right where rain can enter.
- Short flashings with no side returns.
- Gaps left after later door changes or repairs.
- Thresholds cast level with the outside ground.
- Fixings placed where water can sit around the washer.
How we approach shed door weathering jobs
We start with a site measuring and a close look at the whole opening, not just the leak point. Then we check whether the door head flashing, threshold, cladding and nearby roof sheet all work together. If the existing metal can be saved, we repair it. If not, we fabricate a new piece to suit the opening and the site conditions.
For many sheds, the work includes custom flashings, gutter checks above the doorway, small repairs to wall cladding, or a modified threshold detail. On steel-framed sheds, we also check whether movement in the frame is contributing to the leak. In some cases a simple maintenance inspection picks up the issue before it becomes a bigger problem.
Our team works from Gouriqua Park in Mossel Bay and covers the surrounding towns, including George, Wilderness and Sedgefield. Whether it is a single utility shed or a small row of storerooms, the aim is the same: keep the opening dry enough for practical use, with detailing that suits the coastal weather and the way the shed is used day to day. That saves time and keeps repairs from becoming a repeat job.