
A Heiderand home with stormwater trouble
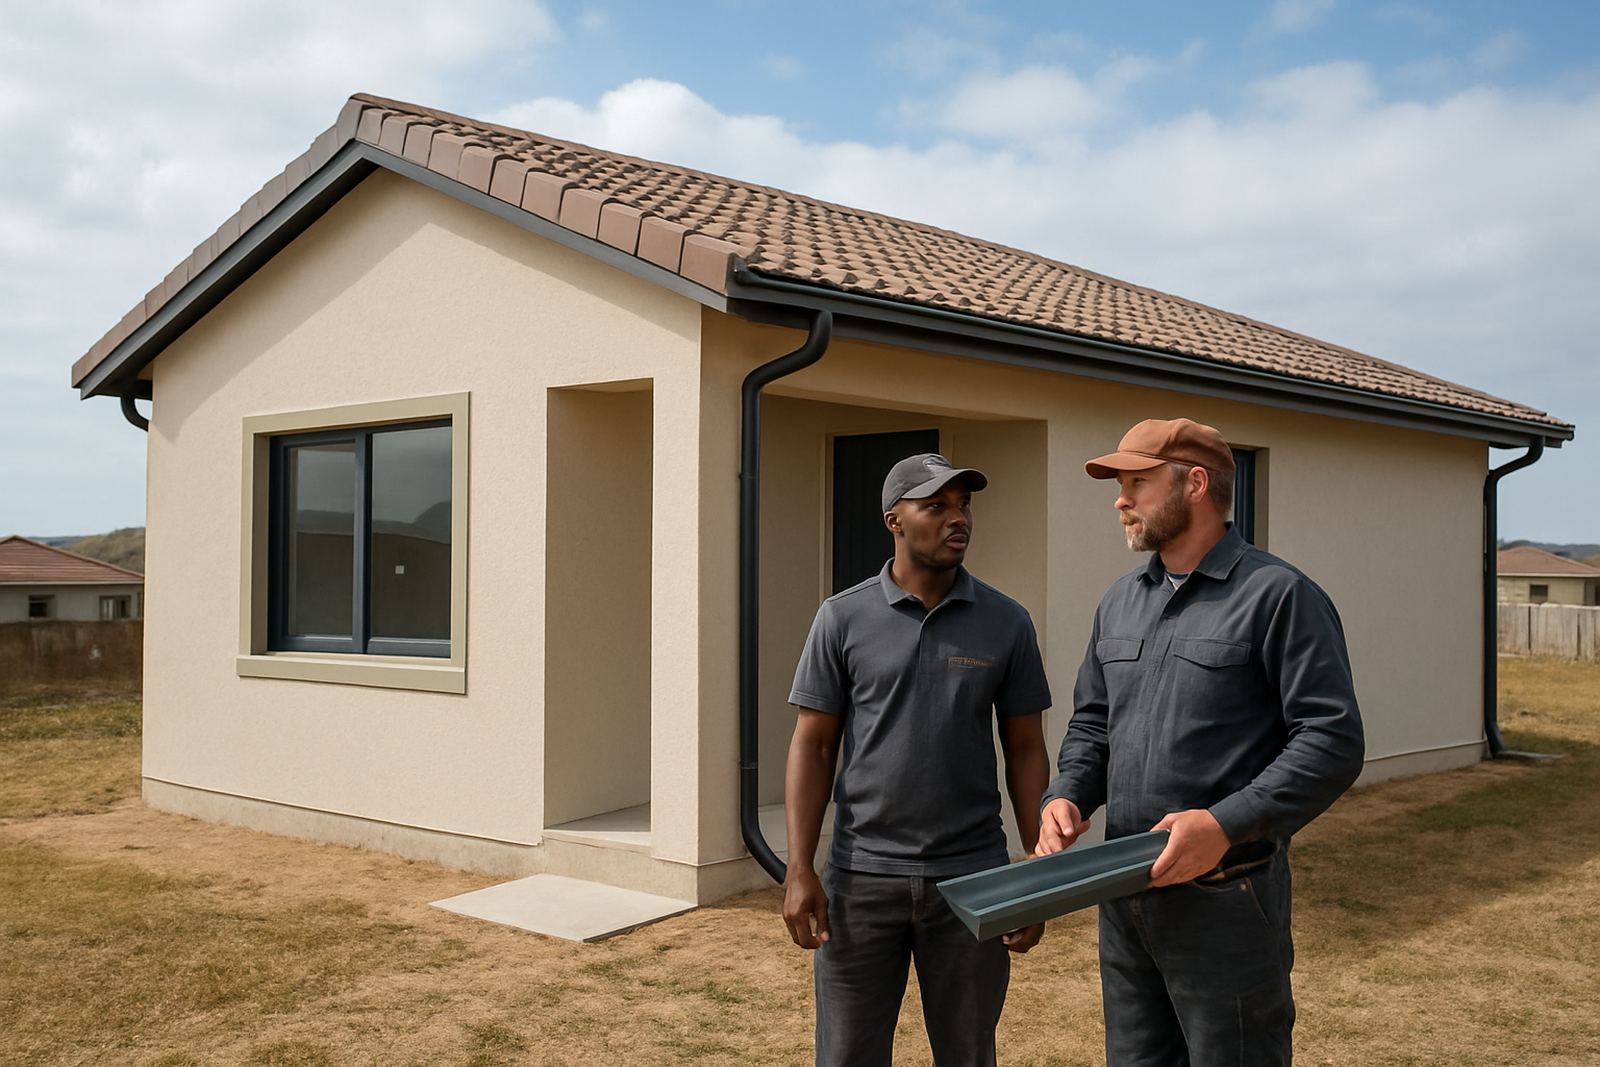
The property was a family home in Heiderand, Mossel Bay, with rainwater spilling over the old gutters during heavy downpours. The client needed a proper fix before the next storm season, not another patch or quick clean out. Water was backing up at the eaves and the existing drainage could not keep up with the roof area.
Heiderand sits close enough to the sea for salt in the air to take its toll on sheet metal fittings, and that showed on the old system. There was corrosion at the joints, sagging in places and a few downpipes that were no longer carrying water away fast enough. Our brief was clear: remove the failed parts, fit new fascia gutters and downpipes, and make sure stormwater was discharged away from the walls and paving. Small details matter on these jobs, because a gutter that is out by just a few millimetres can start holding water and staining fascias.
- Property type: residential home
- Area: Heiderand, Mossel Bay
- Problem: overflow, leaks and poor downpipe flow
- Goal: improve stormwater movement before winter rains
Measured to suit the roof line and fall
We started with site measuring and checked the roof edges, fascia lines and existing discharge points. On drainage work, the fall has to be right from end to end, otherwise water sits in low spots and the gutter becomes a tray. We measured the spans, checked where joints would land and set the downpipe positions so they would work with the property layout.
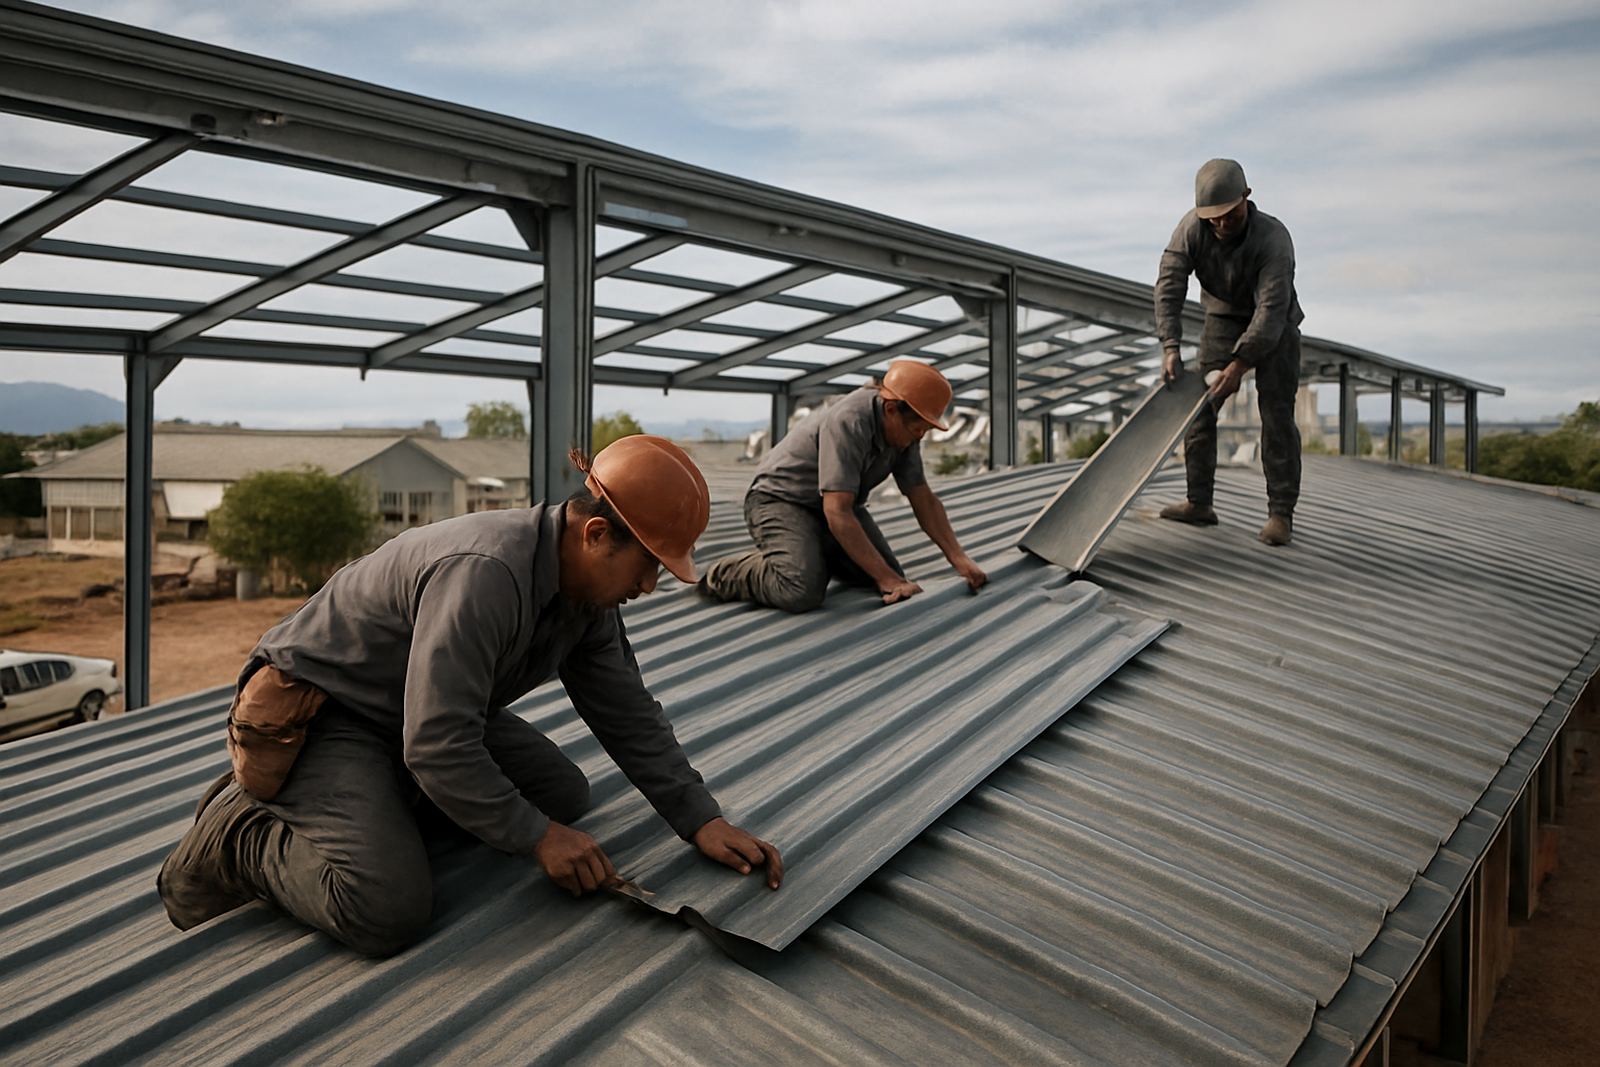
The site had a few practical constraints. There was limited space along one side passage, so access had to be planned carefully. The roof pitch and the edge detail also meant we had to allow for a clean connection at each change in direction. We worked around existing finishes and kept the work area tidy because the client still needed normal access around the house. The team coordinated the removal and replacement in a sequence that kept the roof edge protected while sections were being swapped over.
- Site measuring completed before fabrication
- Fall and discharge points checked against roof length
- Access planned for narrow side passages
- Roof edge protected during removals
What we supplied and installed
For this project we supplied replacement fascia gutters, new downpipes and the fixing accessories needed to tie the system back into the building. The gutters were fabricated to suit the measured runs, with attention to clean joints and enough capacity for Mossel Bay's heavier rain bursts. Where the old outlets had become unreliable, we replaced them so the water could move off the roof without pooling at the eaves.
The installation included new brackets, outlet connections and secure termination points at ground level. We also checked the discharge path so water would not pour back onto walkways or against the foundation. In coastal areas, it is worth using materials and fixings that can stand up to humid air and regular storm cycles. That saves repeat callouts later and keeps maintenance simple.
- Replacement fascia gutters fabricated to measured lengths
- New downpipes fitted at planned discharge points
- Brackets, outlets and connection fittings installed
- Water directed away from the walls and paving
How the job was carried through
The work took place over one week from first measurement to final checks, with fabrication and installation organised to avoid delays. Johan Petrus Botha oversaw the practical side of the job, while the workshop team prepared the gutter lengths and the site team handled the removal and fitting. That split keeps projects moving, especially when weather can change quickly along the southern Cape coast.
Once the old components were removed, we fixed the new gutters in sections and checked each run for line and fall before moving on. The downpipes were then connected and tested. We always do a water test on drainage work because a visual check alone can miss a slow-back flow or an outlet that is slightly off. The finished system was left ready for the first proper rain and the client was shown the key maintenance points, including clearing leaves and checking joints after heavy weather.
- Timeline: 1 week
- Workshop prep and site installation coordinated
- Water-tested after fitting
- Maintenance points explained to the client
What changed after the replacement
The main result was simple: stormwater now moves off the roof properly and does not spill over the fascia at the first heavy shower. That reduces the risk of damp walls, stained finishes and water tracking under paving. It also means the home is better prepared for the wet season, when drainage systems in coastal towns get tested hard.
For the client, the practical value is in fewer callouts and less worry when dark clouds roll in. The house now has a drainage setup that matches the roof area and the local conditions. If we were to do this type of job again in Heiderand or elsewhere in Mossel Bay, we would keep the same approach: measure carefully, plan the downpipe positions properly and allow enough capacity for sudden rain. On the coast, that is what stops small problems becoming expensive repairs.
- Better stormwater flow during heavy rain
- Reduced overflow at roof edges
- Less chance of damp and water staining
- Improved long-term maintenance outlook
What we would repeat on the next drainage job
For a project like this, we would follow the same sequence again: site measure first, confirm the fall, fabricate to the measured lengths and install with proper testing at the end. That approach keeps the job neat and avoids guesswork. It also gives the client a system that is practical to maintain, which matters when leaves, salt air and sudden rain all work against the building.
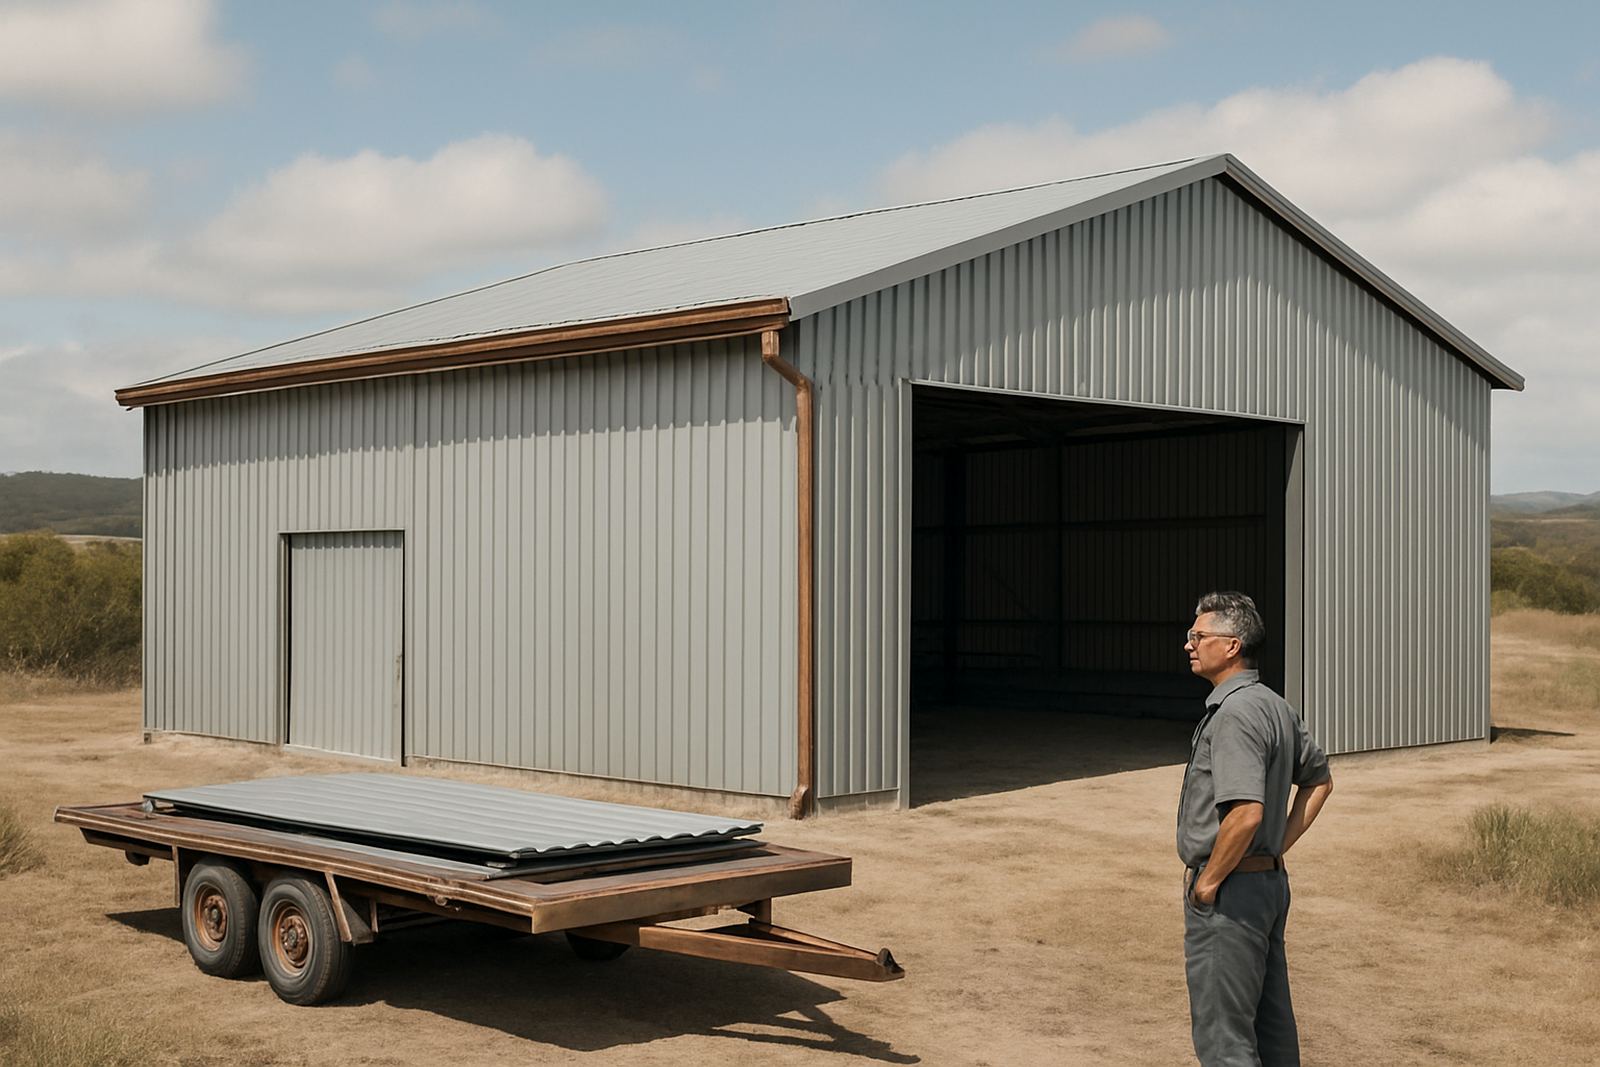
J&E Sheet Metal handles roof drainage, flashings, cladding and steel work across Mossel Bay, Hartenbos, Great Brak River, George, Wilderness and Sedgefield. Whether it is a home, a small business or a steel structure, we aim to fit the work to the site instead of forcing a one-size solution. For drainage in particular, the right answer is usually the one that keeps water moving, clear and away from the building.
- Measure first, fabricate second, install last
- Test water flow before handover
- Allow for coastal weather and maintenance access
- Keep discharge away from walls and footpaths
Key facts
| Project | Heiderand Roof Drainage |
|---|---|
| Location | Heiderand, Mossel Bay |
| Client type | Residential home |
| Scope | Replacement fascia gutters and downpipes |
| Timeline | 1 week |
| Services used | Site measuring, gutter fabrication, gutter replacement, maintenance inspection |