
What a flue flashing does on site
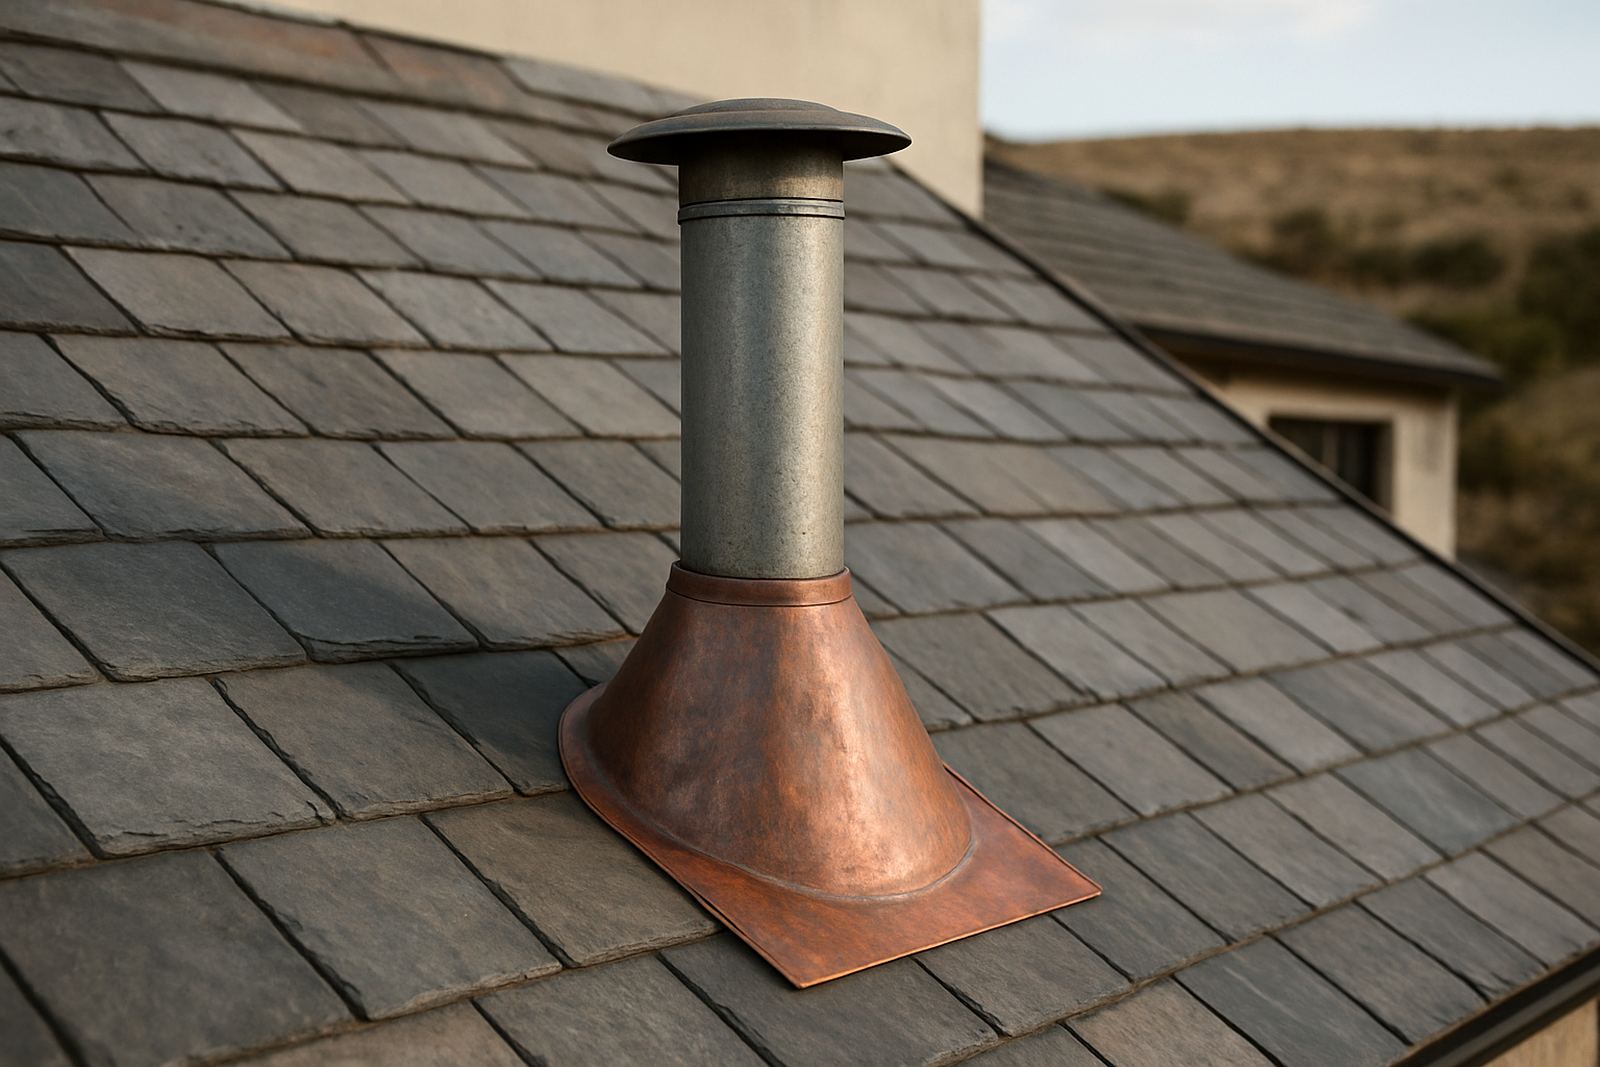
A flue flashing is the sheet-metal fitting that closes around a pipe or flue penetration and ties it into the roof covering. It is used on boilers, wood-burning stoves, gas heaters, extract flues and other vent outlets where a round or sometimes square opening passes through metal sheeting, tiles or cladding.
The main job is weather sealing. Water running down the roof should be directed away from the opening, while the collar around the pipe helps limit draughts, dust and insects. On coastal roofs, salt air and strong wind can work their way into small gaps, so the flashing must be shaped properly and fixed onto sound material. If the pipe moves or the roof sheet flexes, the flashing needs enough tolerance to cope without tearing.
- Used on new installations and roof repairs
- Suitable for round flue pipes and some boxed penetrations
- Can be made to suit corrugated, IBR and other sheeted roofs
- Helps reduce leaking around penetrations and service points
Sizes, shapes and finish options
Flue flashings are usually made to measure because pipe diameters and roof profiles vary from one job to the next. Common pipe sizes include 100 mm, 125 mm, 150 mm, 200 mm and larger, but the actual flashing size depends on the outside diameter of the flue and the type of cover plate or apron needed around it. For some jobs, a step-flashed arrangement or a two-piece fitting is better than a single fixed collar.
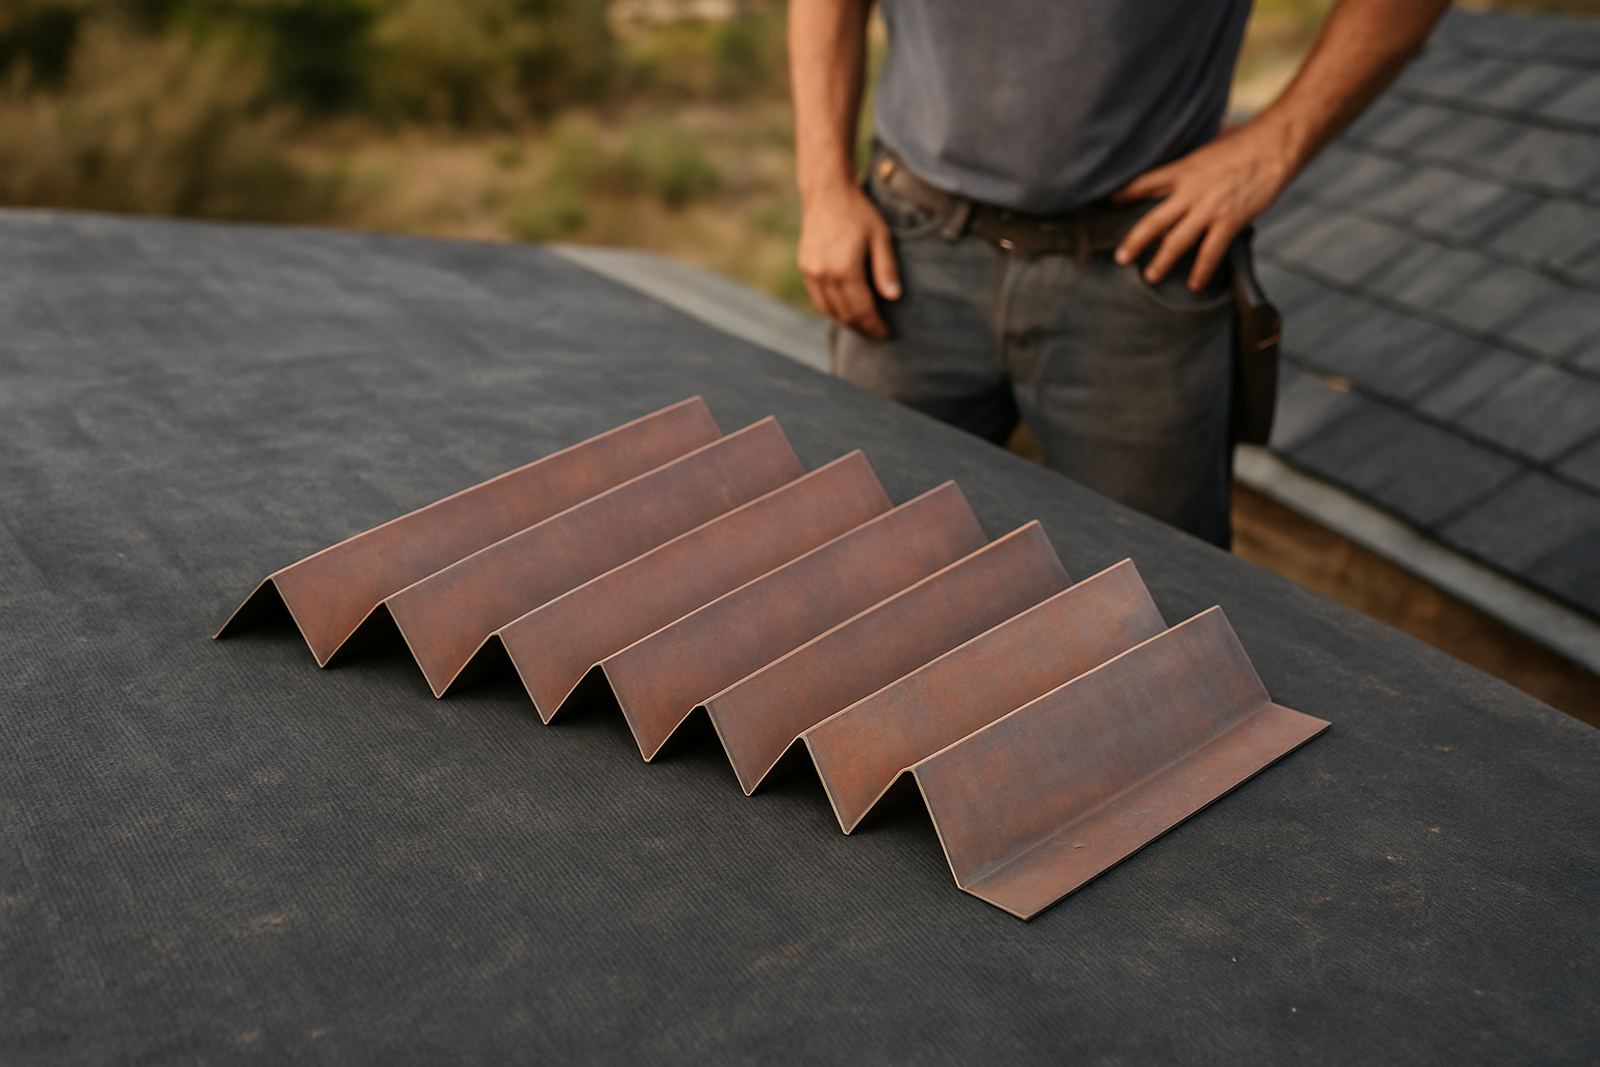
For sheeted roofs, the base can be formed to match the rib pattern so it sits flat and seals properly. On steeper roofs or where the penetration lands near a valley or ridge, the shape may need extra upstand height to keep water moving away from the opening. In high-wind areas around George, Wilderness and Sedgefield, a tighter fit and correct fixings matter as much as the metal thickness.
- Round, square and custom-shape options
- Base profiles matched to roof sheeting or cladding
- Choice of galvanised steel, stainless steel or coated sheet where suitable
- Flexible or fixed collars depending on pipe movement and heat exposure
Where flue flashings work best
These fittings suit homes, workshops, lodges, small factories and farm buildings where flues or vents must pass through the roof or wall. In Mossel Bay and Hartenbos, they are often used on coastal homes with metal roofs that need a neat finish around fireplace flues or solar geyser pipework. In George and Great Brak River, they are also common on commercial roofs where maintenance access and a tidy appearance both matter.
Flue flashings are especially useful where condensation, smoke or heat can affect nearby timber or insulation. A proper flashing supports the roof system by keeping the penetration dry and reducing the chance of rot, staining or corrosion around the opening. For buildings that run during load-shedding or use backup heating, a well-fitted flashing gives peace of mind when the unit is in regular use.
- Domestic fireplaces and slow-combustion stoves
- Boilers, geysers and small process vents
- Workshop extraction and service penetrations
- Cladded walls, lean-tos and canopy roofs
Installation points that affect the seal
Correct installation matters as much as the flashing itself. The roof opening must be measured carefully so the pipe passes through without forcing the collar out of shape. The base should sit on clean, dry material and the fixing pattern must hold the flashing down without distorting the sheet. If the roof pitch is steep, the installer should place the flashing so rain sheds naturally, not pools against the top edge.
Heat from the appliance also needs to be considered. Some flues run warm enough to affect sealants, rubber collars or nearby paint. Where that happens, the fitting must allow for expansion and safe clearance. If the unit is powered by gas or electricity, the service route and ventilation opening must still be kept clear, and any associated work should follow the appliance maker's instructions and local building requirements.
- Check roof pitch, pipe location and sheet profile before fabrication
- Confirm safe clearance around hot flues and insulated sections
- Use fixings and sealants suited to exterior coastal conditions
- Allow access for future inspection or removal of the unit
How to care for the flashing after fitting
Flue flashings need simple but regular checks, especially in coastal areas where corrosion can start faster on cut edges and fasteners. Look for lifted screws, cracked sealant, rust marks, heat damage and movement around the pipe. If a flue is cleaned or serviced, the flashing should be checked at the same time because that is when small gaps often show up.
On a roof with gutters nearby, blocked gutters can also drive water back toward a penetration during heavy rain. That is why a leaking flashing should never be treated as just a sealant problem. The roof line, gutter fall and roof sheet condition should be checked as a whole. A small repair done early is usually cheaper than replacing damp insulation or corroded sheet later.
- Inspect after storms and strong coastal wind
- Keep the area free of leaves, soot and nesting material
- Replace failing sealant before water gets under the base
- Ask for maintenance inspections if the building is used often
What to send when you request a made-to-fit flashing
To make the right flue flashing, we need accurate measurements and a few job details before fabrication starts. That helps avoid delays on site and ensures the fitting matches the roof first time. If the old flashing is still in place, it can often be used as a pattern, but we still check the pipe size and roof profile before making a replacement.
For jobs in Mossel Bay, Gouriqua Park, Hartenbos and the southern Cape, send clear photos and the information below. If the roof is already leaking, mention that too so we can work out whether a new fitting, a repair patch or a full replacement is needed. A proper measure-up saves time and gives a cleaner result, especially where the roof is already weathered.
- Pipe outside diameter in millimetres
- Roof type, pitch and sheet profile
- Whether the flue is round, boxed or offset
- Approximate height above the roof surface
- Photos of the penetration from inside and outside if possible
Key facts
| Product type | Made-to-measure flue flashing for roof and wall penetrations |
|---|---|
| Common pipe sizes | 100 mm, 125 mm, 150 mm, 200 mm and custom sizes |
| Materials | Galvanised steel, stainless steel or coated sheet where suitable |
| Roof compatibility | Corrugated, IBR, trimdek-style and cladded surfaces |
| Typical use | Boilers, stoves, vents, extract flues and service penetrations |
| Coverage area | Mossel Bay, Hartenbos, Great Brak River, George, Wilderness and Sedgefield |