
What a soaker flashing does at the roof joint
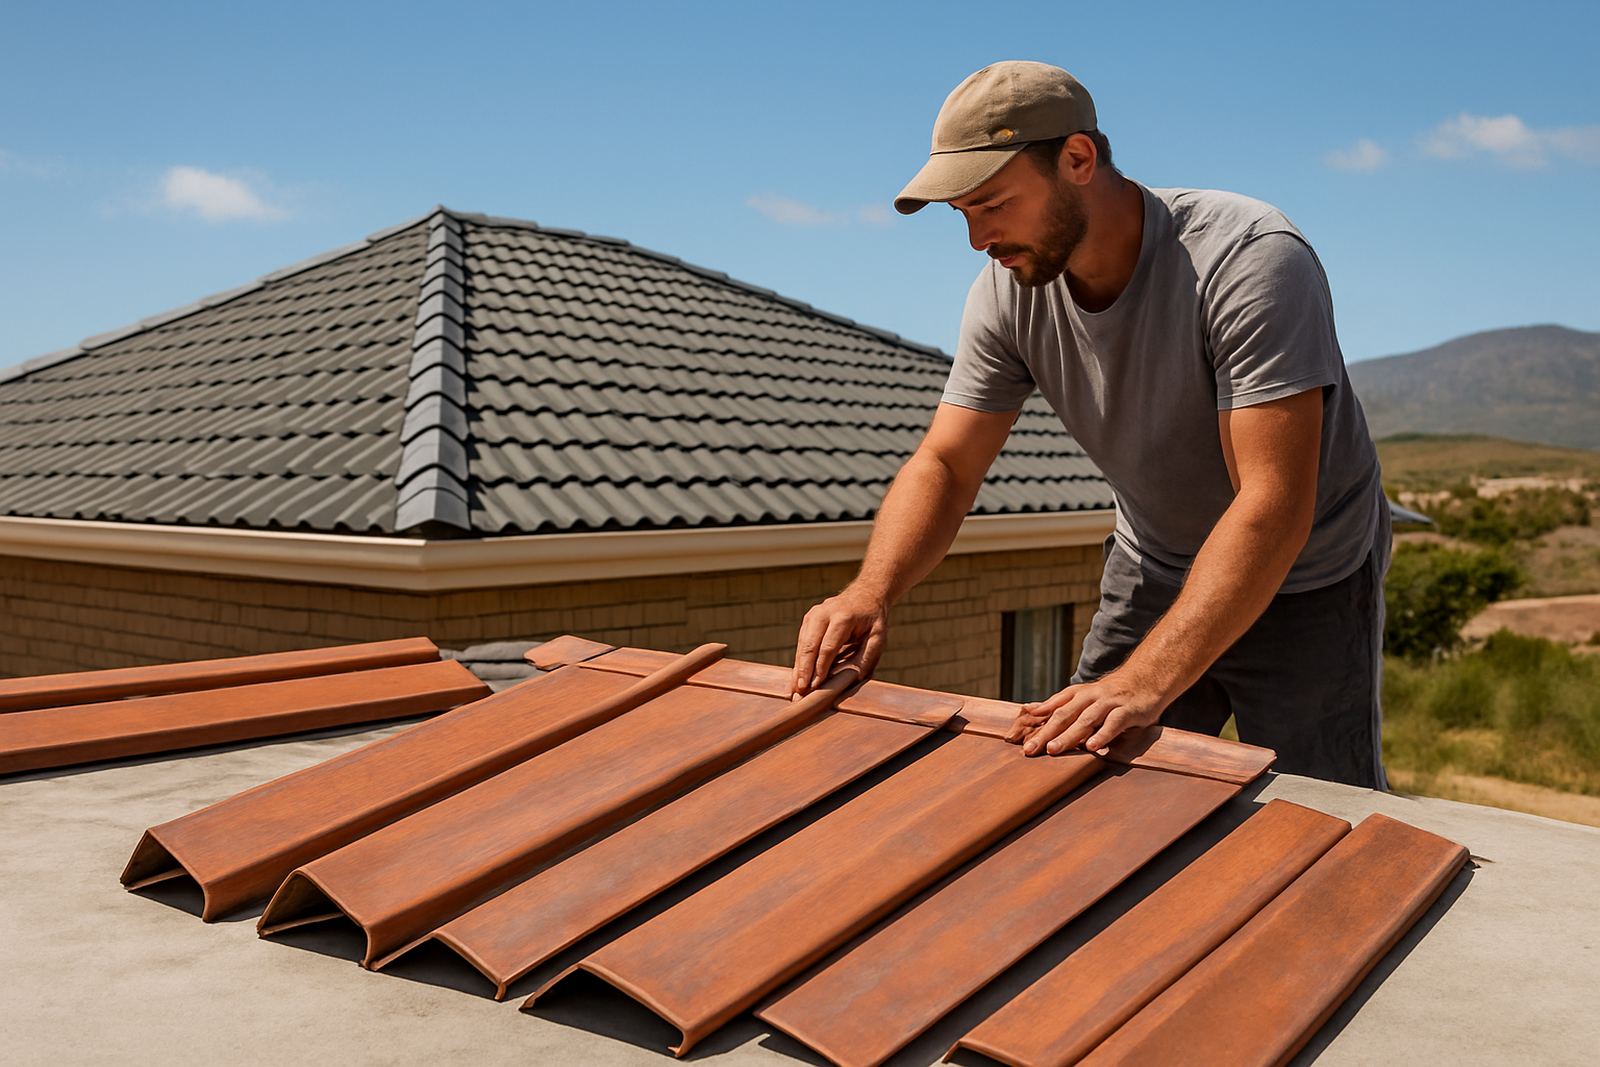
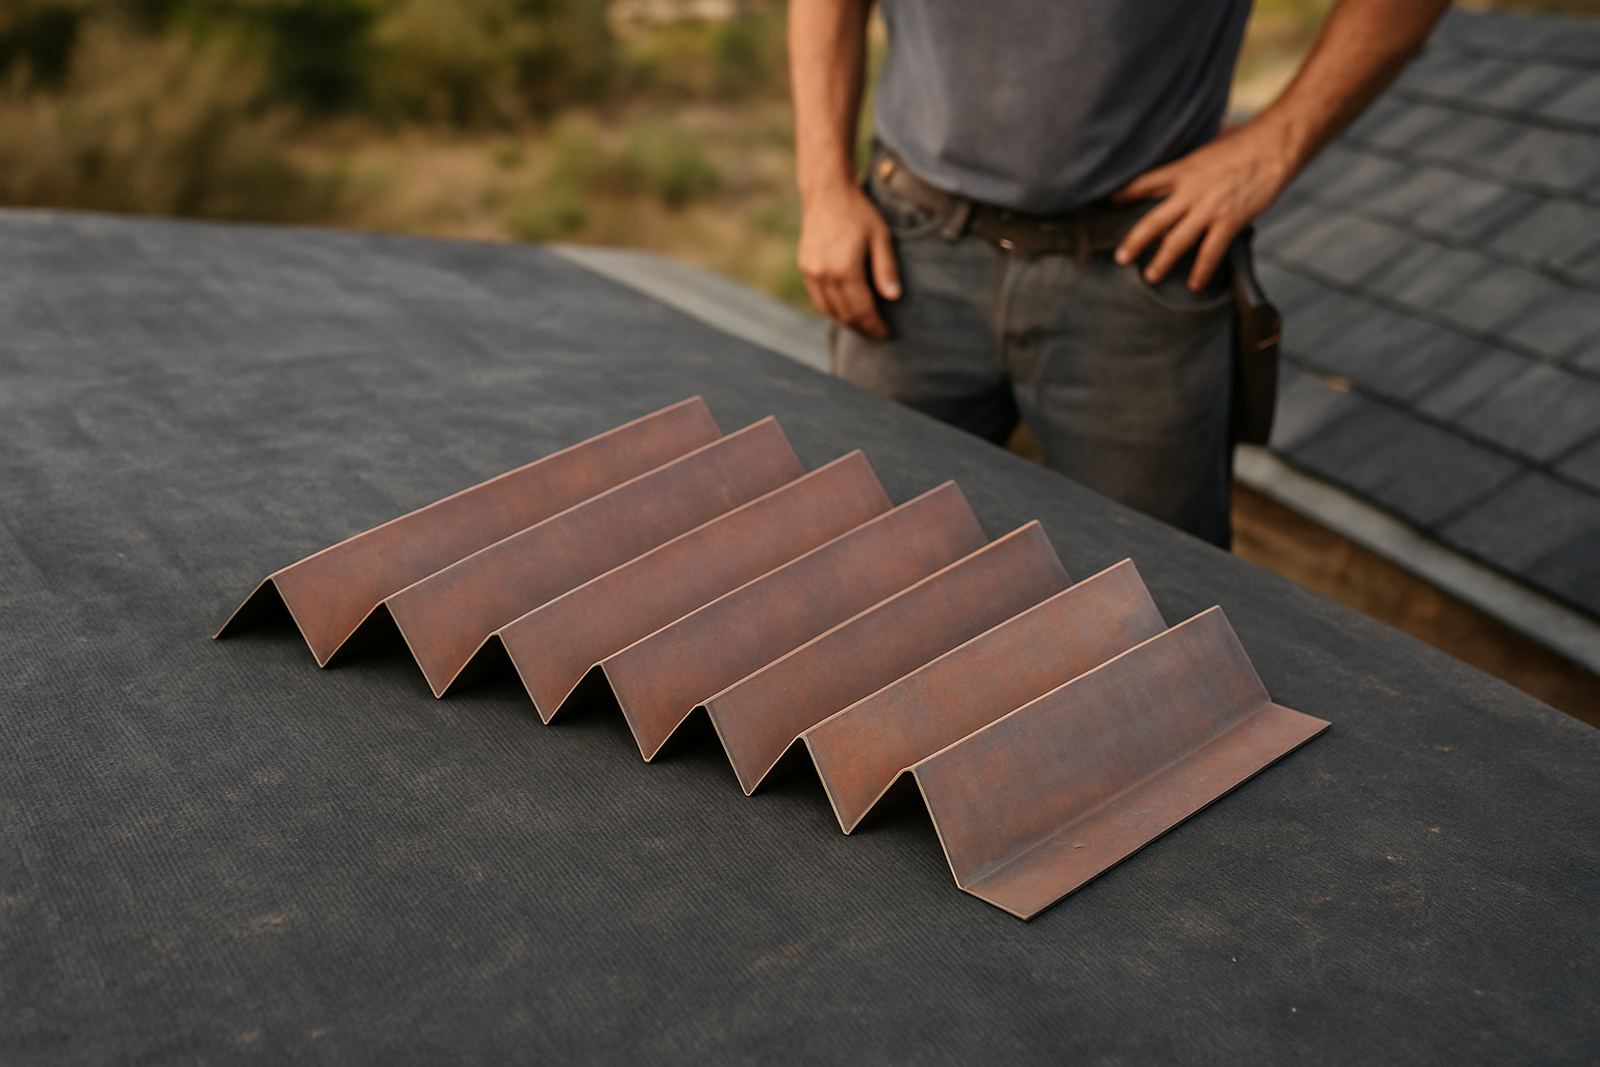
A soaker flashing sits under or alongside the roof covering at an abutment, then turns up the wall to form a weather line. On tiled roofs it helps catch water that works its way under the tile course, while on sheeted roofs it closes the gap where the roof sheet meets a vertical surface. It is a practical detail that stops water from tracking back into the roof structure, ceiling boards, insulation and wall cavity.
In Mossel Bay and nearby coastal towns, the wind often pushes rain sideways. That means the flashing has to do more than just look neat. It must be shaped with the right leg lengths, a firm upstand, and a clean lap with the roof covering so water is directed out and down. A good fit also reduces the chance of damp marks, rust lines and repeated leak repairs.
Sizes, metals and finish options
Soaker flashings are made to suit the roof detail on site, because the right size depends on the tile profile, sheet type, wall height and pitch. Common widths are made to allow enough coverage under the roof covering and enough return up the wall. We can also form stepped sections where the roof rises in stages, and longer runs for straight abutments.
- Plain or coated metal, selected for the exposure level
- Custom lengths to reduce joins where possible
- Returned edges for a cleaner line and better stiffness
- Left hand and right hand pieces for corners and changes in direction
- Matching bends for tiled roofs, box profile sheets and corrugated sheets
For coastal work we usually allow for extra care on the cut edges and fixing line. Salt air can work into weak points quickly, so the material choice and the fold detail matter just as much as the size. If the flashing is going onto a long wall on a windy side, we will normally suggest a stronger gauge and tighter fixing pattern.
Where soaker flashings suit best
Soaker flashings are used where a roof meets a wall or vertical face and the detail needs a controlled water path. That includes side walls on homes, parapets on commercial buildings, chimney abutments, dormer sides and gable intersections. They are also useful where an old roof is being repaired and the original detail has failed after years of movement or corrosion.
- Tiled roofs with wall abutments
- Sheeted roofs on homes, workshops and farm buildings
- Extensions where new roof work meets old masonry
- Coastal properties with wind driven rain
- Buildings with repeated leaks at the same joint
On some jobs a soaker flashing works alongside other components such as apron flashings, cover flashings or sealant lines. The best result usually comes from matching the flashing to the exact roof build up, not from forcing a standard size into a space it was not made for. That is why site measuring is worth doing properly before anything is folded.
Installation on tiled and sheeted roofs
We fit soaker flashings to suit the roof type and the access available on site. Tiled roofs need the flashings set carefully under the tiles so the water line stays below the visible finish. Sheet roofs need the laps and fasteners placed where they will not create a new leak point. On both roof types, the wall line must be prepared properly before fixing starts.
Good installation usually includes checking the wall surface for cracks, loose render and uneven brickwork, because a flashing is only as good as the surface it meets. If the wall is rough or the roof line is twisted, the flashing may need extra forming on site. For some repair jobs we also lift a few courses or sheets so the flashing can be tucked in correctly, then re-fixed with the right overlap.
- Set the top edge into a suitable chase or underwall detail where possible
- Use fixings suited to the roof and wall material
- Keep laps facing away from the driving rain side
- Seal only where needed, not as a replacement for proper forming
- Check that water can still move freely off the roof and not pool at the joint
Power, gas and site needs
Soaker flashings themselves do not need power or gas, but the installation method may involve workshop forming tools or site repair equipment. For new work, the job is mostly measured, folded and fixed. If a repair needs sheets removed or altered, we may use cutting or drilling equipment on site and need a normal power supply or a generator if the property has load shedding. On small coastal repairs, battery tools can also help keep the job moving when there is no mains power.
If any hot work is required around steel structures, we follow safe site practice and check the area first. In most cases, a soaker flashing job does not need gas work at all. Where sealants or membranes are used, we allow proper curing time and avoid installing over damp surfaces. That matters in Mossel Bay, where morning moisture and sea air can keep a roof wet for longer than expected.
Care, servicing and when to replace
Soaker flashings do not need much attention, but they should be checked during regular roof maintenance inspections. Look for lifted edges, cracked sealant, rust staining, loose fixings and signs of water tracking at the wall line. If a flashing is bent by wind or damaged during other roof work, it can lose its shape and stop shedding water properly.
For homes and business roofs near the coast, it helps to inspect these details after heavy rain, strong wind or a long dry spell followed by sudden storms. Salt and dust can collect around laps and fixings, and that build-up can shorten the life of the detail. A quick clean and check every now and then can save a bigger repair later, especially where the roof ties into masonry that already has age cracks.
- Check after storm damage or roof work by other contractors
- Look for corrosion at cut edges and fasteners
- Replace sealant only after the joint is dry and stable
- Keep gutters clear so overflow does not blame the flashing unfairly
What to have ready when you order
When ordering soaker flashings, the more exact the detail the better the fit. We need the roof type, the wall type, the length of each run and the slope or pitch of the roof. If the roof is tiled, it helps to know the tile profile and whether the flashing must sit under an existing course. For sheeted roofs, we need the sheet profile, thickness and fixing arrangement.
Please also tell us if the property is in Mossel Bay, Hartenbos, Great Brak River, George, Wilderness or Sedgefield, because access, wind exposure and coastal conditions can affect the recommended finish. If you have photos and rough measurements, send them through with the enquiry. That makes quoting faster and helps us avoid wrong bends or short lengths. Johan and the team will check the detail and advise what will work best for the roof, not just what is easiest to make.
Key facts
| Product type | Soaker flashing for roof abutments |
|---|---|
| Use | Tiled and sheeted roof wall junctions |
| Common material | Galvanised or coated steel, made to order |
| Typical finish | Custom folded lengths with upstands and returns |
| Installation | Measured on site and fixed to suit the roof detail |
| Service area | Mossel Bay, Hartenbos, Great Brak River, George, Wilderness and Sedgefield |