
What a hopper head does on a roof drainage line
A hopper head is a small collection box fitted between a gutter or roof outlet and the downpipe. Its job is to receive water quickly, slow the rush for a moment, and feed it into the pipe in a controlled way. That simple transition matters when a roof has a wide catchment area, a steep pitch, or several gutter runs feeding one outlet.
On local coastal properties, water often comes in bursts during summer storms and winter fronts. A properly sized hopper head helps reduce overflow at the connection point, and it can also make the water path easier to inspect. If leaves or small debris enter the line, the hopper gives you a place to notice the issue before the downpipe backs up. It also keeps the transition neat where the roof line is visible from the street.
We make hopper heads to suit new roof drainage layouts or to replace older units that have rusted through, split at the seams, or been patched too many times. In many cases, a new hopper head is a better fix than trying to force an old outlet to do a job it was never sized for.
Sizes, profiles and metal options for local conditions
Hopper heads are not one-size-fits-all. The right size depends on the roof area, gutter size, downpipe diameter and the amount of rain the system must handle. For small domestic runs, a compact hopper with a single outlet may be enough. For larger homes, workshops, farm stores and light industrial buildings, a bigger box with a wider mouth and stronger outlet is usually safer.
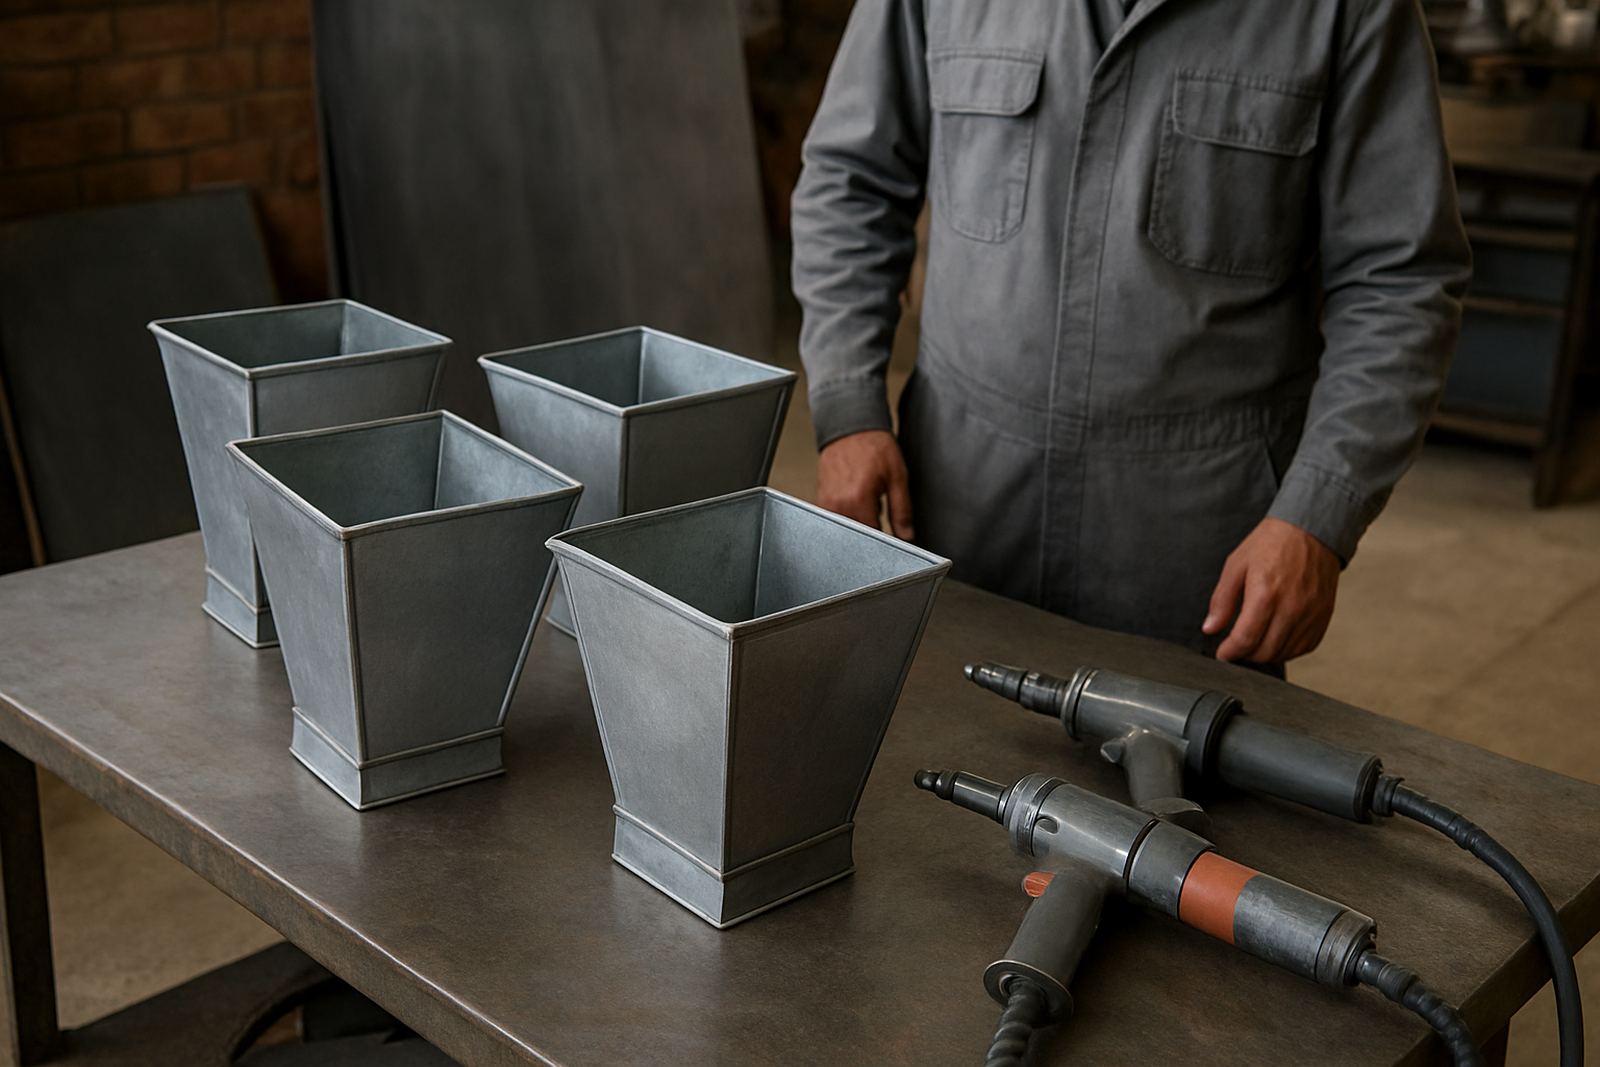
We fabricate hopper heads in sheet metal to match common roof drainage layouts. Options can include square, rectangular or tapered forms, plain faces, folded edges and outlet positions to suit the pipe route. Where a building sits close to the sea or gets frequent spray, material choice is important. Galvanised sheet is common for general use, while coated sheet or suitably specified metal can be considered where corrosion pressure is higher.
- Common outlet sizes: 75 mm, 100 mm and larger, depending on flow demand
- Typical body sizes: made to suit the gutter width and the visual line of the wall
- Finish options: plain metal, painted finish, or matched to surrounding cladding where possible
- Form options: square, taper-top, side outlet or rear outlet depending on pipe route
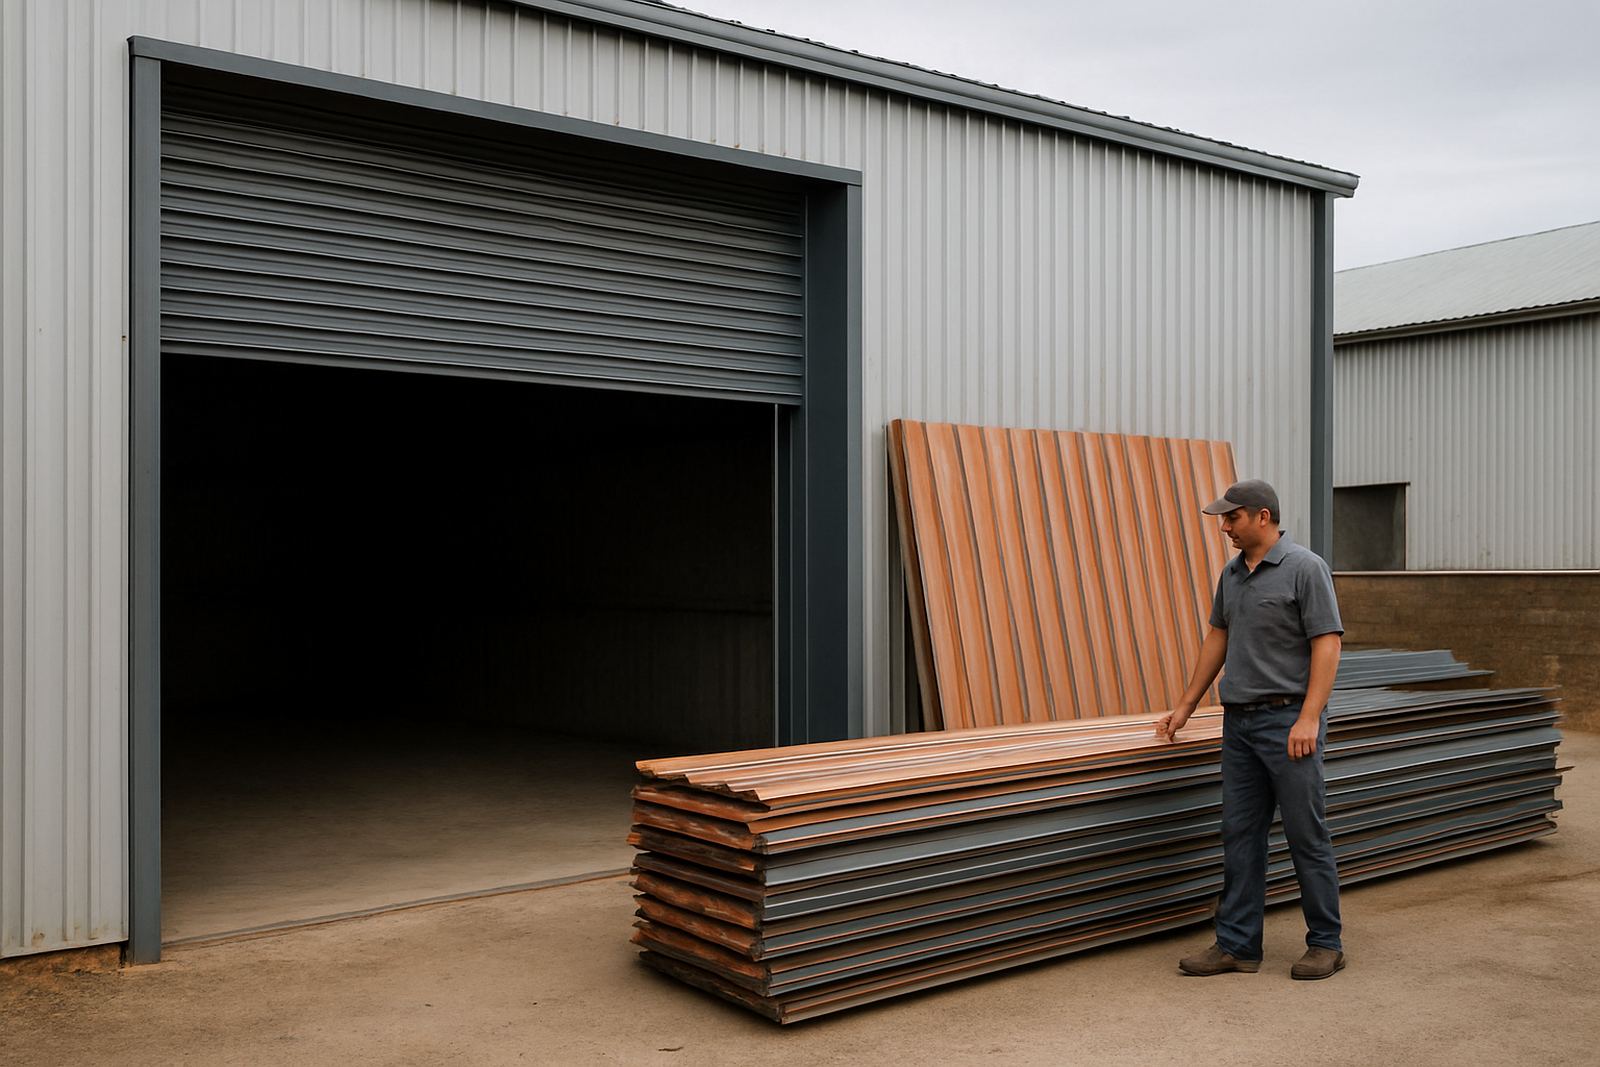
For steel buildings and carports, a hopper head often needs to sit between the roof sheets and the vertical pipe without crowding the structure. We measure the opening, confirm the downpipe line and build to suit rather than trying to force a standard part into a tight spot.
Where hopper heads suit best in Mossel Bay and nearby towns
Hopper heads work well on homes, sheds and business premises where gutter water needs to change direction neatly. They are especially useful where a wall pipe drops through cladding, where a long gutter run feeds one downpipe, or where the roofline would look untidy with a simple open outlet. In Hartenbos, Great Brak River and Mossel Bay, they are often fitted on coastal homes that need practical drainage with clean lines.
They also suit workshops, storage buildings and steel frames in George, Wilderness and Sedgefield where roof surfaces can be large and rainwater arrives fast. A hopper head can help when the gutter is set high, the wall below must stay clear, or the pipe route has to work around doors, paving and boundary walls. On some municipal projects, keeping water off walkways and away from foundations is just as important as the appearance.
- Homes with large roof areas feeding one downpipe
- Garden cottages, storerooms and detached garages
- Steel buildings with wall cladding and exposed roof edges
- Sites where a neater transition is needed through a parapet or wall face
If you are replacing gutters, it is worth checking whether the existing outlet positions still make sense. Sometimes a hopper head can solve a recurring overflow problem without changing the full gutter line. Other times the better answer is to move the outlet, increase the pipe size or add a second drain point.
Installation details and what the job needs on site
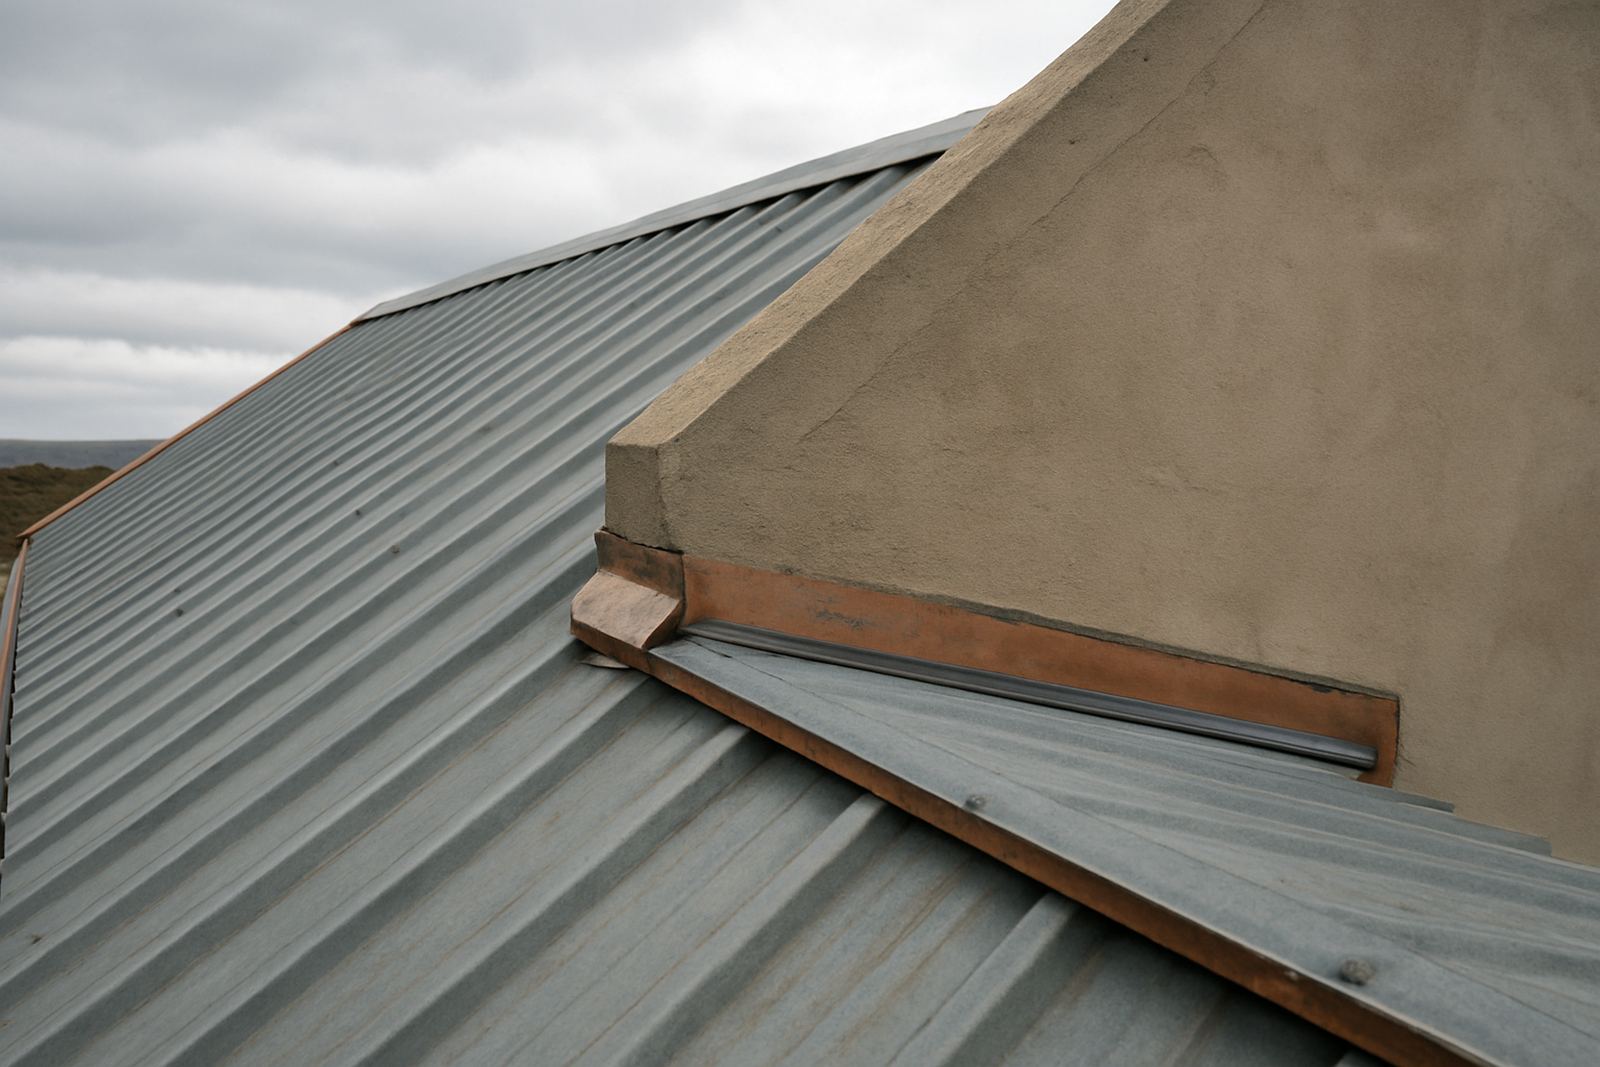
Installing a hopper head starts with accurate site measuring. The gutter height, wall finish, downpipe position and roof fall all need to be checked before fabrication. Once the unit is made, it is fixed in place with proper sealing at the joins and enough support so that it does not twist under water load or wind. If the hopper connects through cladding or masonry, the opening must be neat and sealed to keep water out of the wall build-up.
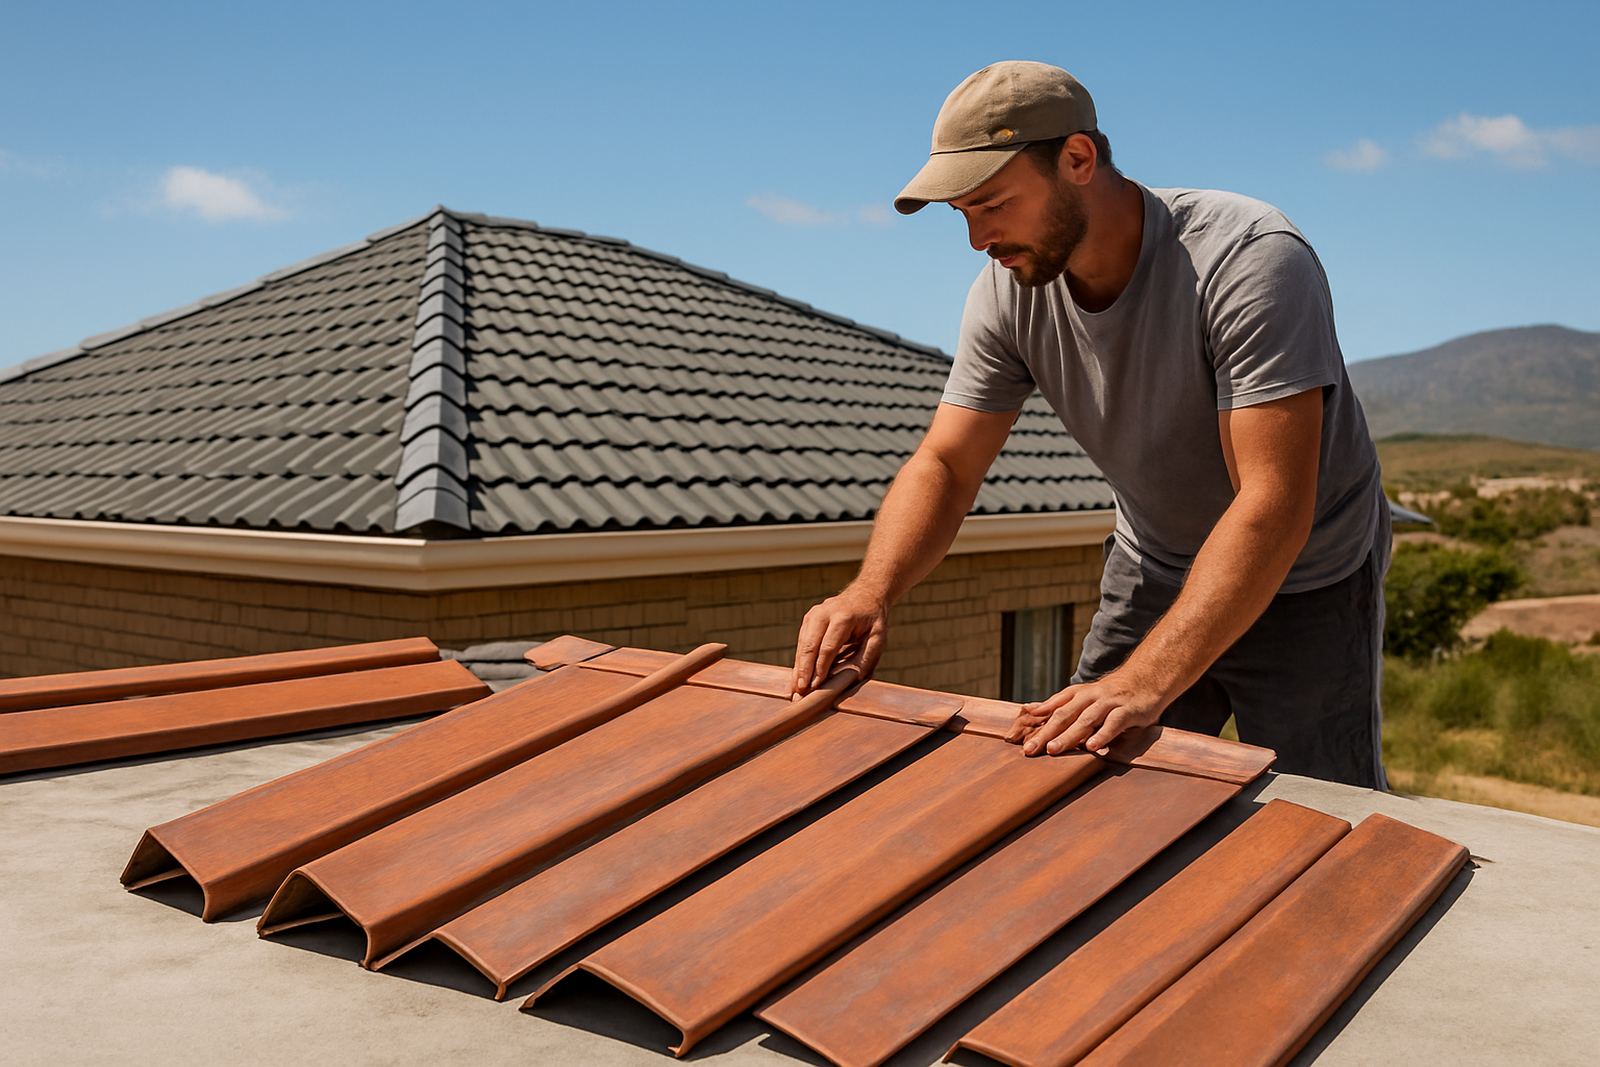
Most hopper heads do not need power or gas to function, but the installation may involve cutting, folding and securing sheet metal on site. Where access is tight or the wall is high, safe working access matters. The outlet must line up with the downpipe, and the discharge path should allow water to fall cleanly without splashing back onto painted surfaces. A small misalignment can cause nuisance leaks later, so it is worth getting right the first time.
For buildings with steel frames, we often coordinate hopper head installation with gutter replacement, roof sheeting or wall cladding work. That saves call-backs and helps the drainage detail match the rest of the structure. On a windy day in the southern Cape, a poor fit can quickly show itself, so proper fixing and sealing are not just neatness issues, they are part of the working system.
Care, cleaning and servicing after installation
A hopper head does not ask for much, but it does need regular attention. Leaves, moss, roof grit and windblown debris can settle inside the box and reduce the flow area. In mossy or tree-lined areas, a quick clean before winter and again after the windy season can prevent overflow and staining down the wall.
Check the hopper for rust spots, cracked seams, loose screws and failed sealant. If the paint or protective finish has been damaged, repair it early before corrosion spreads. On coastal properties, salt air can shorten the life of untreated metal, so rinsing the area occasionally and keeping the outlet clear helps.
- Remove visible debris from the hopper and the inlet area
- Inspect the join to the gutter and the downpipe collar
- Look for damp marks on the wall below the unit
- Check after heavy rain for signs of splash back or overflow
If the hopper is part of a larger drainage issue, we can inspect the gutter line, outlet spacing and roof sheet details at the same time. That is often better than replacing one visible piece and leaving the real cause behind it. A tidy system lasts longer and costs less over time.
What to confirm before ordering a hopper head
Before ordering, it helps to confirm a few practical details. First, measure the gutter width and the exact position where the downpipe must drop. Then check the pipe diameter and whether the outlet needs to turn left, right or straight down. If the hopper will be seen from the road, consider the finish and whether it should match nearby flashings or cladding.
You should also note roof pitch, wall type and available fixing space. A hopper head that works on a flat-faced boundary wall may not suit a corner detail or a parapet return. If the property gets hard rain, or if the roof run is long, the outlet size may need to be larger than the old fitting. It is better to allow enough flow than to rely on a unit that is too small.
When you send through an enquiry, include a few clear photos and basic measurements if you have them. That makes it easier to quote accurately and avoid delays. For sites in Mossel Bay, Gouriqua Park, Hartenbos and the wider southern Cape, we can work from site measuring, replacement dimensions or new-build drawings where available.
Hopper heads are a small item, but they affect how the whole rainwater system performs. A well made unit helps the gutter line drain properly, protects walls from overspill and gives the roof edge a clean finished look.
Key facts
| Product type | Sheet metal hopper head for roof drainage transitions |
|---|---|
| Typical uses | Gutter to downpipe collection on homes, sheds, carports and steel buildings |
| Common outlet sizes | 75 mm, 100 mm and larger on request |
| Material options | Galvanised sheet and other suitable metal options for local conditions |
| Form options | Square, rectangular, tapered, side outlet or rear outlet |
| Service area | Mossel Bay, Hartenbos, Great Brak River, George, Wilderness and Sedgefield |