
What a window hood does at the opening
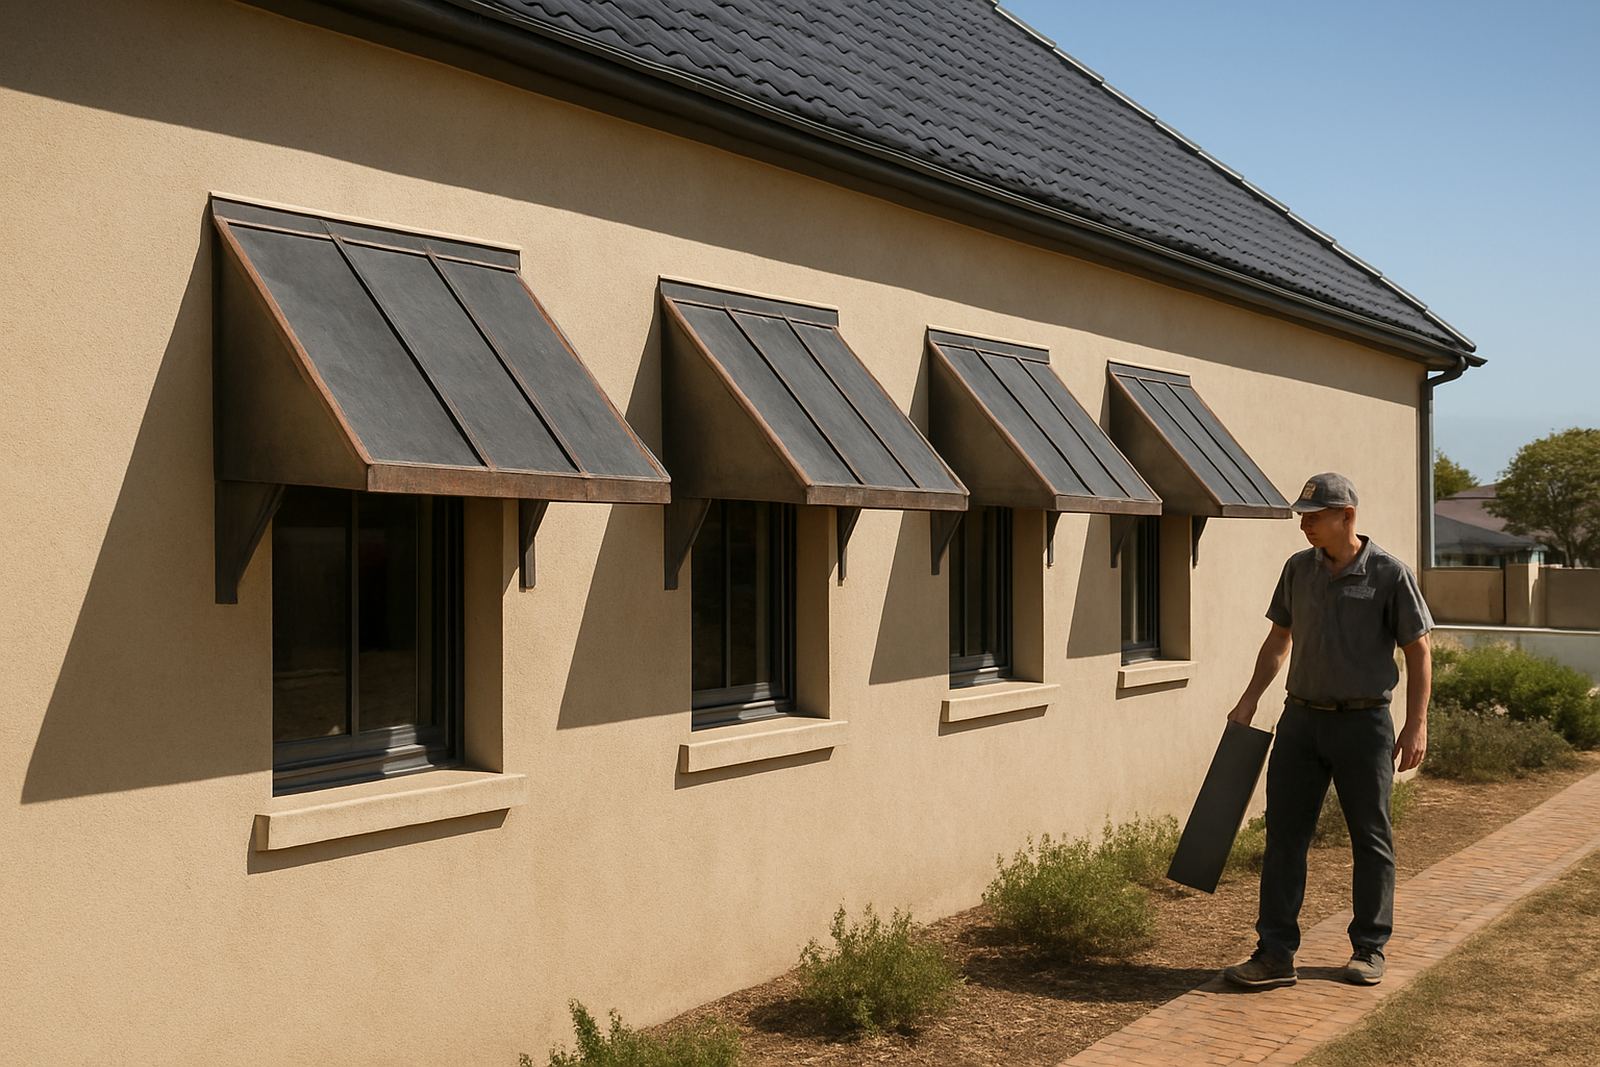
A window hood is a fixed metal cover fitted above a window or doorway to throw rain clear of the opening and reduce direct weather exposure on the frame, sill and wall below. In coastal towns like Mossel Bay, Hartenbos and Great Brak River, that extra cover helps with wind driven rain and the fine salt in the air that can work its way into seals and paint.
Window hoods are also useful where the sun hits one side of the building hard in summer. They do not block the view the way some larger canopies do, but they give enough overhang to protect the opening without changing the face of the building too much. On many jobs they are made to match the roof pitch or the line of the wall cladding, so the finish looks tidy and practical.
Sizes, profiles and finish options
Most hoods are made to suit the exact width of the opening, with the projection set by how much cover is needed and how much space is available above the window. A small bedroom window may only need a modest hood, while a ground floor office opening or a coastal-facing wall often needs a deeper projection and stronger side returns.
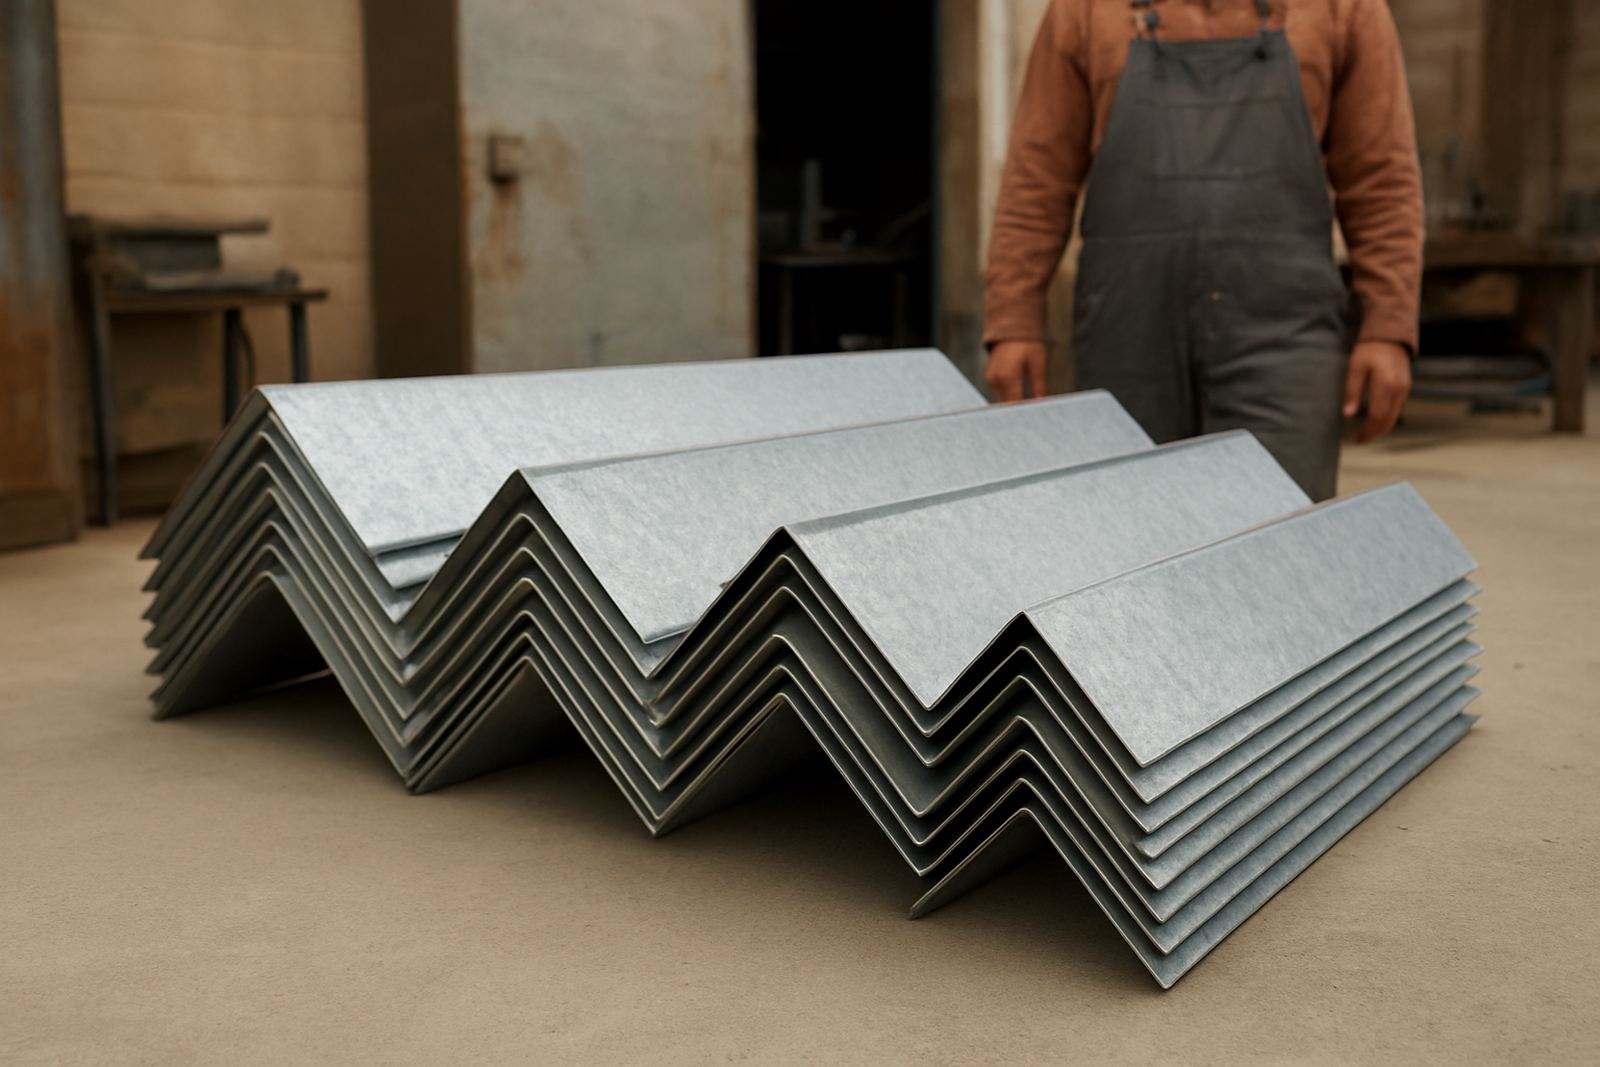
We fabricate hoods in common lengths from about 600 mm up to 3 000 mm and beyond, with custom sizes for bigger openings. The projection is usually 150 mm to 900 mm depending on the use, and the front edge can be turned down to help water drop clear instead of running back under the sheet. Where needed, side cheeks can be added to improve wind protection, especially on corners and gable ends.
- Plain flat hood for a simple neat line
- Folded hood with turned edges for added stiffness
- Hood with side cheeks for better weather control
- Powder coated or painted finish to suit the building
Where window hoods make the most sense
These fittings suit houses, guest units, shops, workshops and small industrial buildings where the opening faces the weather. In the southern Cape, the most common callouts are for coastal homes, rental units, patios, passage windows and staff rooms that get driving rain in winter. They also work well above utility rooms or side doors where full awnings would be too bulky.
On buildings with steel cladding or light steel framing, a hood can be tied into the wall line with simple brackets and sealed properly. On masonry walls, the fixing points must be set into solid substrate and not only into plaster. If the wall is old or the opening has movement, it is worth checking the existing sealant and the condition of the lintel before fitment.
- Homes near the coast with wind driven rain
- Offices and trade premises with sun exposed windows
- Rental units where simple low maintenance protection is needed
- Workshop and store openings that need a cleaner finish
Installation details and site requirements
Window hoods are fixed mechanically and do not need power or gas connection. Installation usually starts with a site measure, checking the opening width, wall type, head height and any existing gutter, parapet or fascia that could affect the fixing line. If the hood needs to tie into cladding or flashing, we allow for overlap and sealing so water cannot track behind the sheet.
For most jobs, fitting is done with brackets, anchors and sealed fasteners matched to the wall material. On busy sites in Mossel Bay, George or Wilderness, we can schedule work around other trades so the opening is not left exposed for long. Where access is tight, scaffold or a safe working platform may be needed. It is better to sort that out before fabrication than arrive on site and find there is no clear fixing zone. That saves time and rework.
Care, cleaning and long term servicing
Metal hoods need very little attention, but they do last longer if kept clear of leaves, dirt and trapped moisture. In coastal areas, a fresh water rinse every so often helps remove salt build up, especially after strong sea wind or long dry spells when dust settles. If the hood is near trees, check the top face and the back edge for leaf litter after heavy rain.
During routine maintenance inspections, look for loose fixings, cracked sealant, rust spots at cut edges and any movement where the hood meets the wall. Small issues are easier to sort early than after water has been running into the reveal for months. If a building is being repainted or the roof is repaired, it is a good time to inspect the hood at the same time.
- Wash off salt and dirt with clean water
- Check sealant and fixings at least once a year
- Touch up damaged coating before rust takes hold
- Clear leaves and debris after storms
What to check before ordering
Before we make a window hood, we need the opening size, wall type, desired projection and finish choice. If the opening sits under an eave, close to a gutter or under another roof line, those details matter because the hood has to fit neatly without trapping water or interfering with drainage. For tall windows, it helps to note the exact height above ground so safe access can be planned.
It also helps to know whether the hood is for new work or a replacement. A replacement often needs extra care because the old fixing holes, wall cracks or warped frames may change the setout. If you are matching existing work on a home or business, send clear photos from straight on and from the side. That gives a better idea of profile, colour and size before fabrication starts. Keep the measurements in mm if possible, it avoids mix ups.
- Opening width and height
- Required projection from wall
- Wall type and fixing surface
- Colour or finish preference
- Any gutter, fascia or roof line nearby
- Whether it is new work or a replacement
Key facts
| Material | Folded sheet metal with sealed fixings |
|---|---|
| Typical width | 600 mm to 3 000 mm plus custom sizes |
| Typical projection | 150 mm to 900 mm |
| Finish options | Plain galvanised, painted or powder coated |
| Installation | Site measured, fabricated and mechanically fixed |
| Power or gas needs | None |