
Start with the wall, frame or beam you are attaching to
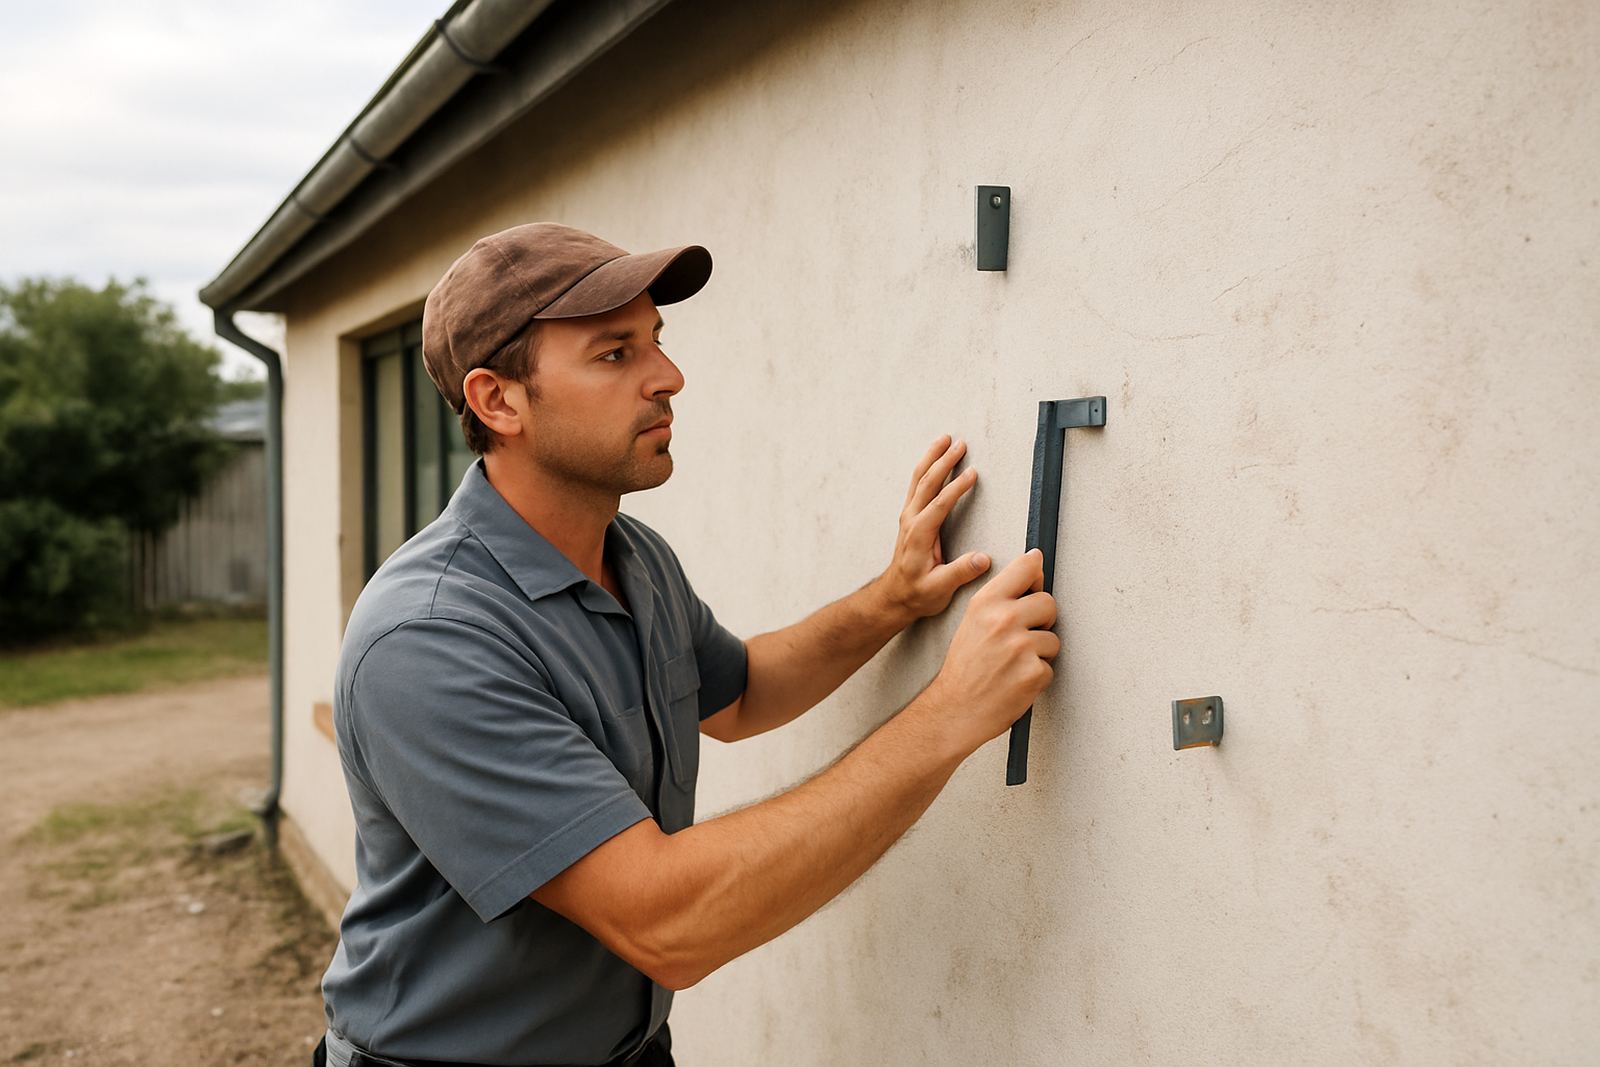
The first question is not what canopy you want, it is what the existing structure can carry. A brick wall, concrete column, timber truss or light steel frame all behave differently once wind uplift and extra dead load are introduced. In Mossel Bay and the southern Cape, coastal gusts can pull at a canopy hard, so a fixing point that looks fine from the outside may not be suitable once you inspect it properly.
Look for cracks, bulging plaster, rust staining, water damage and old repair patches. If the wall has had movement, the canopy should not be treated as a simple add on. A site measurement should confirm thickness, alignment and available fixing zones before any brackets are marked out.
- Check the wall for damp, cracks and loose render.
- Confirm whether the structure is brick, concrete, timber or steel.
- Identify where the load will transfer into solid material.
- Look for existing services like pipes, cabling or conduits.
Measure the canopy size against real site conditions
Many retrofit problems start when the canopy size is decided before the site is checked. The overhang, slope and edge detail all affect how much water the canopy throws clear of the wall and where the runoff will land. If the area already has paving, a driveway or a narrow path, the canopy must be set out so it does not create a drip line where people walk or park.
For a retrofit in Hartenbos, for example, a canopy over a side entrance may need a shorter projection on the sea side and a steeper pitch to move rain away from the wall. That same job might also need a custom flashing at the top edge to stop water tracking back behind the sheet. Small changes in size can make a big differnce to how tidy and dry the final install stays.
- Check projection, pitch and clear height at the lowest point.
- Allow space for gutters, downpipes and maintenance access.
- Confirm that doors, windows and vehicle access still work after installation.
- Make sure the canopy does not block ventilation or existing services.
Plan for wind, rain and coastal corrosion
Along the Garden Route, a canopy has to deal with wind driven rain, salt in the air and long wet spells in winter. That means the fixings, sheet finishes and flashing details matter just as much as the steelwork itself. If the wrong materials are used, corrosion starts at cut edges, screw heads and joints, then spreads under the cladding before anyone notices.
A practical retrofit check should confirm the sheet type, fastener size, bracket spacing and whether all exposed steel will be sealed or coated properly. In places like George and Wilderness, where moisture can hang around, unprotected steel can show surface rust much sooner than expected. That is why a canopy needs more than a quick bolt up. It needs the right separation between dissimilar metals, sensible drainage and proper edge closure.
- Use fixings suited to coastal conditions.
- Keep galvanised and painted components compatible.
- Seal cut edges and penetration points.
- Check that water can drain freely without ponding.
Check gutters, flashings and the water path before you build
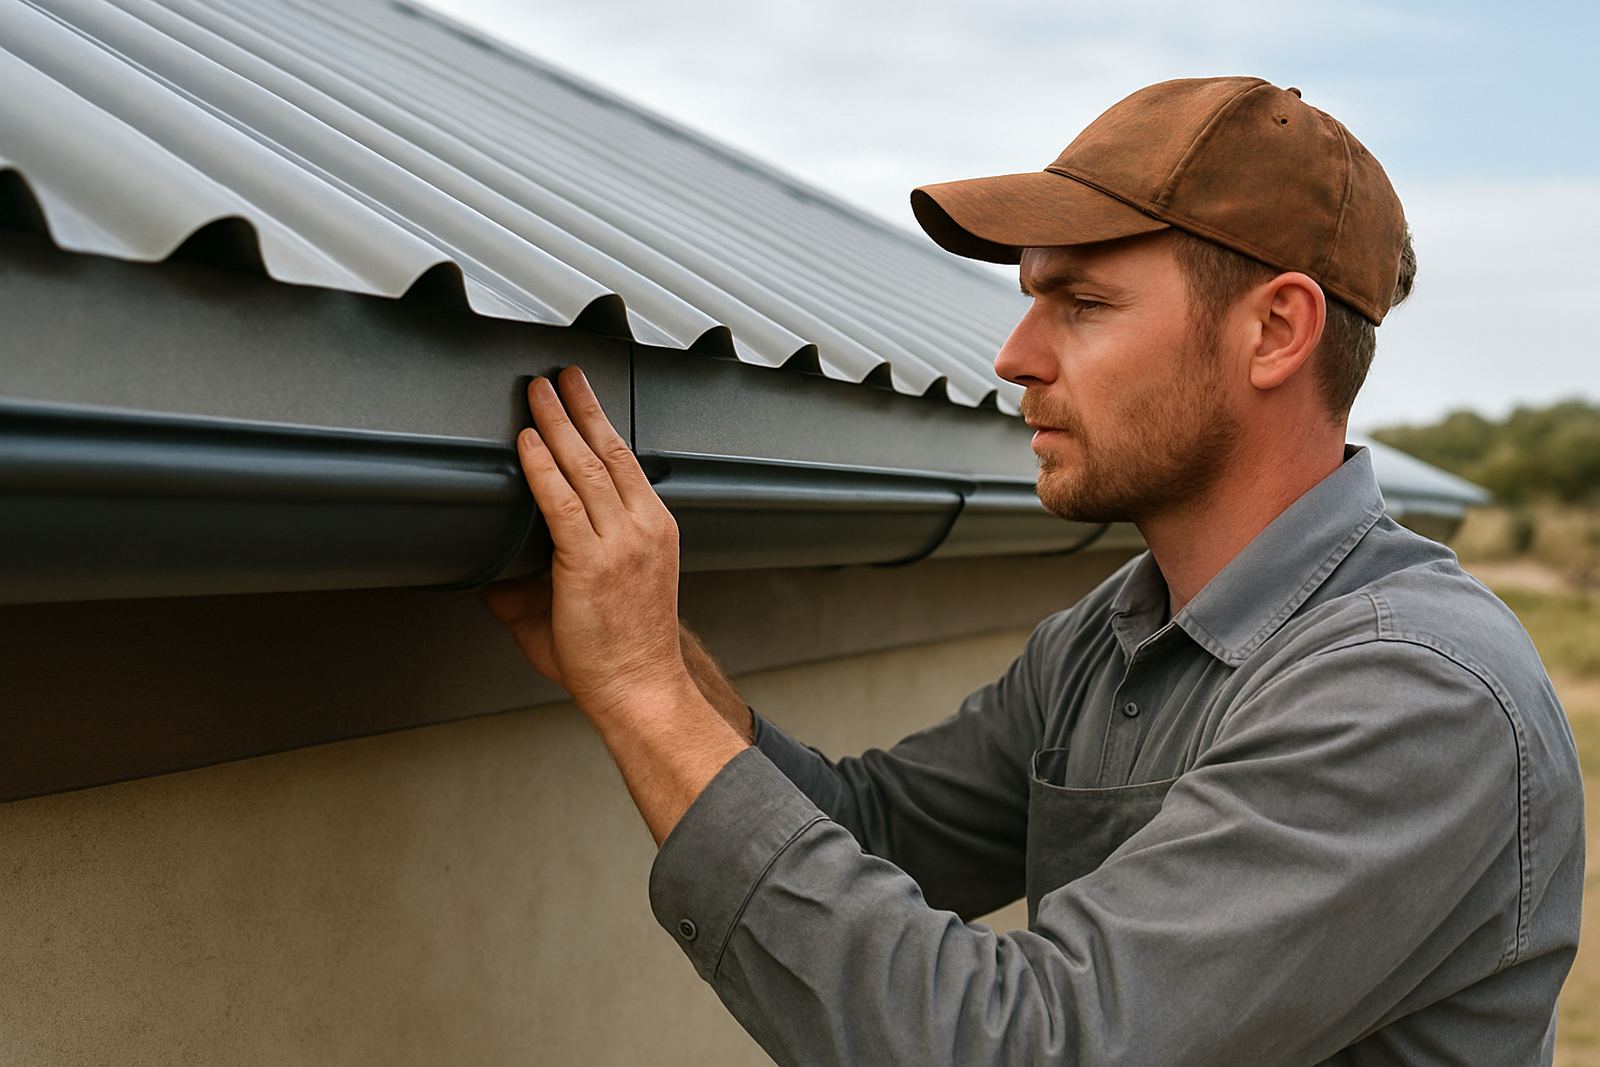
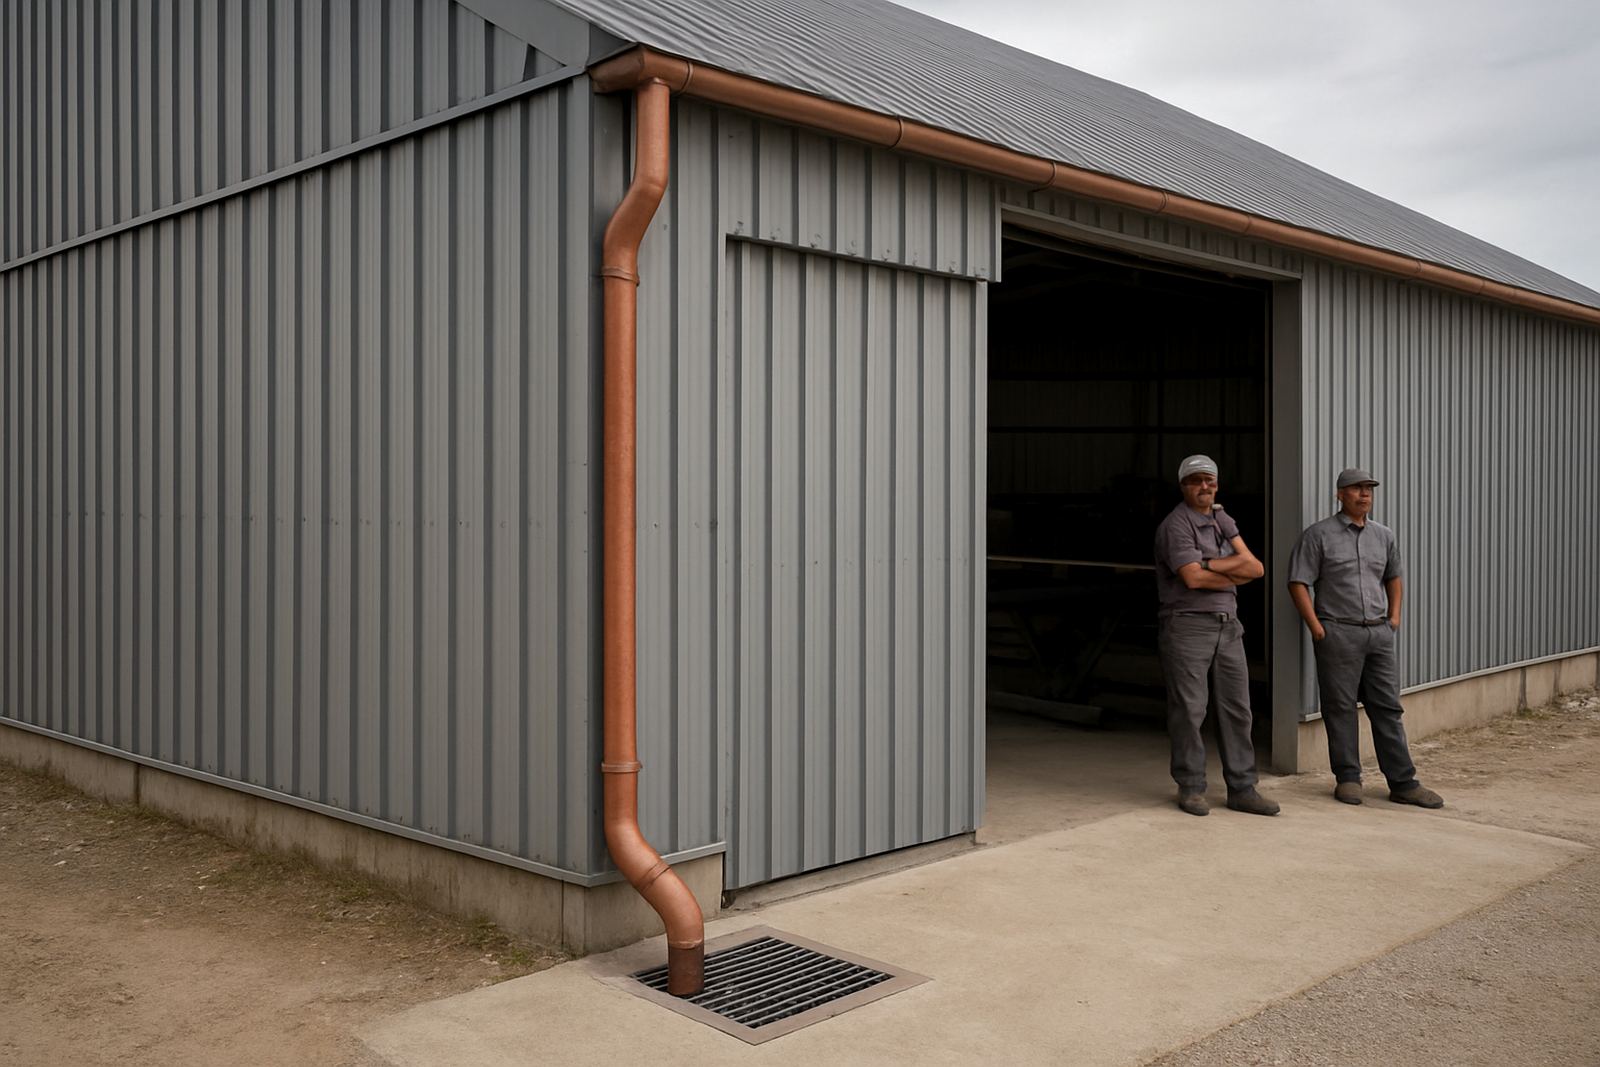
A canopy that keeps people dry but sends water straight onto the wall or across a doorway is not doing its job. Before installation, trace the full water path from the roof sheet to the gutter and then to ground level. If there is a valley discharge, an existing downpipe or a boundary wall nearby, the canopy must be detailed around those points from the start.
Custom flashings are often the difference between a neat retrofit and a constant maintenance problem. At the top edge, a properly shaped flashing helps stop capillary action behind the canopy. At the sides, returns can keep wind driven rain from blowing back under the cover. If a gutter is being added or replaced, make sure the falls are correct and the outlet is sized for heavy rain, not just light showers.
- Confirm gutter fall, outlet size and discharge point.
- Fit side and top flashings where the canopy meets the wall.
- Check that overflow will not damage paving, plaster or garden beds.
- Allow for leaf build up if the site has trees nearby.
Decide if the existing structure needs strengthening first
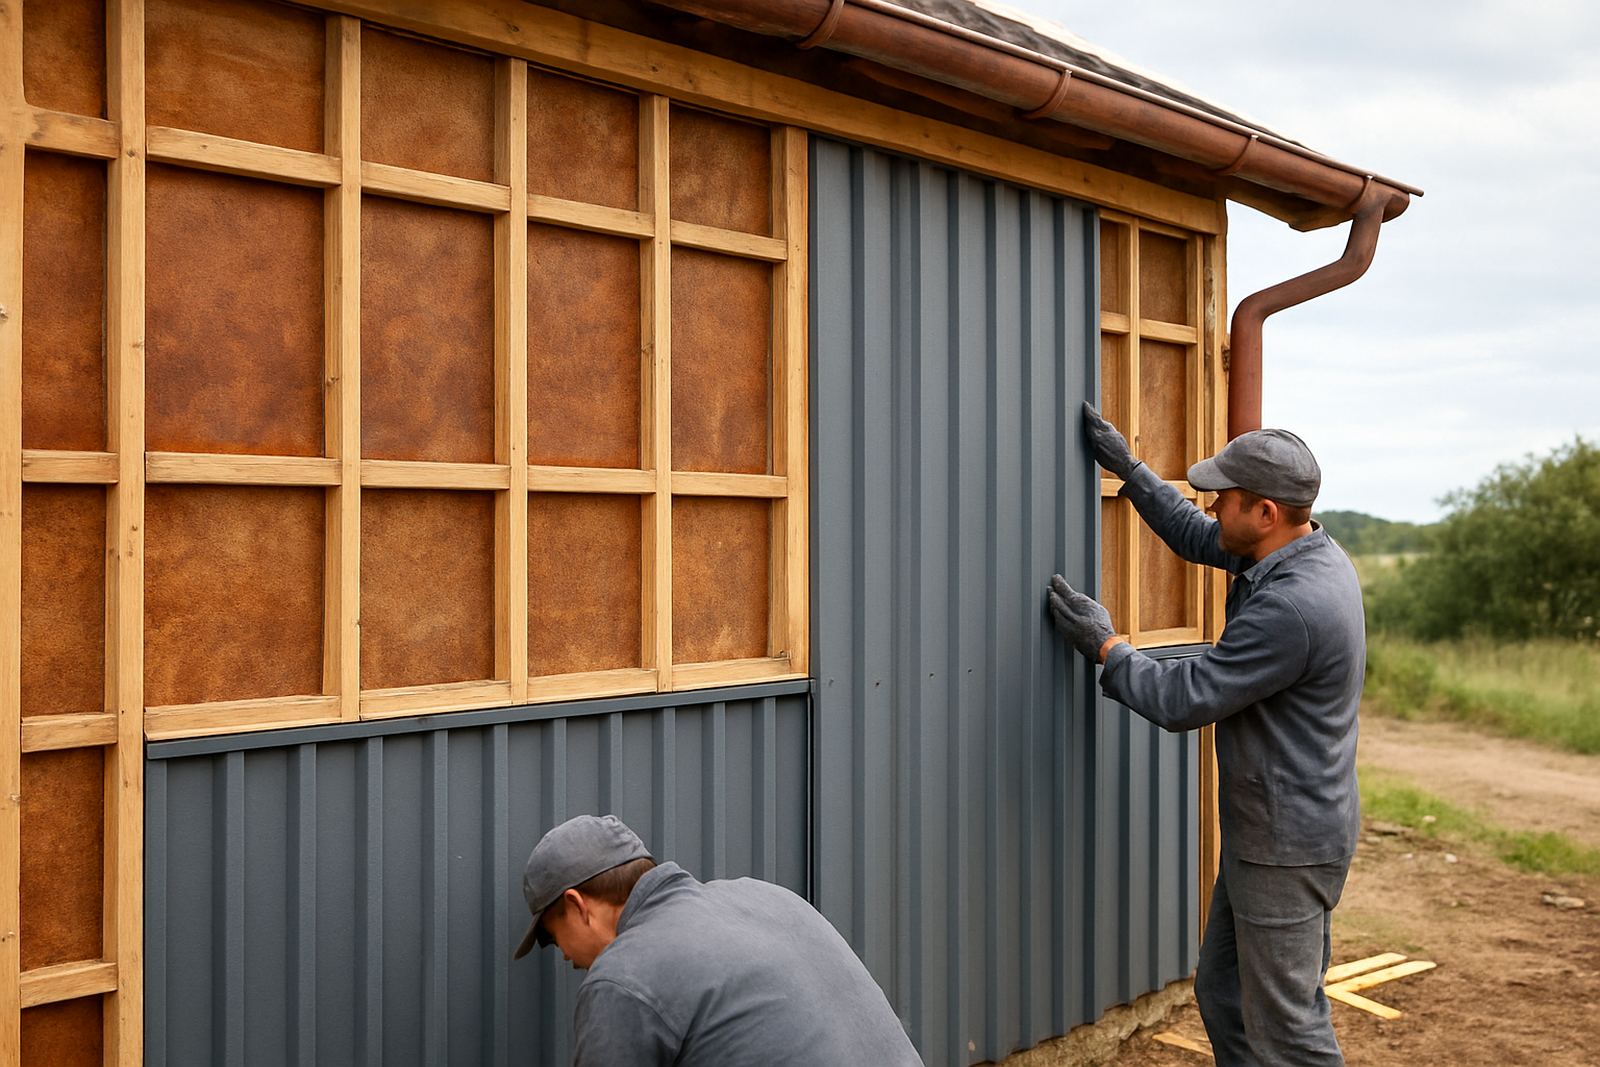
Some retrofit canopies can be added with simple brackets and well placed anchors. Others need a small steel frame or added supports before the canopy can go on safely. That decision should be made after measuring the site, not after the first hole is drilled. If the wall is hollow, the beam is undersized or the frame has visible deflection, strengthening should come first.
In older buildings around Mossel Bay, we often see walls that were never meant to carry extra roof load or wind uplift from a canopy. Adding a small steel support post or a properly spaced frame can reduce stress and improve the lifespan of the whole install. It also helps with alignment, so the canopy sits square and does not look patched on. A little extra steel now is usually cheaper than chasing movement later on.
Follow local rules and practical site limits
For canopy work on occupied homes, workshops or business premises, the install must fit the real site conditions and the local approval process where needed. If the canopy changes the building footprint, encroaches near a boundary or affects runoff to a neighbour, it may need checking before work starts. This is especially important where the canopy sits close to a municipal servitude, driveway entrance or shared wall.
It also helps to think about how the canopy will be maintained. Can someone clean the gutter without unsafe access? Can the roof sheet be reached for inspection after a storm? Will the structure still make sense when load-shedding limits work hours and the job has to be done in stages? Good retrofit planning keeps these details in view from the start, so the final result works in daily use, not just on day one.
A simple Mossel Bay example that shows the value of checking first
A small business in Gouriqua Park wanted a canopy over a side loading area so staff could move stock in the rain. The wall looked sound, but the site check showed old movement cracks, a shallow pitch on the existing roof and a downpipe right where the new posts would have gone. Instead of forcing the canopy onto a weak section, the team shifted the layout, added a short support frame and changed the gutter outlet to suit the driveway fall.
The final result kept the loading bay dry without dumping water at the entrance. More importantly, it reduced maintenance later because the flashing, guttering and fixing points all worked together. That is the real value of retrofit checks. They turn a quick idea into a canopy that fits the site, the weather and the building it sits on.