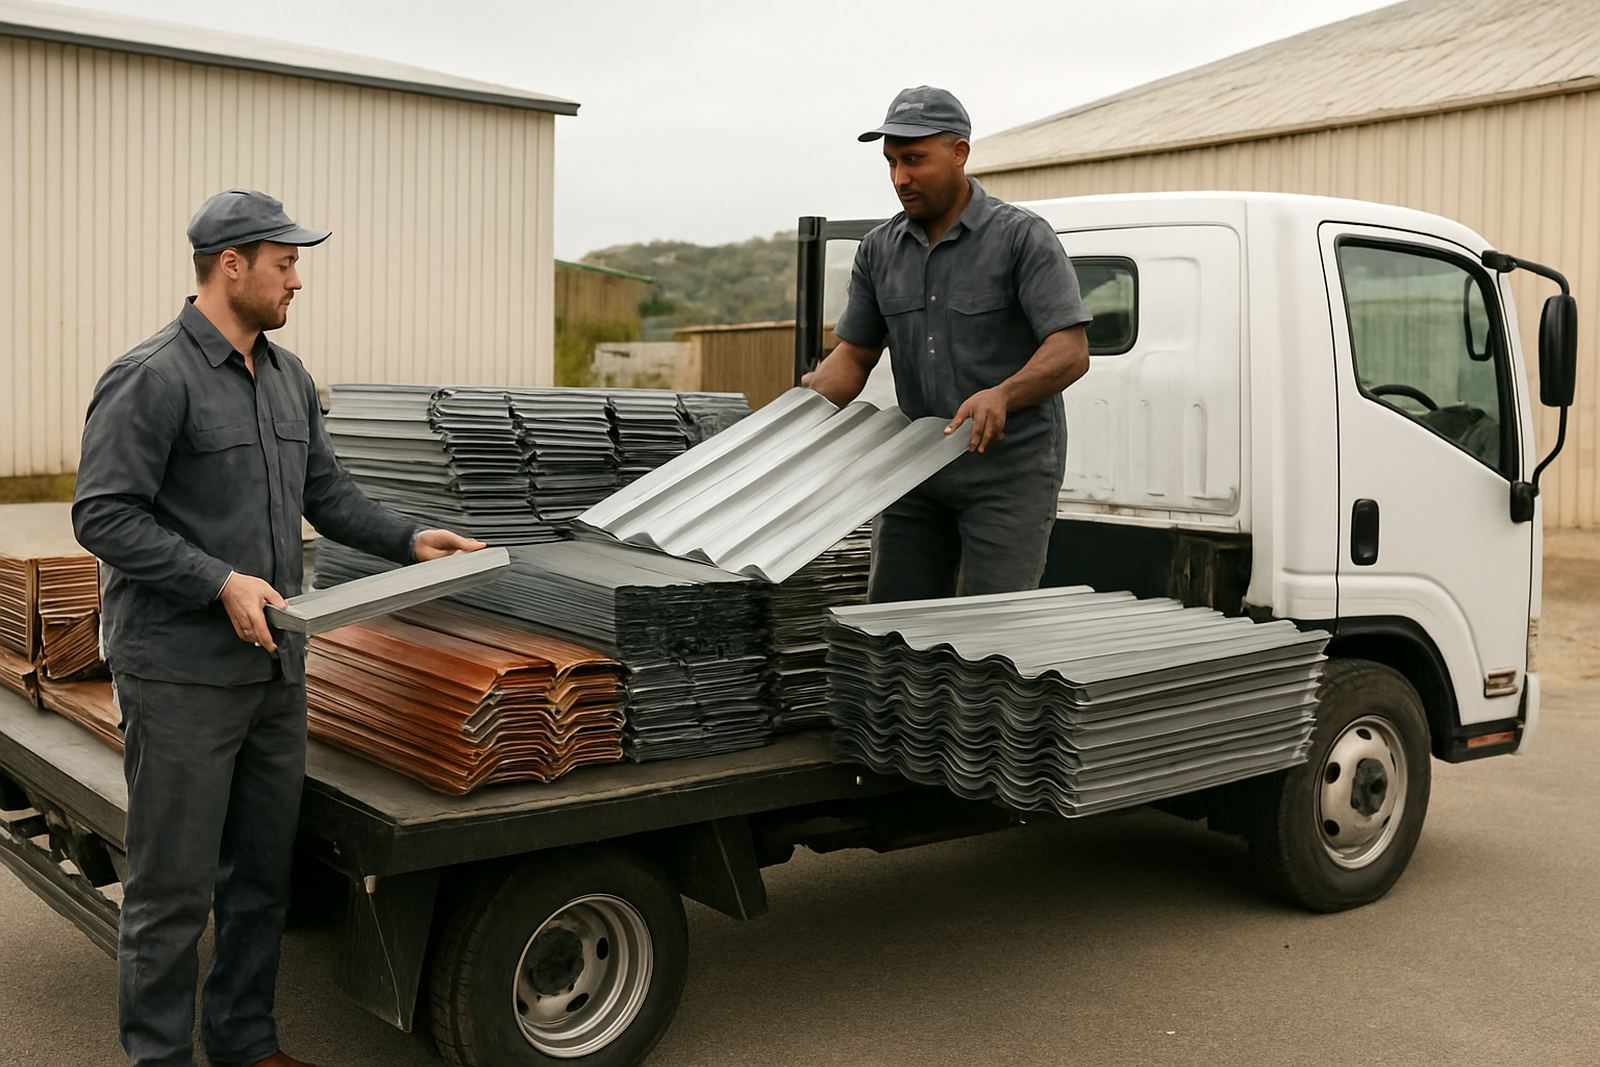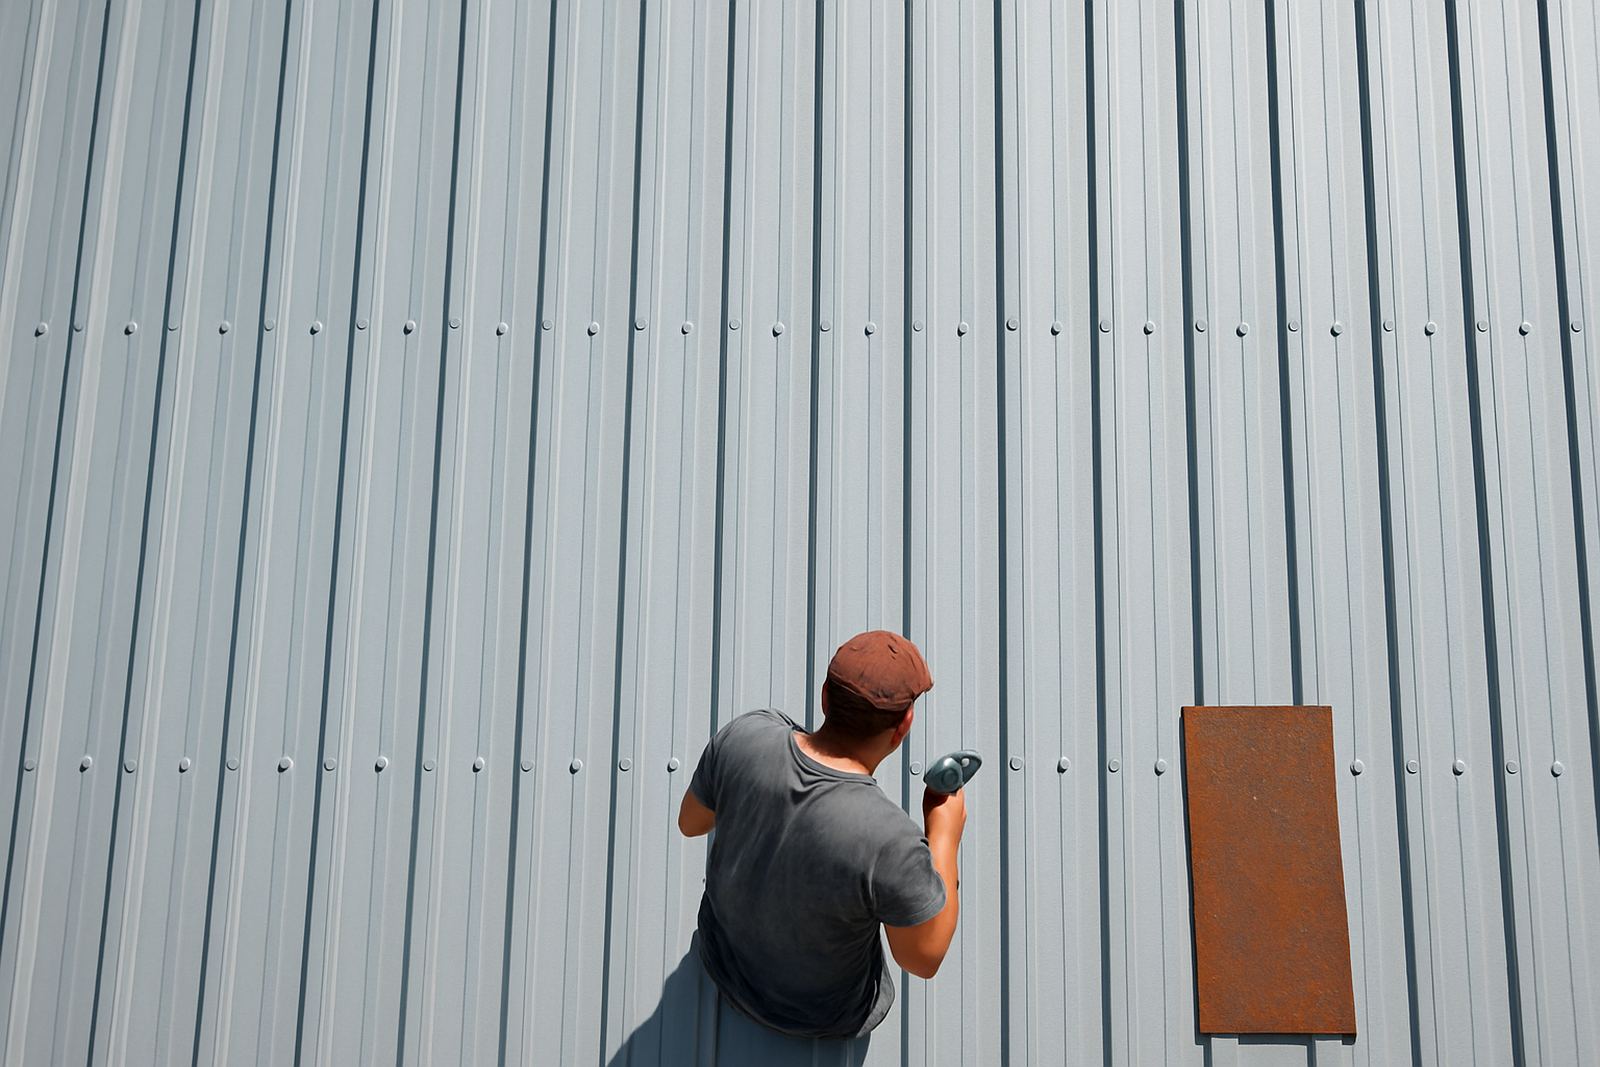

When a Small Strip of Metal Has to Do the Hard Work
Flashings are often the first part of a roof to fail because they sit right where water, wind and movement all meet. On a building in Mossel Bay or Hartenbos, that means coastal humidity, salt in the air and gusty weather can find any weak point very quickly. If the flashing is poorly formed or not matched to the roof profile, water does not need much of an opening to get in.
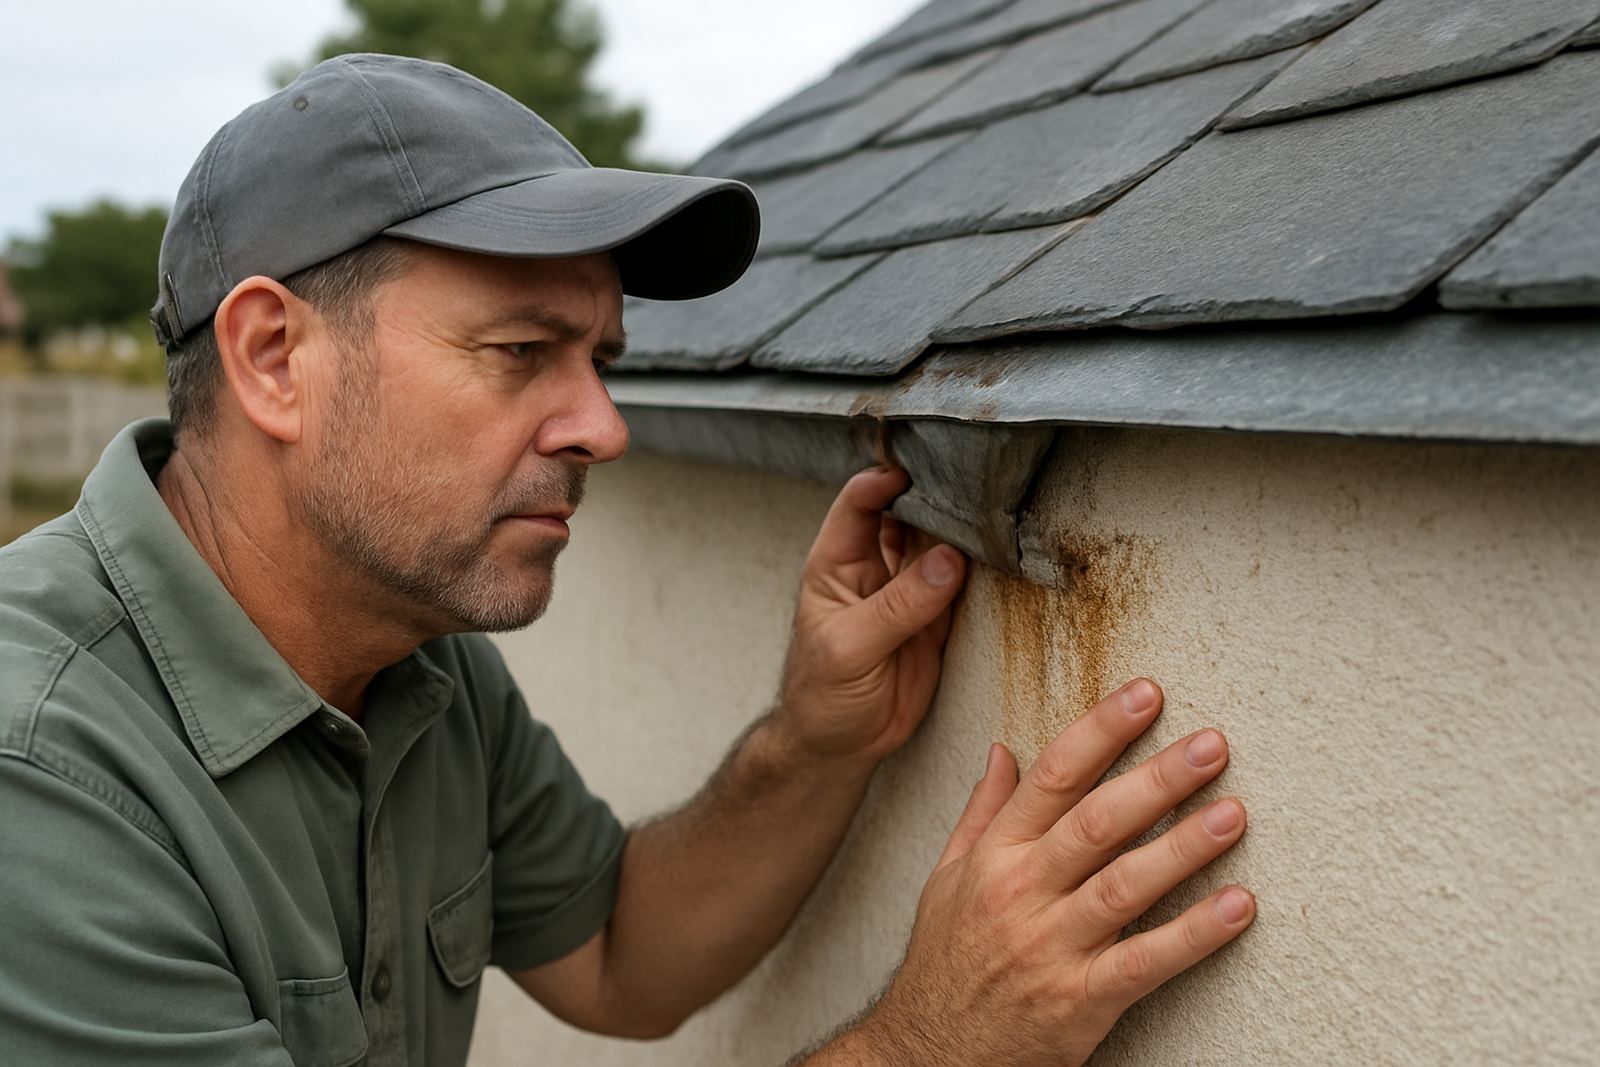
People sometimes think a leak comes from the sheet itself, but more often it starts at a ridge, parapet, valley, apron or wall junction. A flashing that looks fine from the ground can still be lifting at a corner, sitting flat where it should be turned up, or missing a proper return edge. That is enough to let water track under the sheet and into the insulation or timber below.
The Most Common Mistakes We See on Local Roofs
Most flashing failures come down to basic workmanship issues. The problem is not complicated, but the fix is only good if the measuring, cutting and fixing are done properly the first time. On steel buildings, carports and homes across George, Wilderness and Sedgefield, these are the errors that keep coming back.
- Wrong measurements, so the flashing is too short for the opening or too narrow for the roof profile.
- Not enough overlap at joints, which lets water run straight through the seam.
- Bad fixing spacing, where screws are too far apart and the metal lifts in wind.
- Missing sealant or using it where the flashing should have a proper mechanical lap.
- Flat bends that should have been turned up to block wind-driven rain.
- Cut edges left unprotected, which start rusting faster in coastal air.
- Flashings forced onto uneven surfaces instead of being shaped to suit the actual building.
In other words, if the flashing was made to fit quickly rather than correctly, it usually pays you back with a leak later.
Why Coastal Conditions Make the Problem Worse
The southern Cape is hard on sheet metal. Salt air, strong sun, sudden cold nights and seasonal rain all work the fasteners and joints loose over time. A flashing that might last longer inland can fail sooner near the coast if the material choice, gauge and fixing method are not suited to the site.
Gouriqua Park and the wider Mossel Bay area also see plenty of wind across open roofs. That wind pushes water sideways under laps and around corners, especially on low-pitch roofs and long wall sheets. If the installer does not allow for movement, the flashing can fatigue and crack at the bends. Once that happens, even a small storm can send water where it should not go.
It is also common for older roofs to have been altered over time. An extra gutter, a new carport, or a changed roofline can create a junction that was never sealed properly. Then the leak shows up months later and people blame the rain, when the real issue was the detail at the joint.
What Good Flashing Work Should Look Like
A proper flashing starts with site measuring, because you cannot make a clean finish from guesswork. The sheet must suit the roof pitch, the wall height, the overlap needed and the direction water will travel. On a well made job, the flashing is formed to sit tight without forcing the sheet out of line, and each joint is fixed so movement does not open it up.
There should be enough upstand to stop water backing up under the edge, and enough lap to keep rain out even if the wind changes direction. Fixings need to be placed where they hold the metal securely, not where they look neat on the day. If a flashing needs sealant, it should be used as part of the system, not as a replacement for proper fitting.
- Correct measurements on site before fabrication starts.
- Clean bends and returns that match the roof profile.
- Proper overlaps at joins and corners.
- Secure fixing points with the right spacing for wind exposure.
- Materials chosen for the local conditions, especially near the coast.
A Mossel Bay Example That Shows How Fast a Leak Spreads
We were called to a building in the Mossel Bay area where water was coming in above a store room after a heavy front moved through. The roof sheets looked serviceable from below, so at first the owner assumed the problem was a gutter. On inspection, the flashing where the roof met the wall had been cut short and fixed with wide gaps between screws. The top edge had no proper turn up, and the overlap had been sealed but not mechanically locked.
During normal weather it held, but when strong rain came in with wind it opened enough for water to run behind the flashing. By the time the stain appeared inside, the insulation below had already started to hold moisture. That meant a small detail had turned into a repair that could have been avoided with better measuring and a proper custom flashing in the first place. It is a good reminder that leaks often start at the parts nobody notices first.
How to Prevent Repeat Repairs
If flashings have failed once, it is worth checking the full roof edge and not just the wet spot. A repair that only covers the visible leak may leave the real cause in place. On steel buildings, maintenance inspections should include fasteners, laps, bends, gutters, valleys and any point where a wall meets a roof sheet.
Owners in Hartenbos, Great Brak River, George and nearby towns should also keep an eye on corrosion after winter rains and strong summer sun. A small rust patch near a bend can turn into a split line faster than people expect. Regular checks help catch these issues before they become interior damage, and before a simple flashing job turns into a bigger reroofing expense.
If the roof has been repaired more than once already, the answer may be to replace the flashing properly rather than patch it again. Good sheet work saves money over time, but only when the detail is right. That is why the measuring, forming and fixing matter just as much as the steel itself.